Basic Woodturning
Wood Turning is a fun pastime that also allows you to create some unique woodwork for decorations, tools, gifts, or selling. It requires a wood lathe, a way to attach the wood to the lathe, tools, sandpaper, and a finish to apply to the final product if you want. Wood lathes can range from about $200 to several thousand dollars depending on the size, features, and quality. I selected a 12” X 48” lathe years ago just so that I could turn longer pieces such as table legs and such if I ever wanted to. You will need either a faceplate to attach larger pieces of wood for making bowls or other items where you won’t be using a tailstock (The stationary end of the lathe that doesn’t turn) to hold it or a live center that generally has an X or other pattern along with a small center spike to attach the wood to the lathe. There are other options too that can be used as you advance your skill, but they do get a little more spendy than the basic option.
Tailstock 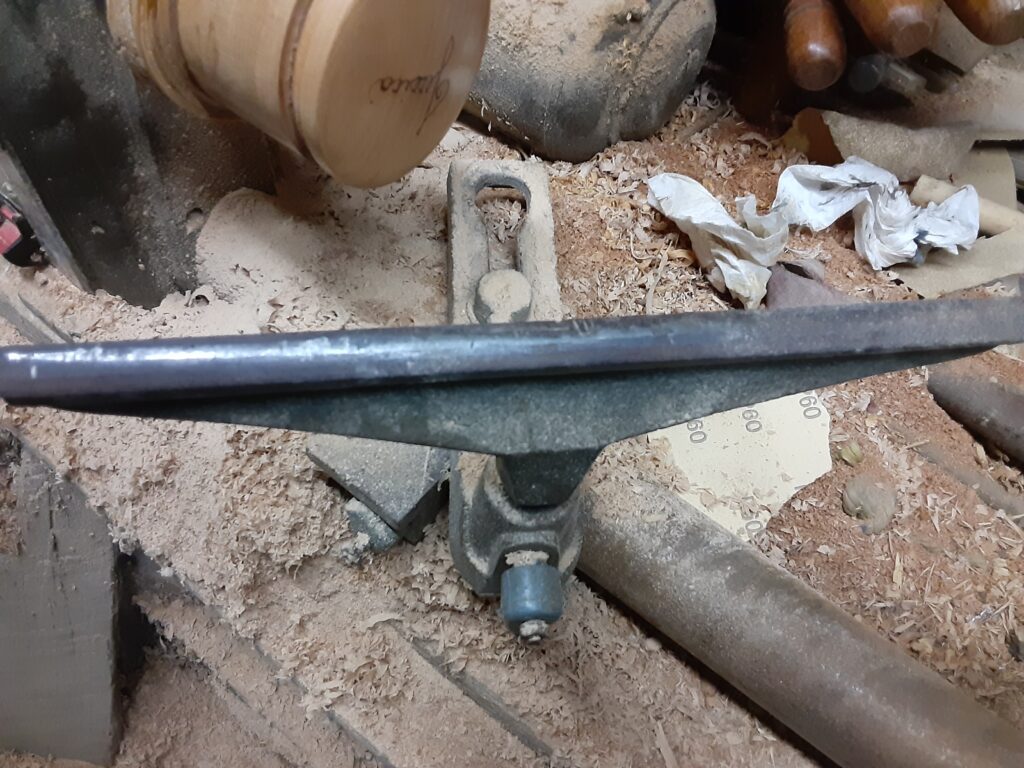
Tool rest 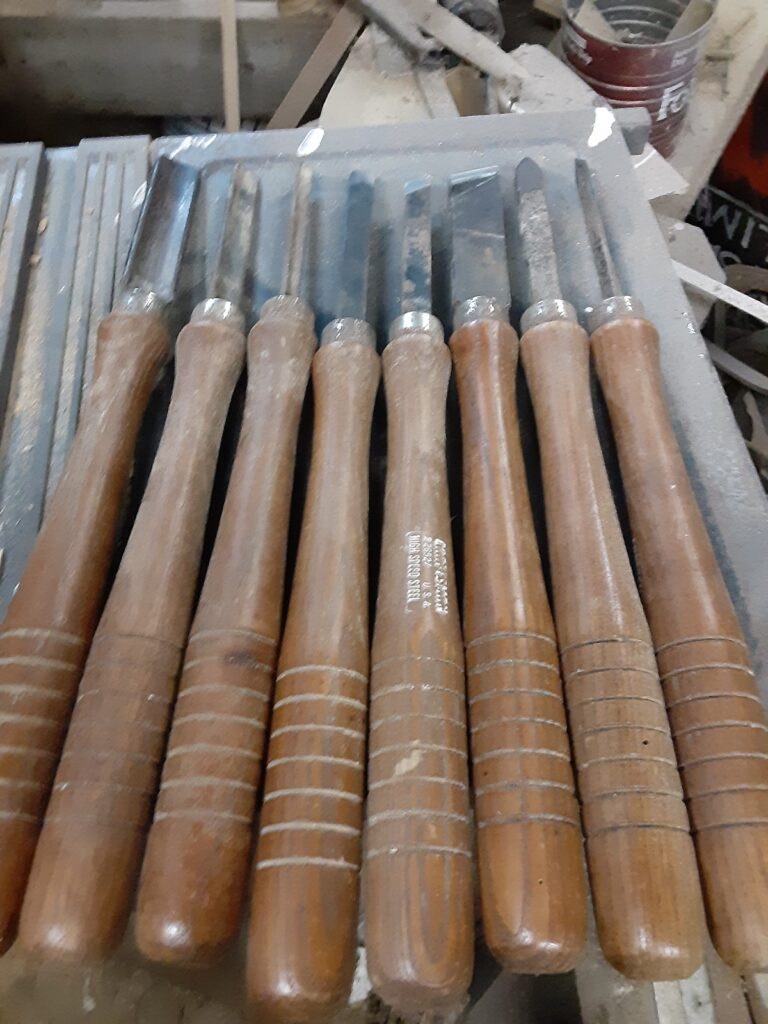
Tools 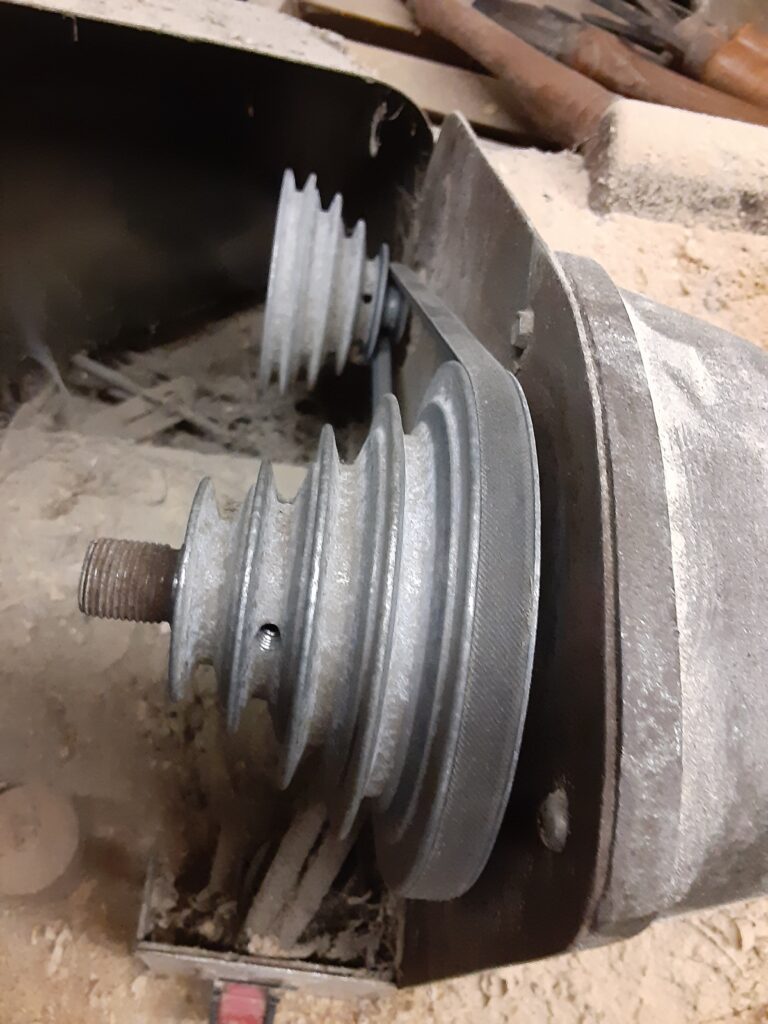
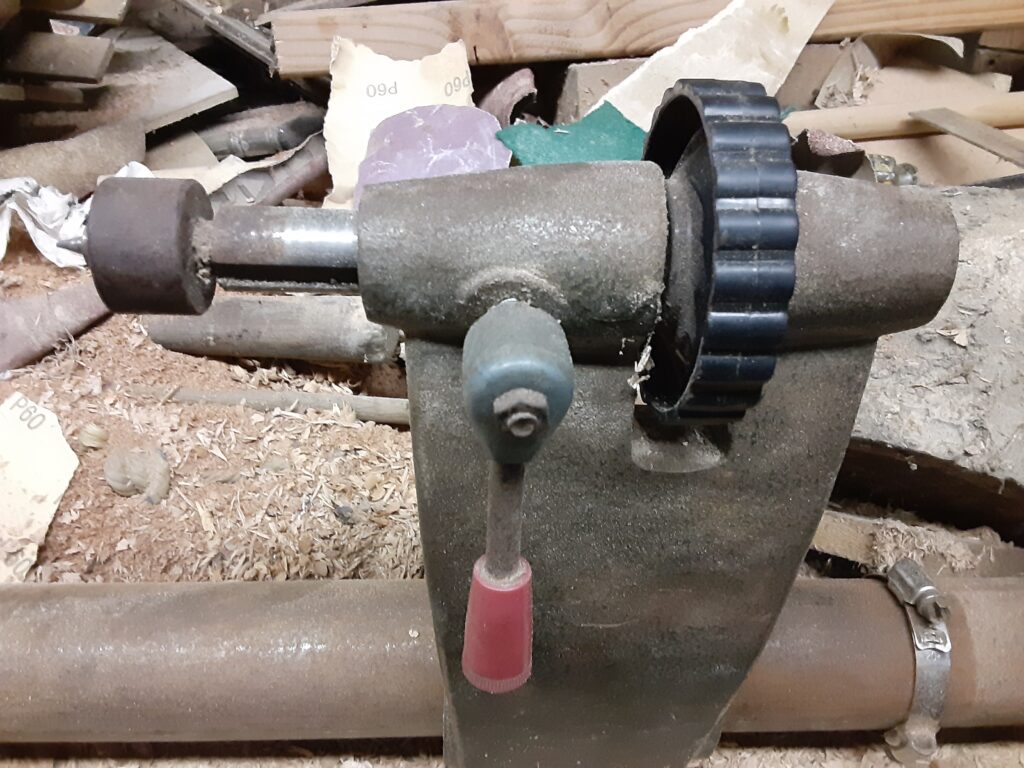
Speed Adjustment 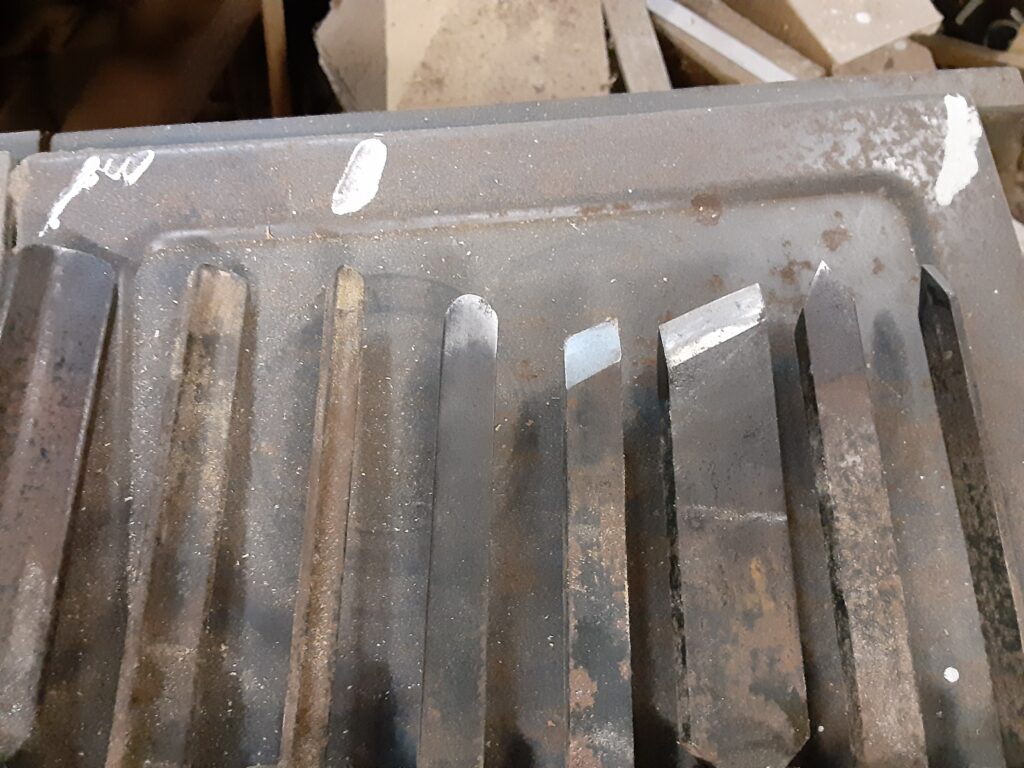
Tool points 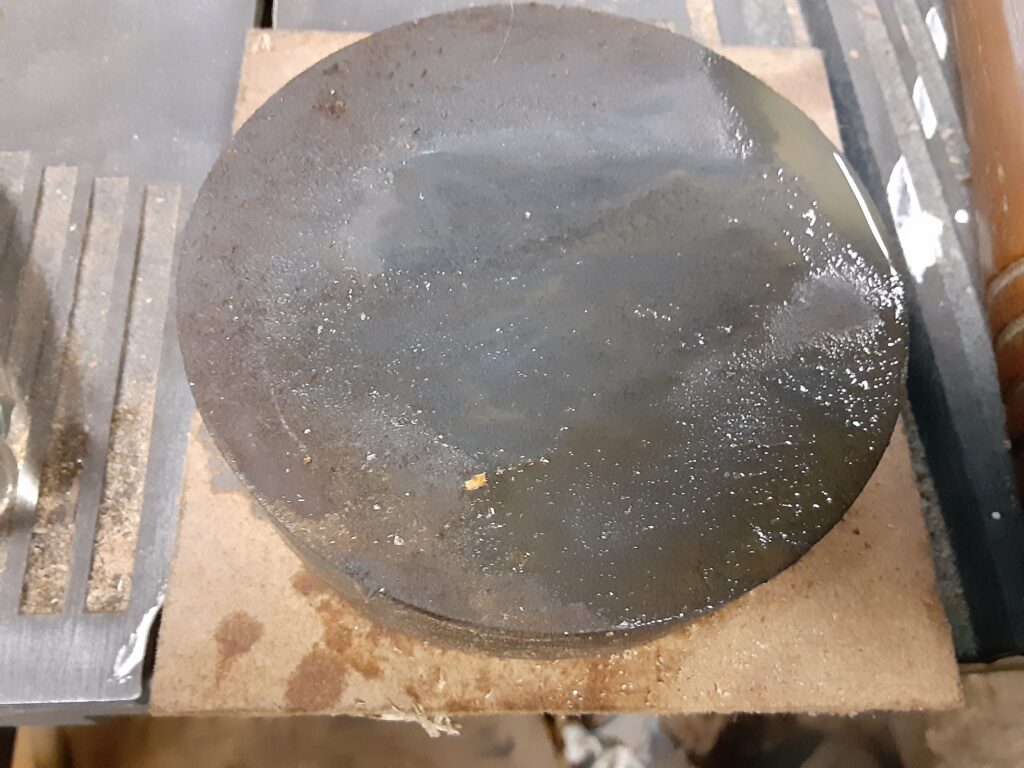
Whetstone 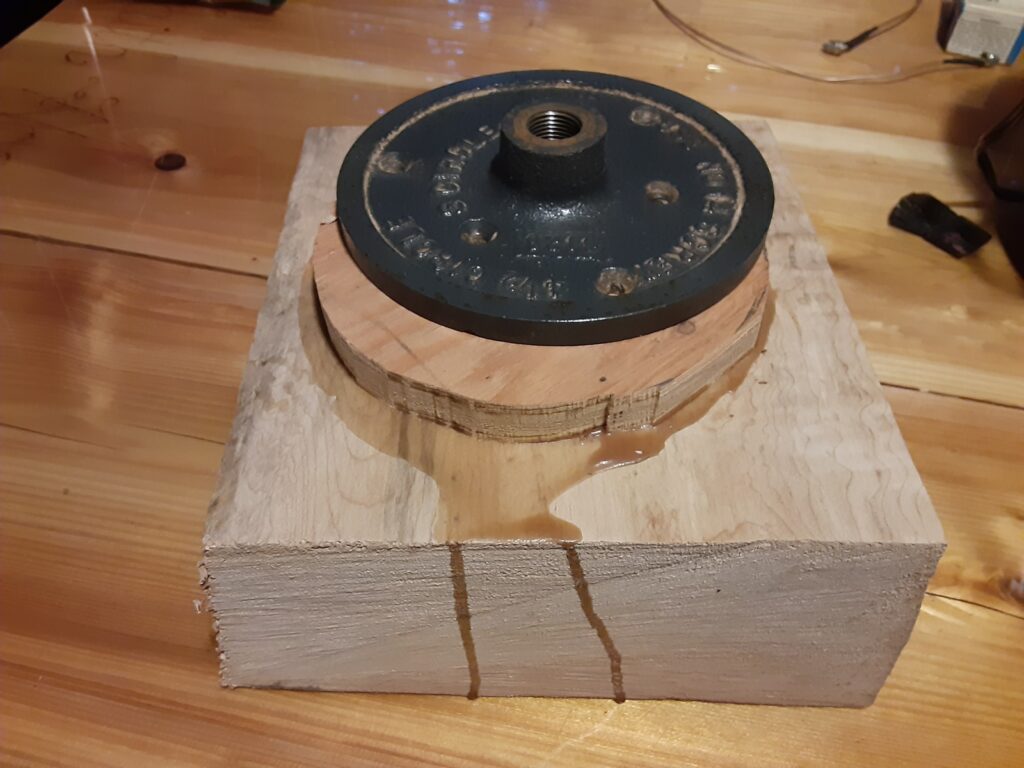
Lathe faceplate
The basic lathe parts that you will be needing to know are the headstock that attaches the wood to the lathe and turns the wood when you switch the lathe on, the tail stock that can be used to hold the wood on the lathe when not using a faceplate, the tool rest, and the speed adjustment which can range from changing a belt position on the pulleys to other options depending on how fancy of lathe you have. Tool selection is also important as you want a minimum of high-speed steel tools that can hold a sharp edge. A whetstone or other sharpening device is needed to keep them sharp too.
Now that we have covered the extreme basics of the stuff you will need you can get started on the most easy and basic project there is, a basic candlestick. A candlestick is a simple basic shape that doesn’t require hollowing out a center like a bowl does and yet can make the design as simple or complex as you want to. Deeper sharp angled cuts can be a little more difficult to sand. Many woods will work for turning, but some softer ones may rip out small pieces that will require a lot more sanding. Whatever wood you choose must be dry or your finished piece will crack. Dry seasoned turning blanks are available from many online retailers and prices vary greatly from common woods to fancy exotic ones. Cheaper ones would be better to learn on for sure if you’re not feeling highly confident about your lathe skills.
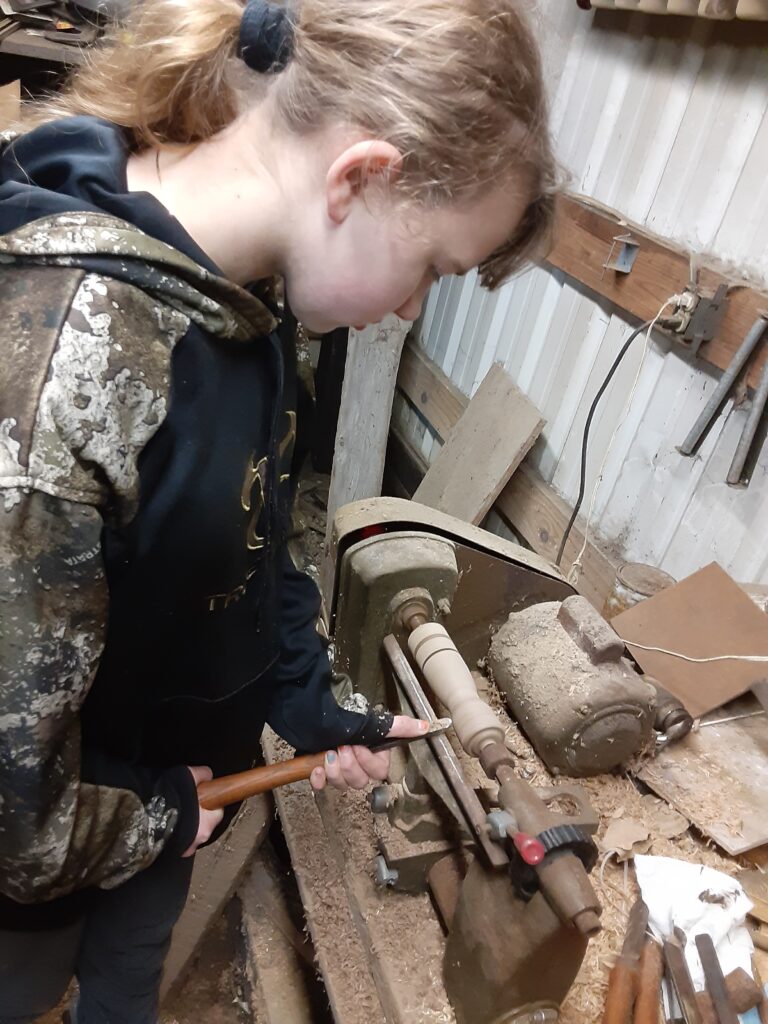
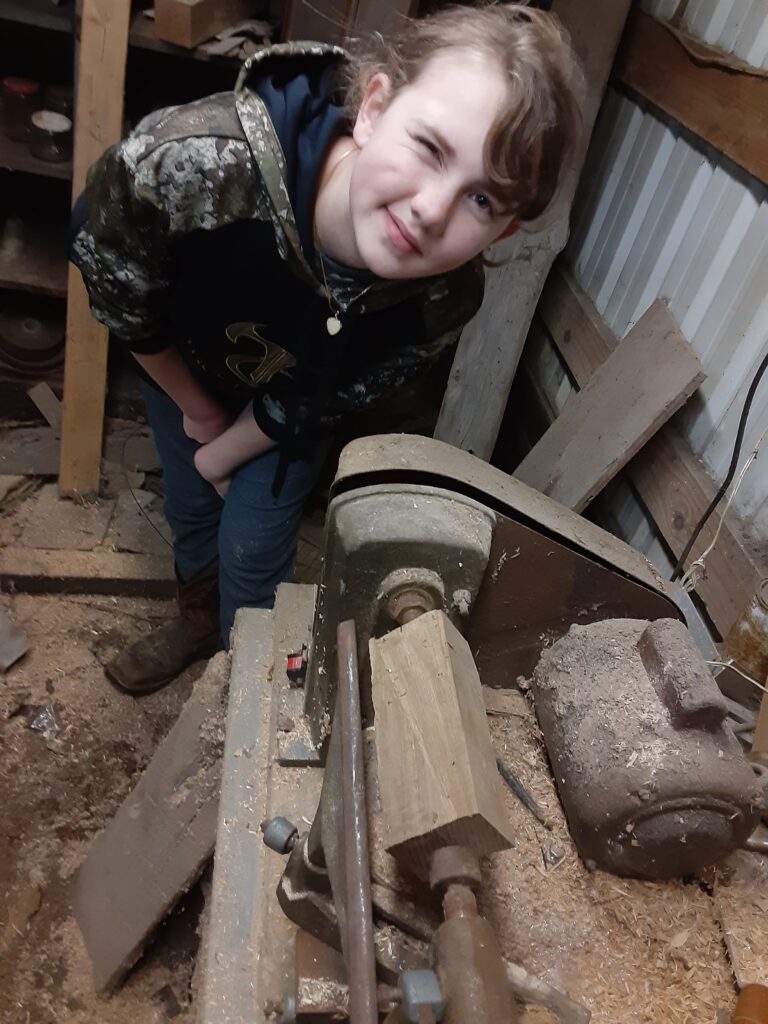
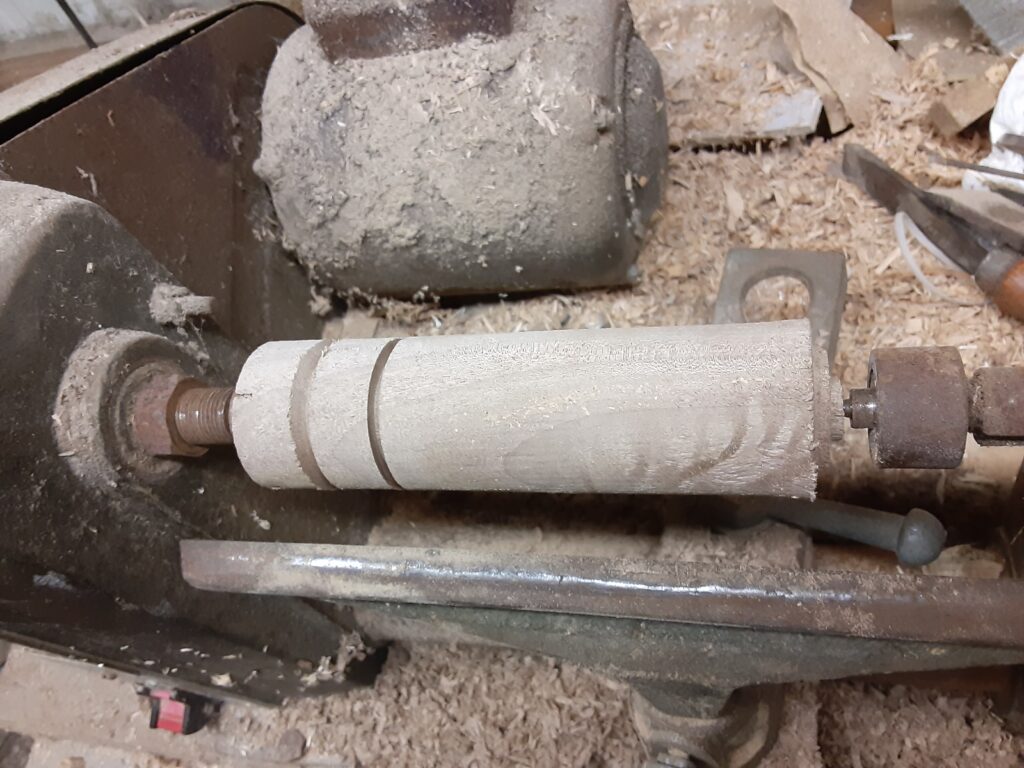
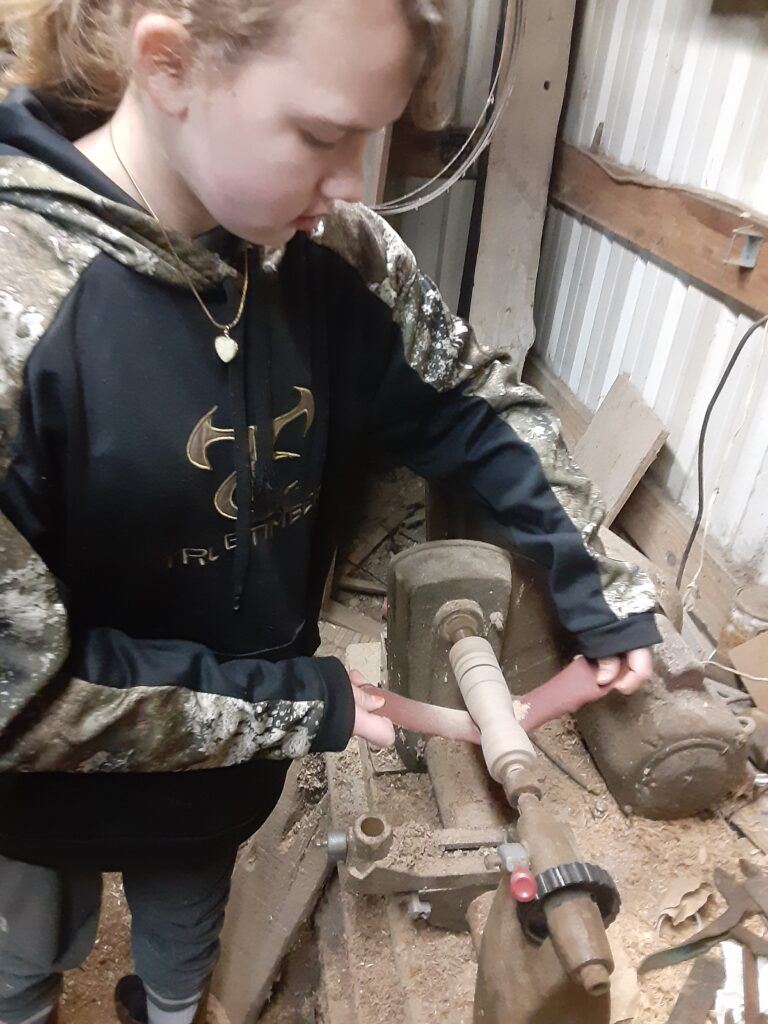
This story about my daughter Jessica just starting on the wood lathe at thirteen years old so I used a square piece of walnut for her to use to make a candlestick. It is a good wood that turns nicely leaving a smooth surface to make sanding easier. It was square to start with so I marked the centers and had her use the live center point and the pointed tailstock attachments to put it on the lathe. I checked to make sure it was secure and had her stand off to the side at the end of the lathe before turning it on to make sure it was mounted securely. It spun just as it was supposed and didn’t fly off so it was a good job. Jessica has learned metal working over the years, but she wanted to learn woodworking too so I figured that having her make some Christmas presents would kill the two birds proverbial with one stone.
She decided to make an easy mostly straight design with minimal curves and cuts to keep it really simple. You could also leave the base or other parts square as part of the design if you wanted to. She began with the large skew chisel to completely round it before switching to a round nose chisel to make the taper and other designs. A “V” nosed chisel was sued to make some lines in it. You want the tool rest to be at the centerline of the turned piece and you will have to move it closer as you go. The idea is to have the tool tip pointed upwards to shave the wood rather than chipping it off. Watching the chips is a good way to judge the proper angle as they will come off as strands rather than chips at the proper angle. We use the lowest possible lathe speed when rounding projects as the weight is off-center and they vibrate less at lower speeds. We do increase the speed during the sanding operation to help speed up the sanding a little.
It will take some practice and tool rest height adjustment to find the right angle at first, but it will come naturally as you progress. You have to make small cuts as you go to reduce the chances of the tools catching on the wood and potentially flipping out of your hand. Keeping pressure and a good grip on the tool grip helps reduce this. Once the shape is done use a cutoff tool to make cuts at the top and bottom of the candlestick leaving just enough wood to keep it secure for the sanding operation.

After you are satisfied with the shape start sanding it with a coarse grit sandpaper and work your way down using finer grits until you get the desired smoothness. Sanding is easier on the lathe as all you have to do is carefully hold the sandpaper on the spinning piece to sand it. Be sure to keep loose clothing and jewelry away from the lathe while it is spinning. The sandpaper gets hot fast so we use a small piece of steel wool as it helps slow the heat transfer will still being soft enough to conform to the shapes while not being tough enough to possibly gouge the piece.
Once the sanding is done you can carefully cut the holding ends off of the candlestick using a bandsaw or a hand saw. Be careful not to make marks on the candlestick itself but cut as close to it as you feel comfortable to make sanding the bottom easier. Sand the bottom smooth using a sander or a belt sander so that it is level the last little bit of holding wood is completely flush with the bottom. You will need a wood bit large enough to hold the candle size you chose to carefully drill the top to hold the candle. A drill press or a wood vise and a handheld drill works great for drilling it. Apply you select finish to it after the hole is drilled. This may take several coats depending on which finish you use.
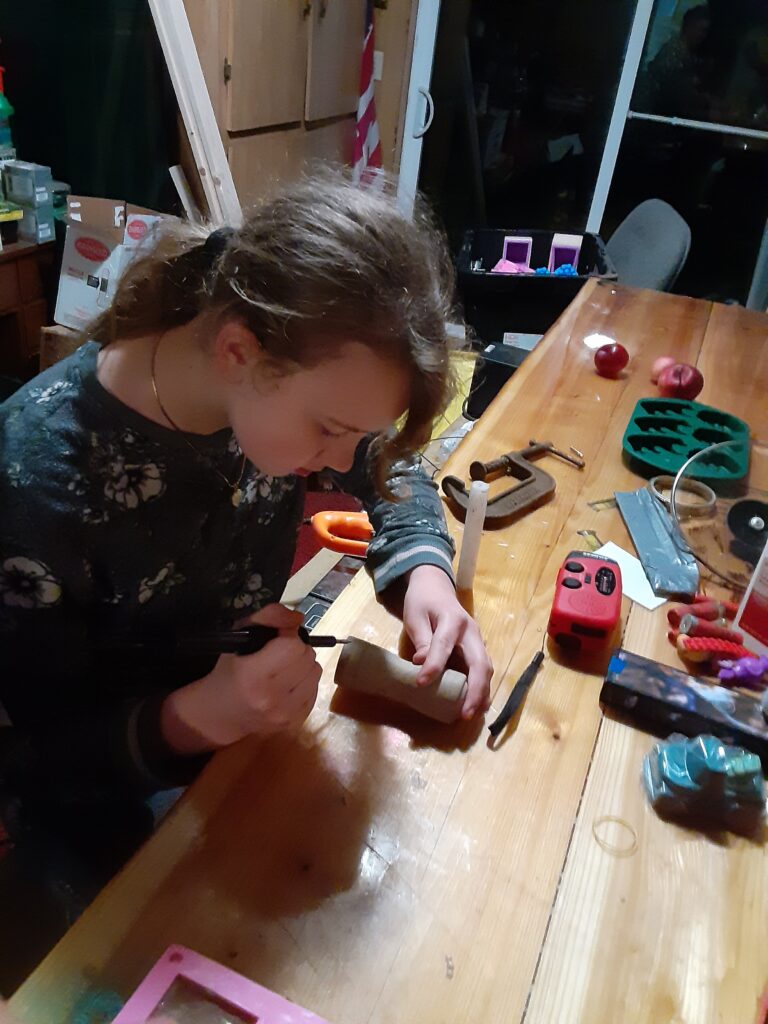
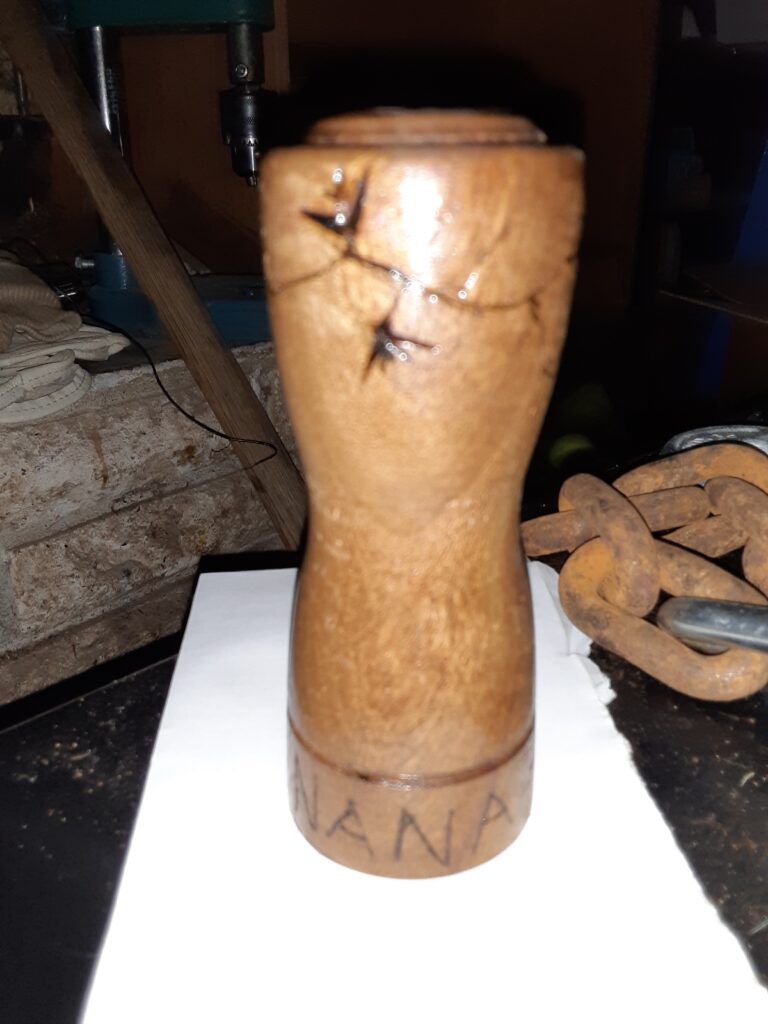
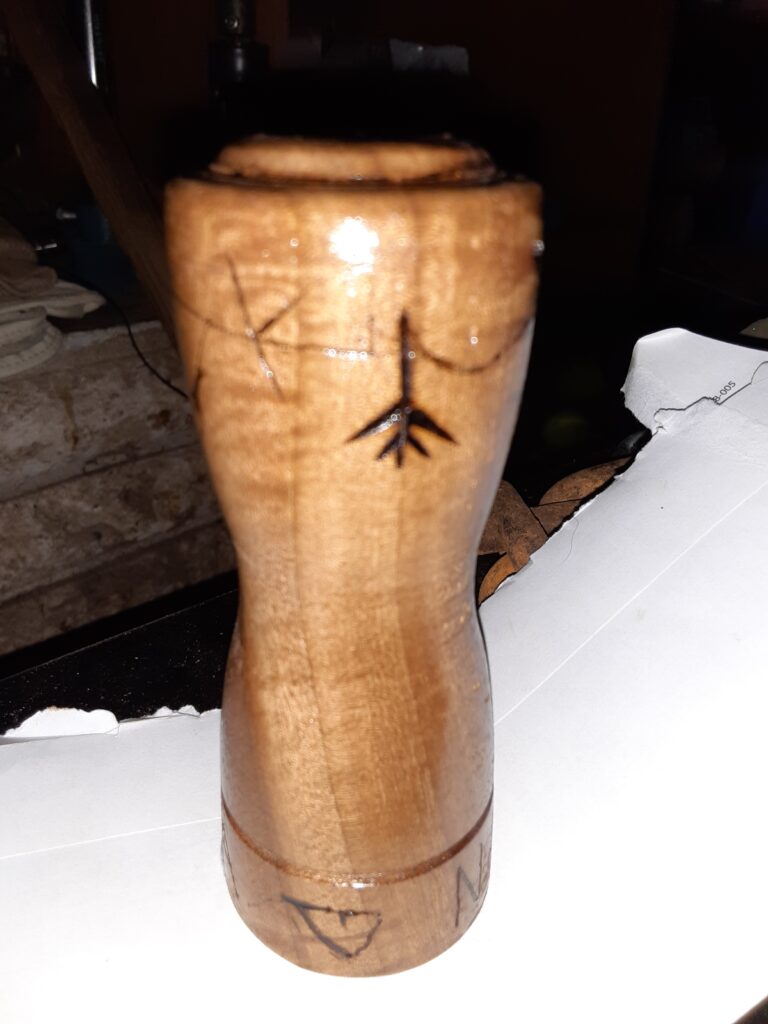
The good thing about simple candlesticks is that if you make a mistake, you can easily alter your design to fix it like it never happened. Wood turning does get more complicated when you start working on bowls, bowls with lids, and other thin pieces so don’t worry as a bigger challenge is waiting for you when you are ready and you’re only limited by your imagination, tools, and budget. We make many of our Christmas presents as store bought items just don’t seem as thought out as homemade things do. We usually wood burn the recipient’s name and the year on the bottom of our gifts for an even more personal touch.
Fruit trees and other hardwoods make great turning woods so keep an eye out for people or orchards who may cutting down or trimming large branches from those trees to get a good supply of turning wood if you pursue this hobby. It takes a long time to dry them out and they have to be dried really slow to help prevent major cracking. I wax the ends of the wood and place it as low as I can in a cool corner of the shop to slow the drying as much as possible. It takes about a year to dry out some of the larger hardwood pieces so it is not a quick process.