Ham radio install on a Quad
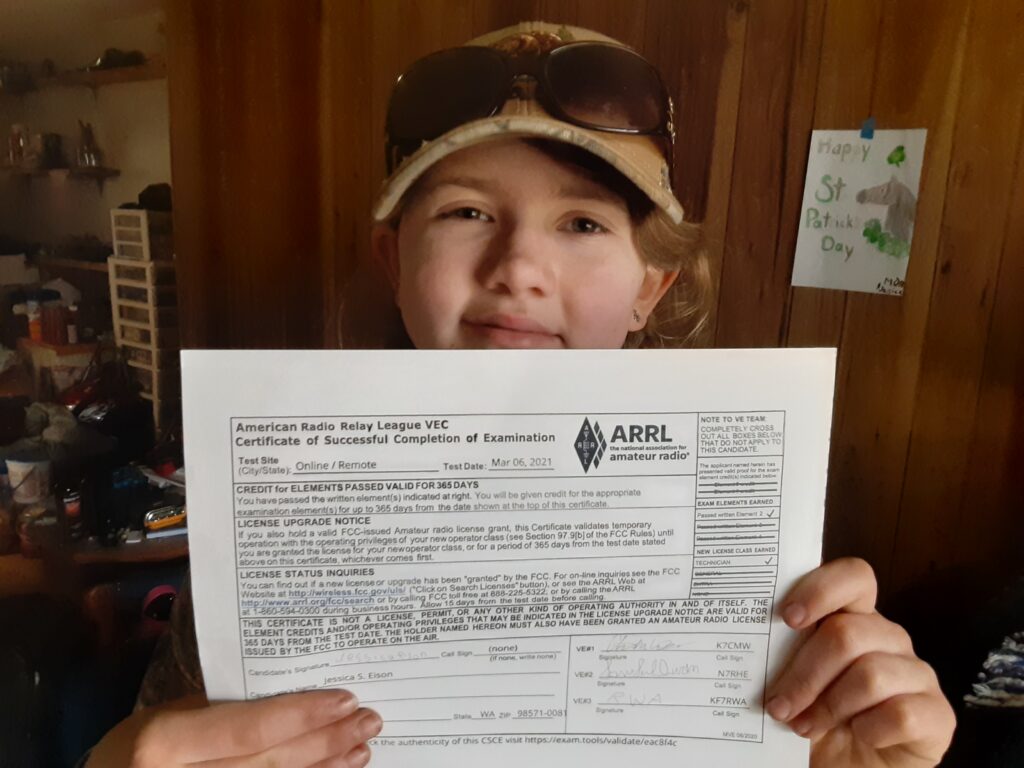
My youngest daughter Jessica recently got her “Technician” class ham license so she could reach us if she has any problems. We live and recreate in areas that do not have much if any cell service so alternative forms of communication are important for not only emergency communications, but regular updates such as “Dinner is ready”, “I’m going to be a little late”, etc. Ham radio is definitely a necessary hobby for our outdoor lifestyle because cell phones just don’t work if you go to any place that is truly away from everybody. The 2-meter ham radio band is perfect for this as it works great in rugged terrain vs. the other bands and does not require a bunch of expensive equipment or extensive setup to use it.
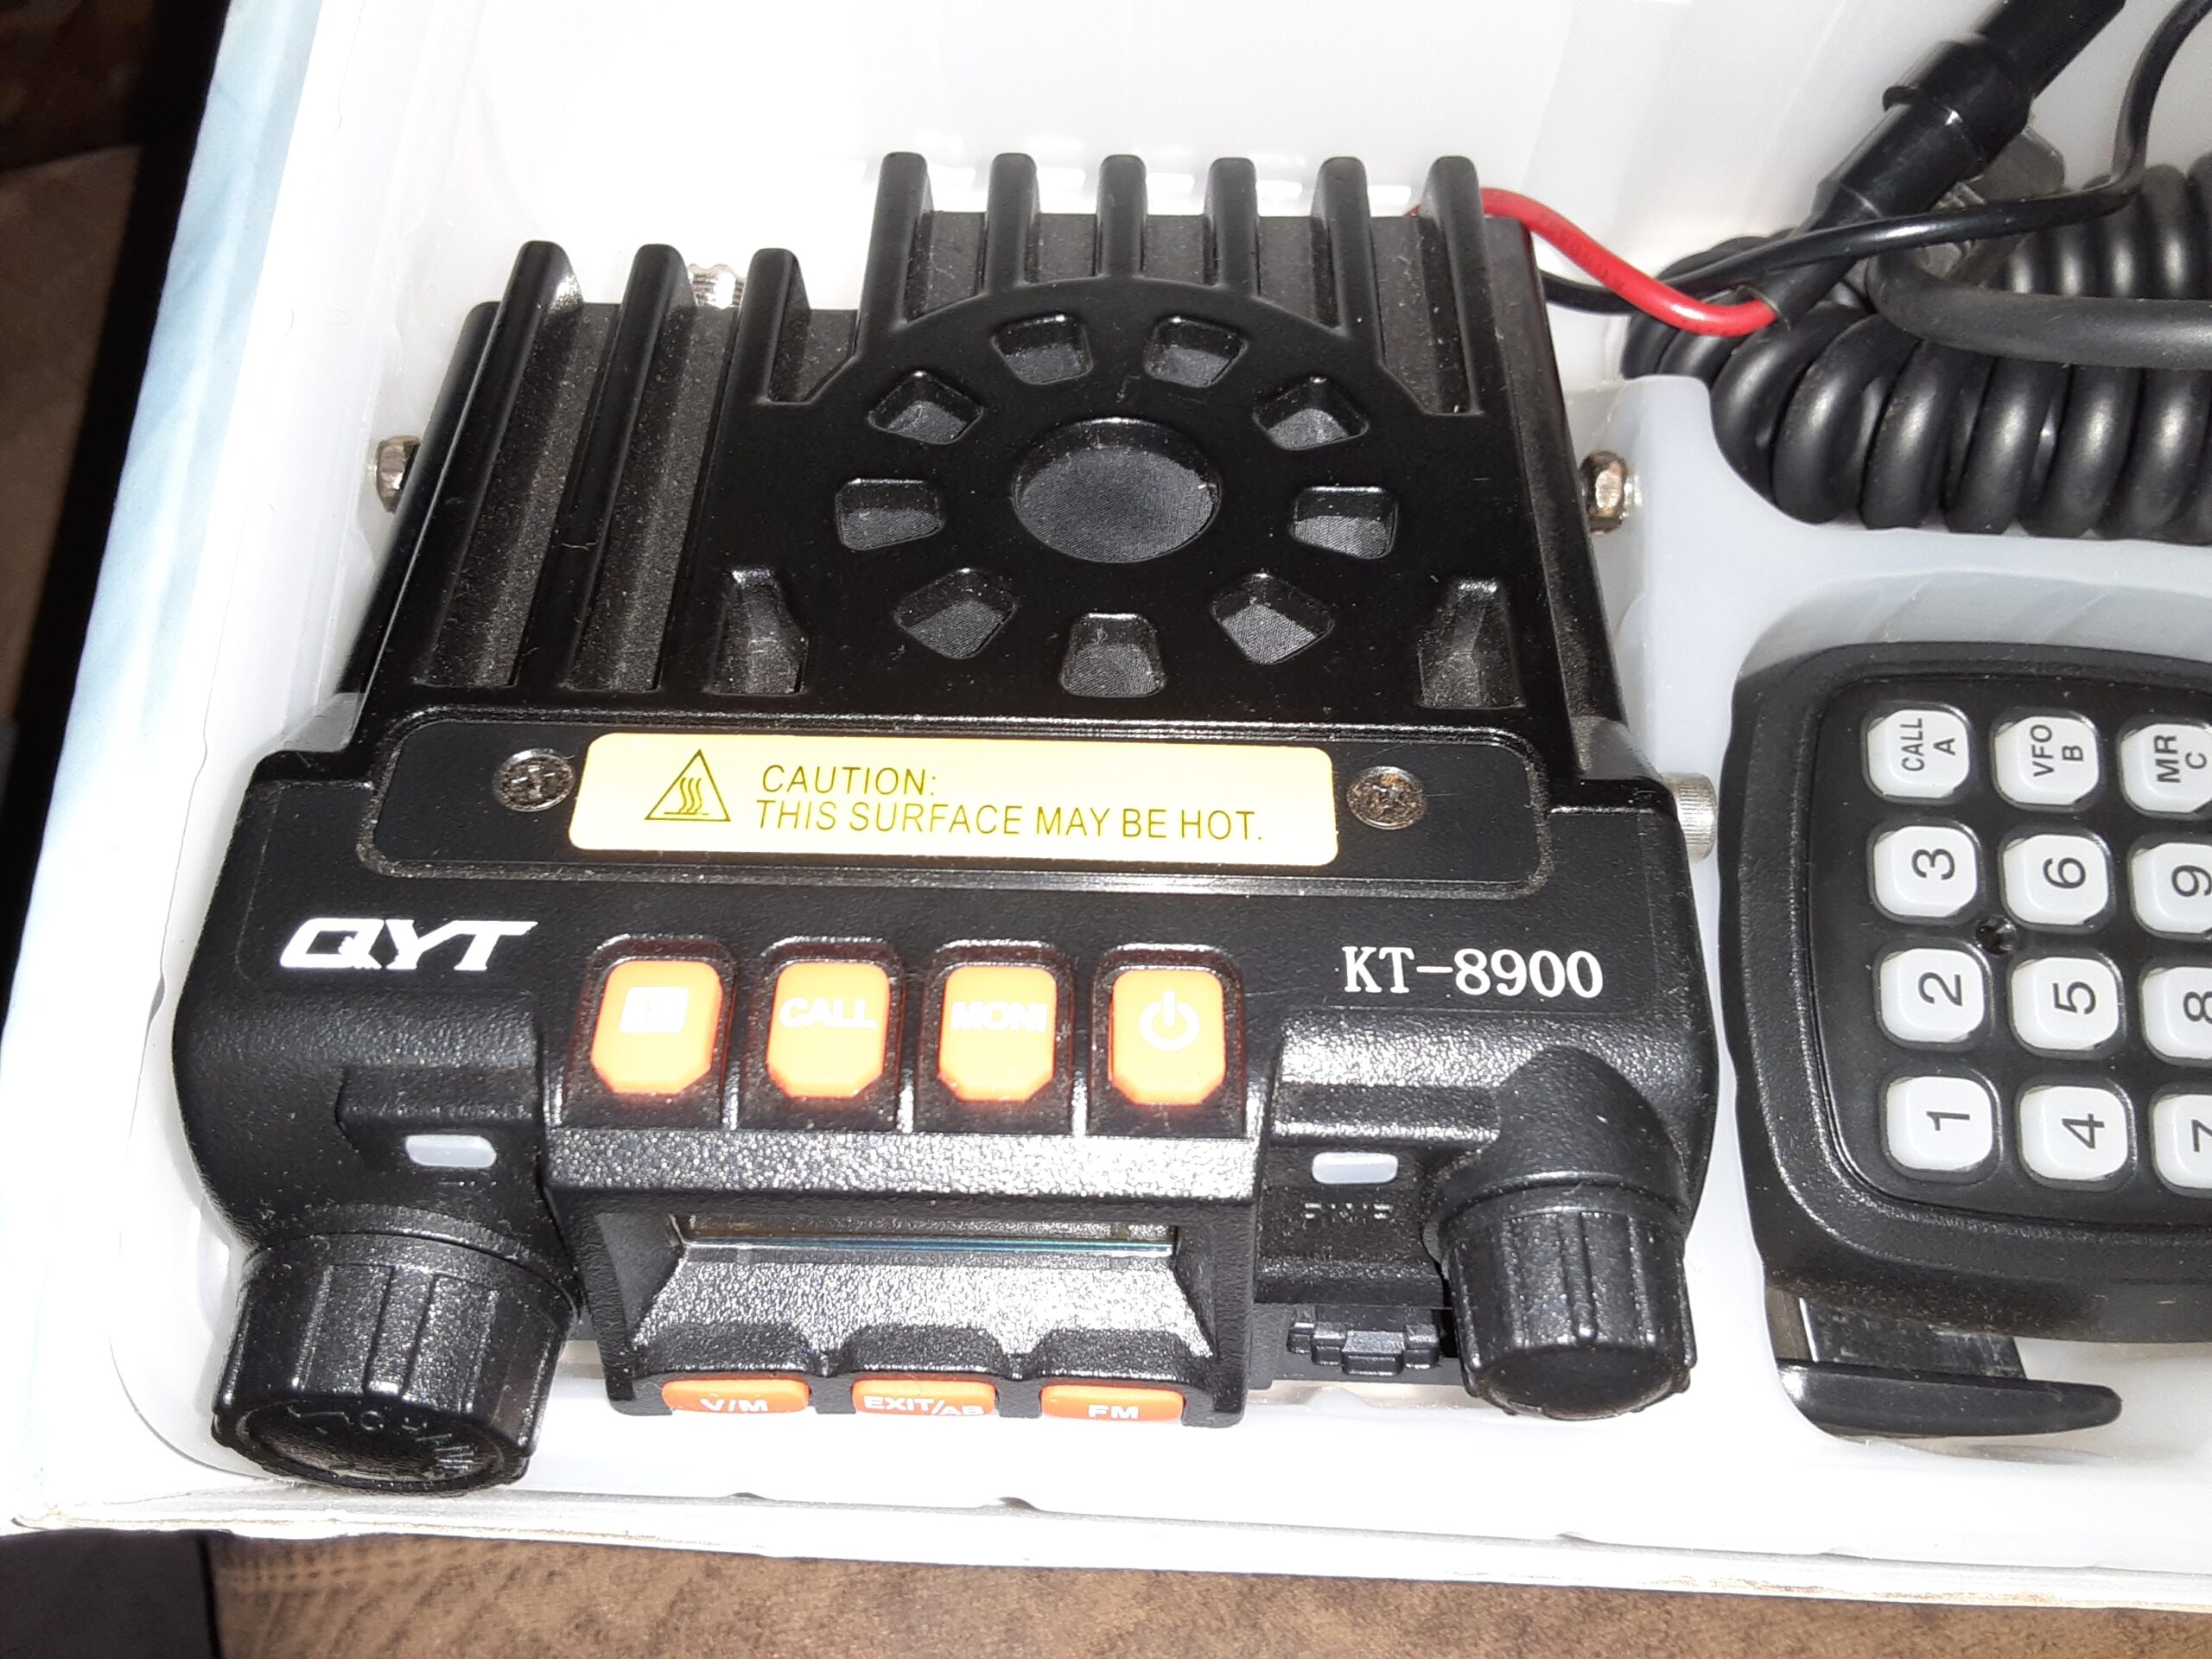
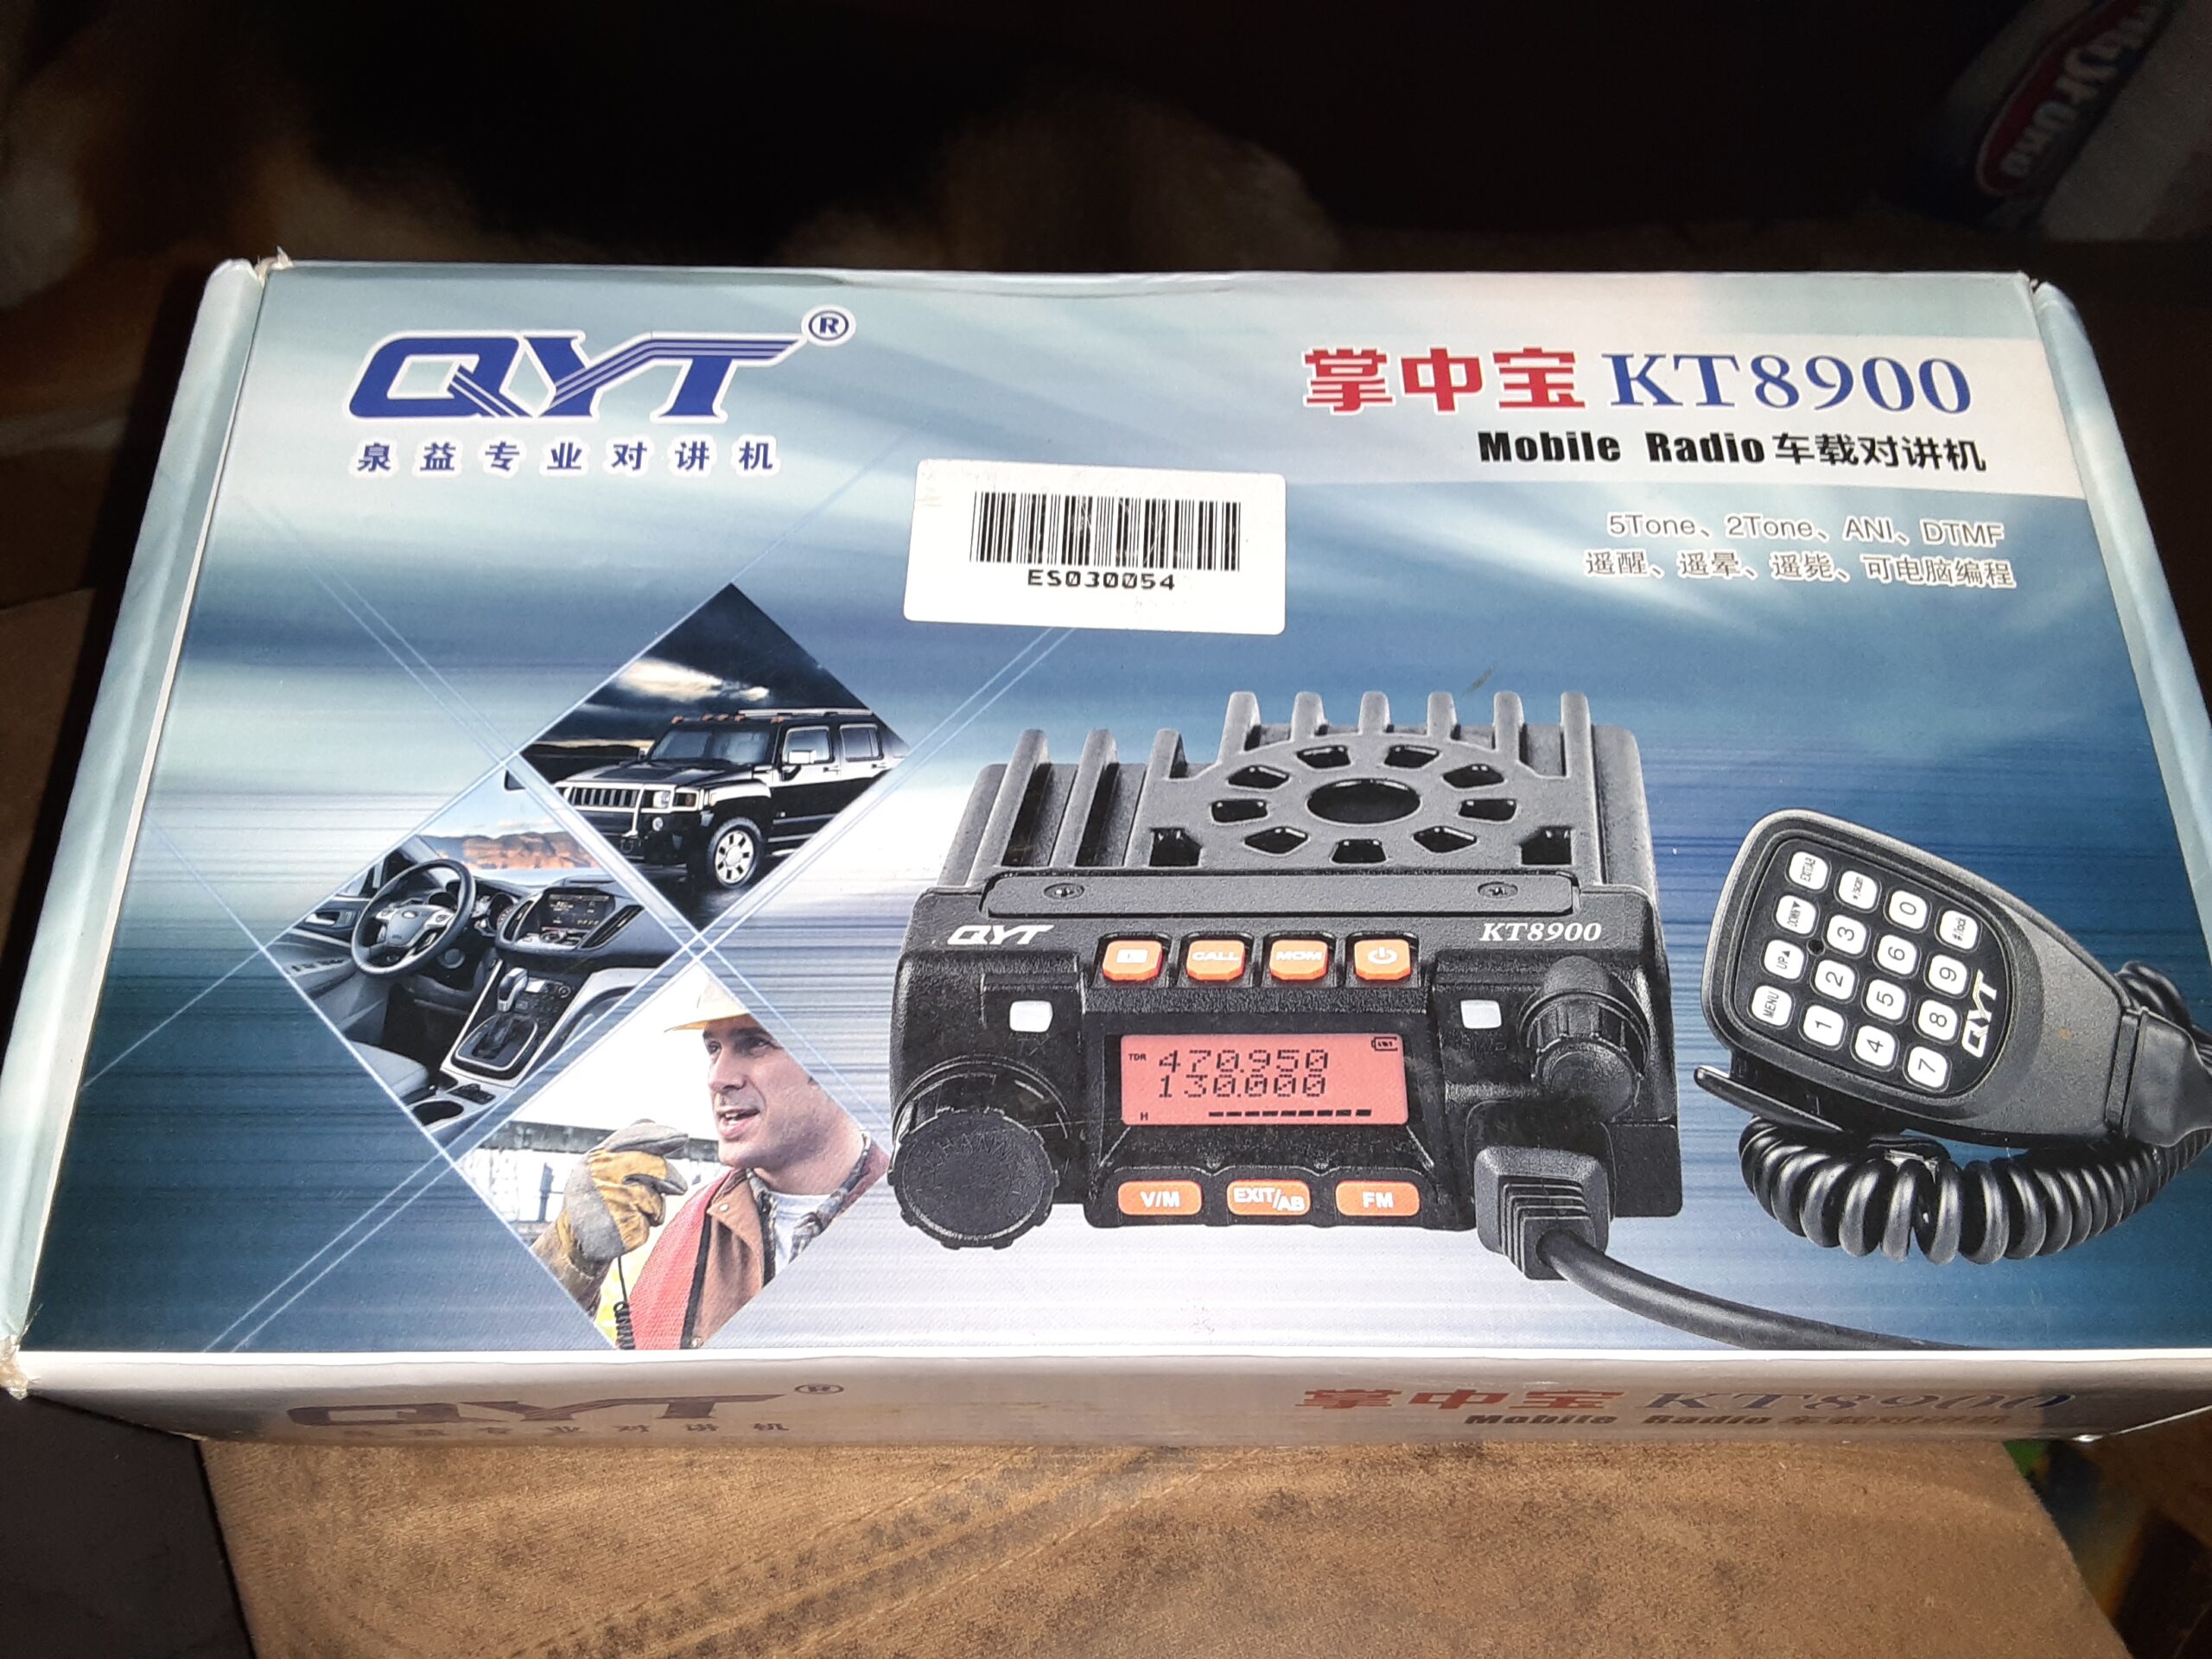
I chose a QYT KT-8900 dual band radio for this project as it is cheap, compact, and does not have a large power draw so it is perfect for a small quad battery. I know it doesn’t have the transmit audio quality that other higher priced radios do, but it has a very loud speaker and I won’t complain as much when it dies later from being in a wet environment. I have had three of these radios and the receive audio is very good and switching the microphone with a quality Kenwood mic really helps although you will lose the mic button functions. The antenna I chose is a NMO mount Larsen dual band with a spring base and 2.1 dB/4,0 dB gains on 2M and 70cm so it is a good quality antenna. This quad sees a lot of brush driving and tree limbs so a spring base is necessary or else we will be replacing bent antennas weekly. Having a good antenna is the key to making any radio work better and you are better off spending the extra money on a quality antenna.
I tested this setup with with the components I would be using just to make sure it would work as good as i wanted it to. My son is the ID voice on the repeater so I technically have two kids in the video even though one is only on the identification announcement.
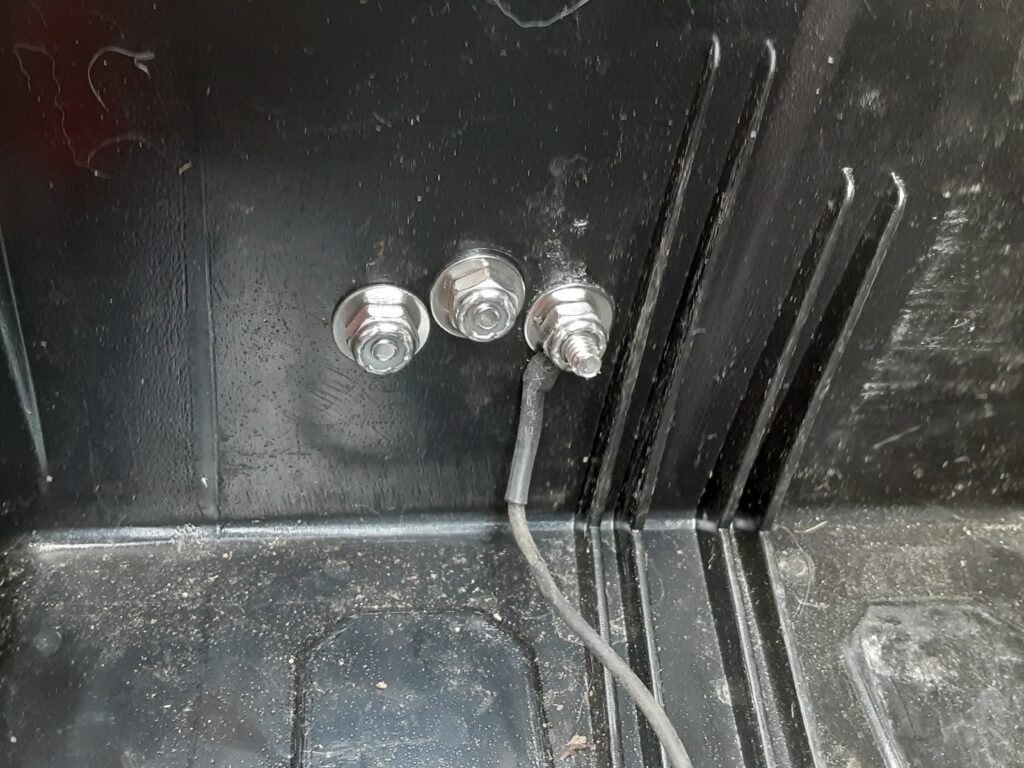
Finding a power source to wire the radio into was a challenge as all the quad wiring is in small areas and that are well protected so those of us with large hands will have fun with that. I removed the starter solenoid and relays so that I could remove the fuse box to access the wiring. I wanted a circuit that was controlled by the ignition so that the radio couldn’t accidently be left on and drain the battery and leave you stranded in a remote area without any cell service for miles in any direction. I opted to tap into the tail and brake light fuse wiring as it is ignition controlled and I swapped the light out for a LED bulb earlier to reduce power consumption as the battery charging system on quads do not produce much amperage. This also means that only the tail and brake light will quit working if the fuse blows out. After finding the right wire with a test light and double checking to make sure it was protected by the fuse, I cut the wire and soldered and shrink tubed a power supply wire into the circuit. I generally solder and shrink any outside electrical connections and this quad sees a lot of water and mud so the connections need to be 100% reliable and waterproof. The ground wire was attached to a bolt on the frame so it was simple.
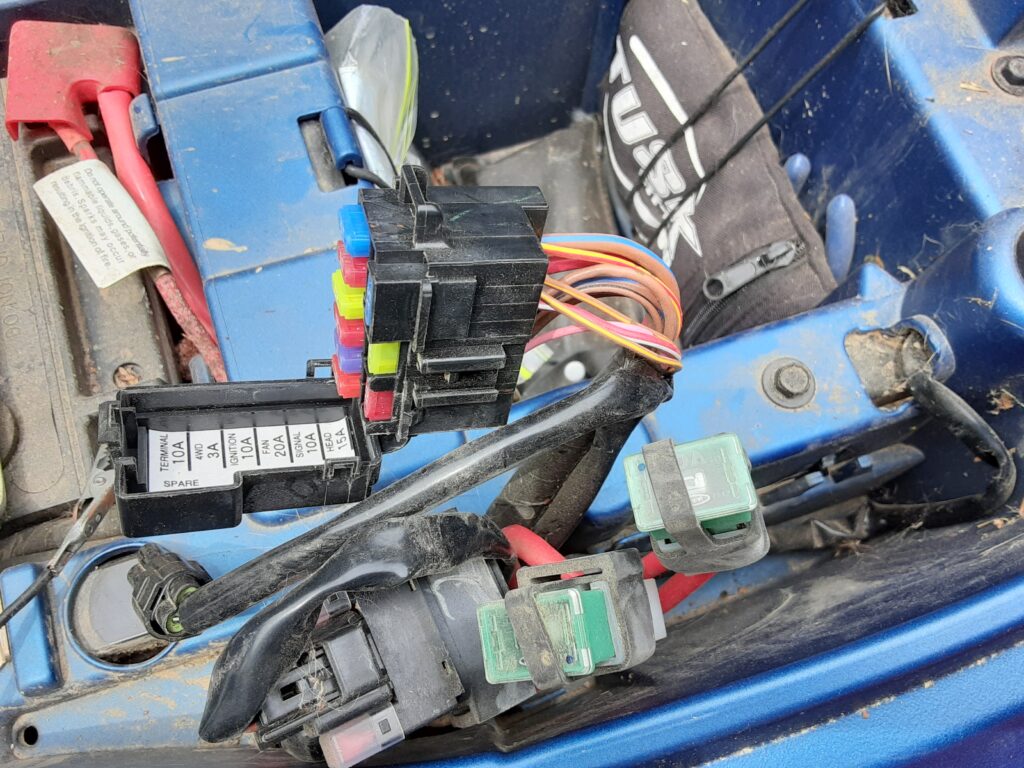
Tapping into factory wiring 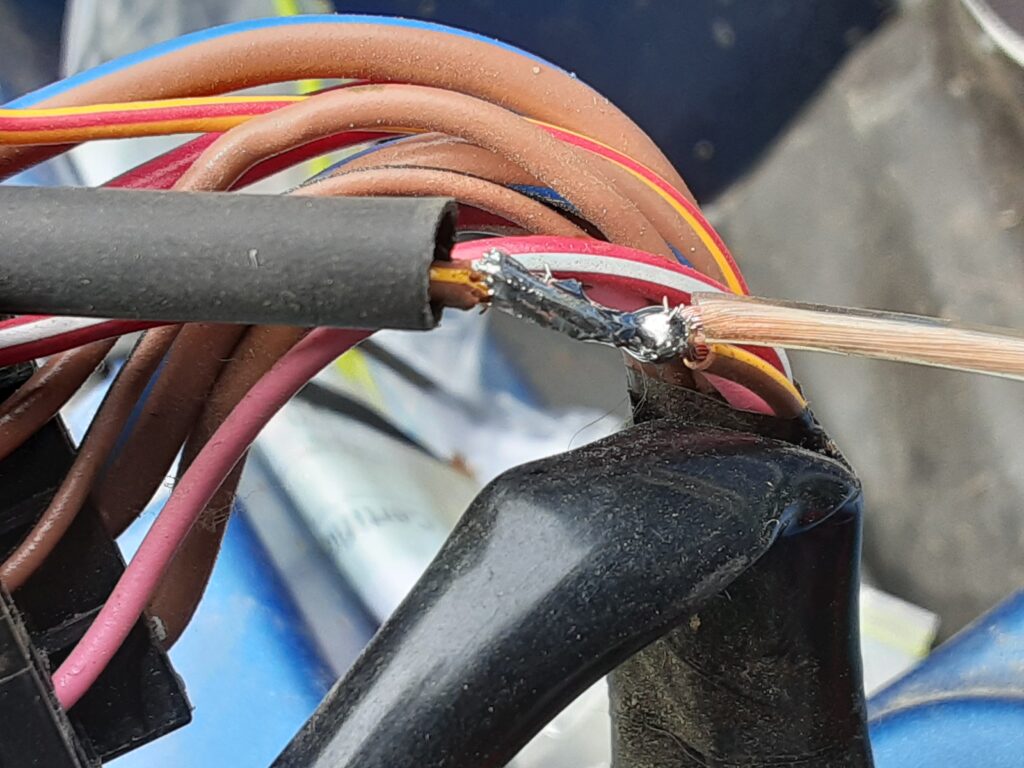
Solder and shrink tube 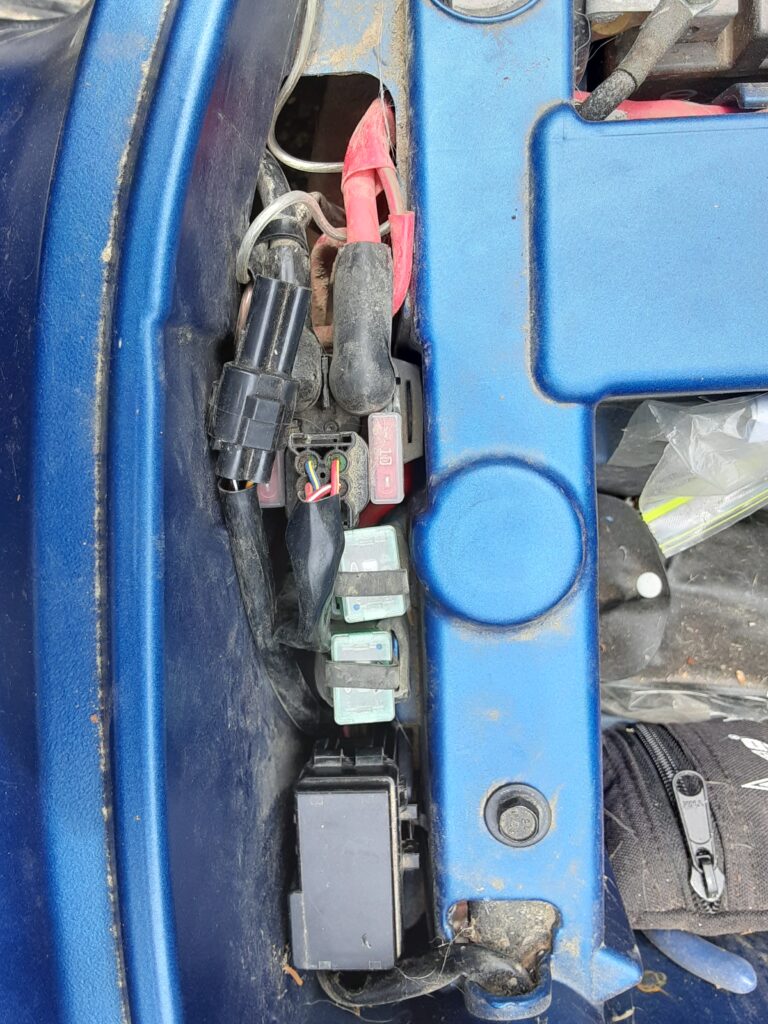
Finished wiring 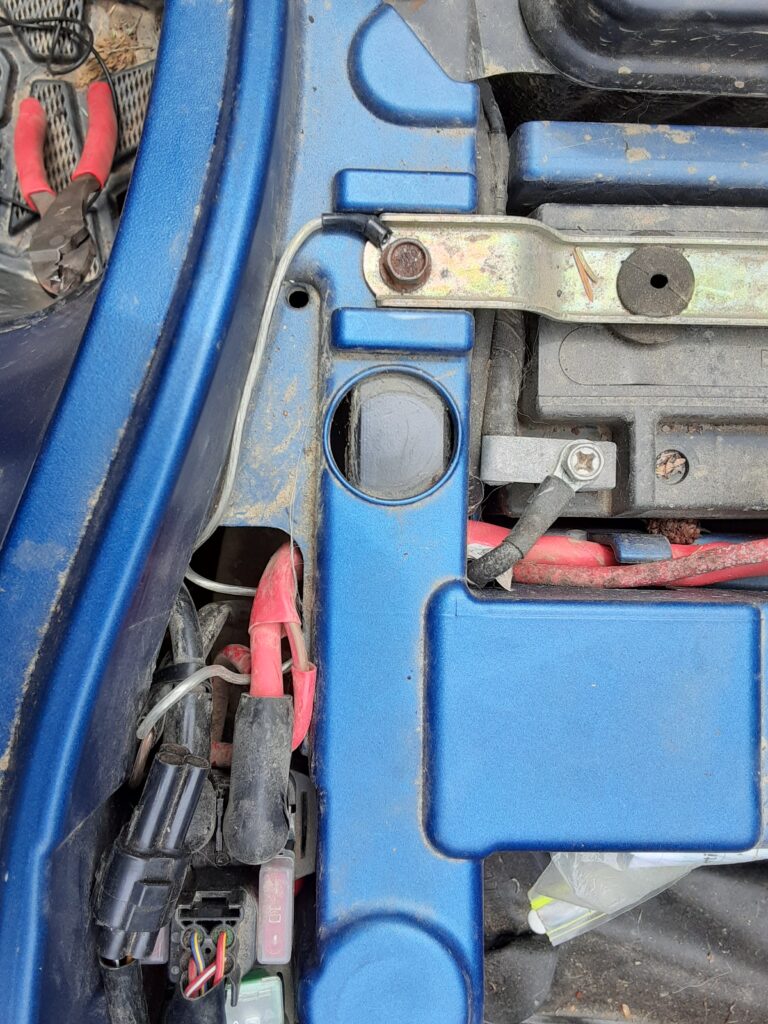
Ground wire
The wires were run through a shielding tube to protect them from rubbing through the insulation and shorting out the circuit as well as giving it a clean finished look. The tube was then zip-tied to the backside of the frame where the wires would be less like to be ripped off by a stick or brush while riding the trails or going cross country. The radio only draws a few amps so I was able to use a heavy gauge speaker wire to keep the installation color coded and simple, which was another advantage to this radio. A two-pole trailer connector was used at the end of this run of wire and I was able to run the connector through the rack mounting hole in the plastic body so that it could be zip-tied in place. This makes future storage box removal or replacement very simple because you only have one connector to worry about with no wires or anything to cut.

Wire shielding 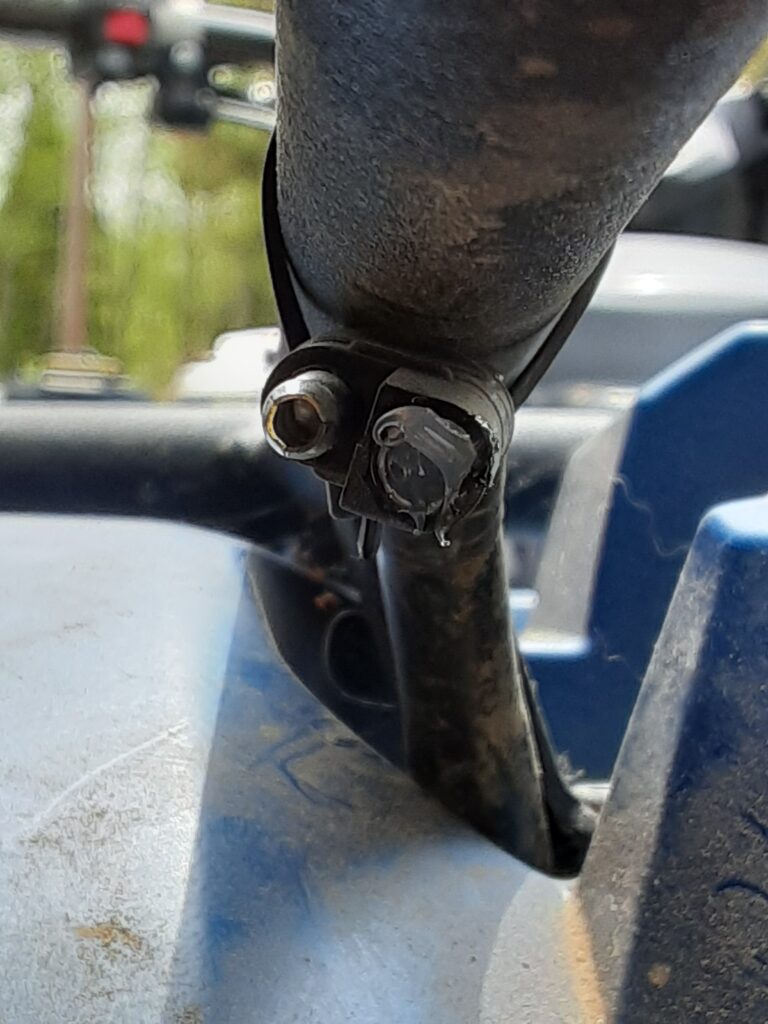
Connector for easy removal
I drilled a hole through the storage box to run the wires through and used a good quality silicone to keep water out. I switched out the QYT “T” connector for a 2-pole flat connector that handles the vibration better to cut down on future headaches. Even though the quad already has a cigarette lighter I decided to add an additional one inside the box so Jessica could keep her cell phone on a charger out of the weather and for charging anything else that doesn’t like to be out in the rain or snow. The radio 2-pole connector, cigarette lighter, and a grounding wire for the antenna bracket were all soldered and shrink tubed after double checking to make sure all the positive and negative wires were correct.
Once all the wiring was done, I mounted the stainless steel NMO mount on the box. I only use stainless steel screws and bolts for anything that is exposed to the elements so there won’t be any rust issues later. All the screws and the top and sides of the mount were covered with silicone to keep water out. Nylock nuts are a must for many of these installs because the rough rides will loosen any bolts that don’t have those or don’t have Loc-Tite. NMO antennas require a good ground to work properly so a ground wire was run to an inside bolt on the mounting plate. It’s not the optimal setup by any means, but again it is a quad and the goal was for the radio to work at least four times better than a handheld radio. Expect way less performance from this mount than you would a typical automotive mount just because the ground plane just isn’t there. This is fine for the occasional radio use, but you will fry your radio if you use it on a regular basis so be aware that infrequent short use is all it will hold up to.
Bracket grounding 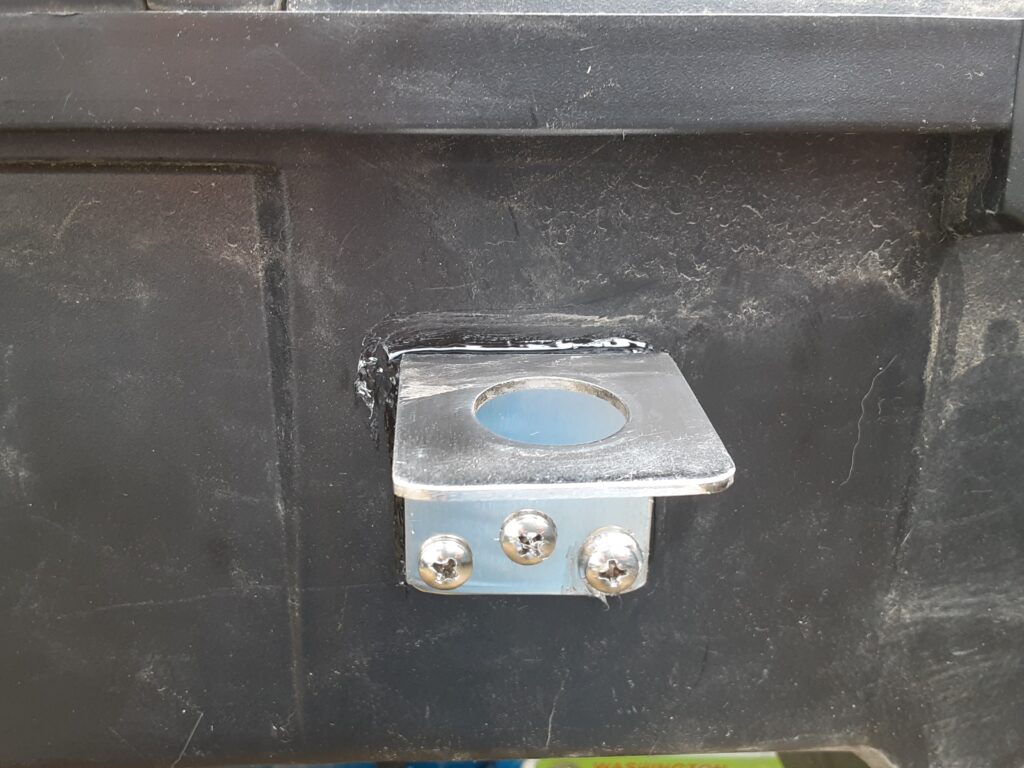
Stainless Steel NMO Mount
The radio mounting bracket was attached to the storage box gas can carrier and was mounted back far enough to protect it from rain when the lid was open. I used stainless security Torx screws for this because the quad is left alone in the woods on occasion and the screws on the side of the radio are extremely difficult to get to so this makes it more difficult to easily steal in one piece. The cigarette lighter was screwed to the bottom of the box outside of the rain spot too so USB adapters would be out of the rain. The microphone was mounted on inside back of the box as it needed to be kept reasonably dry. The radio won’t be used much, if at all, while she is riding so access wasn’t a concern. The QYT radio is loud enough to hear inside the box and with the motor running so the idea was that she could hear the radio and stop to answer it. We know that her response will be delayed and a some point we may add the Bluetooth microphone if monitoring the radio turns out to be difficult. The goal was to give her better communications when needed to check-in or to call for help is she gets stuck, has a flat tire, or some other problem.
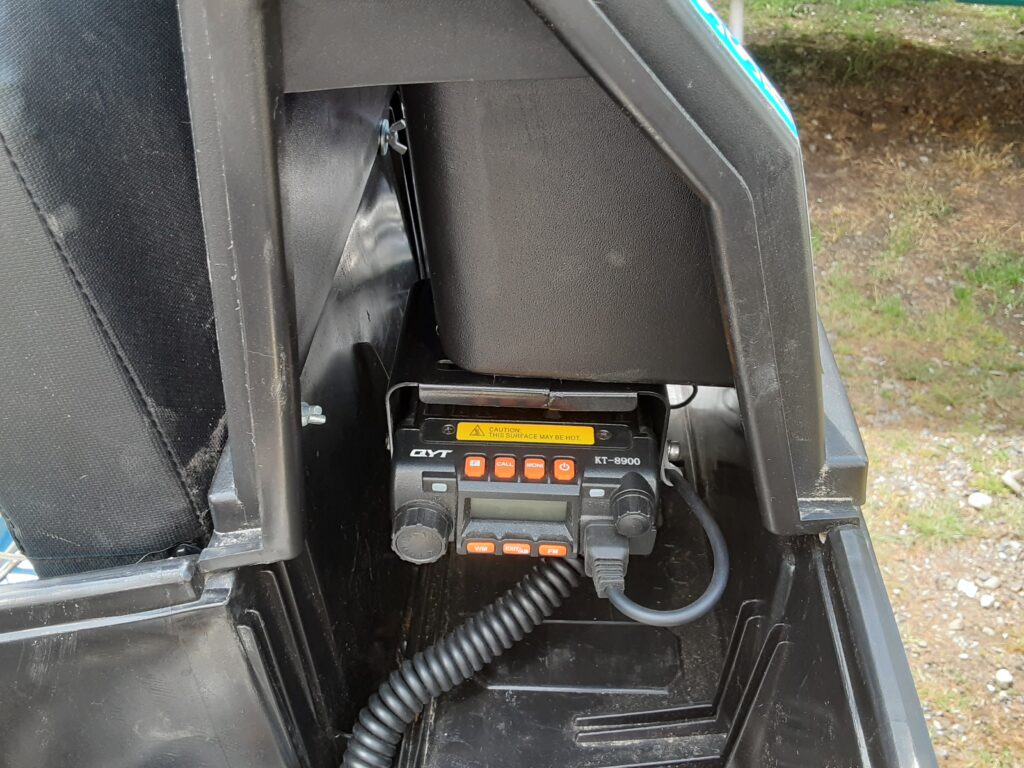
Radio mounting location 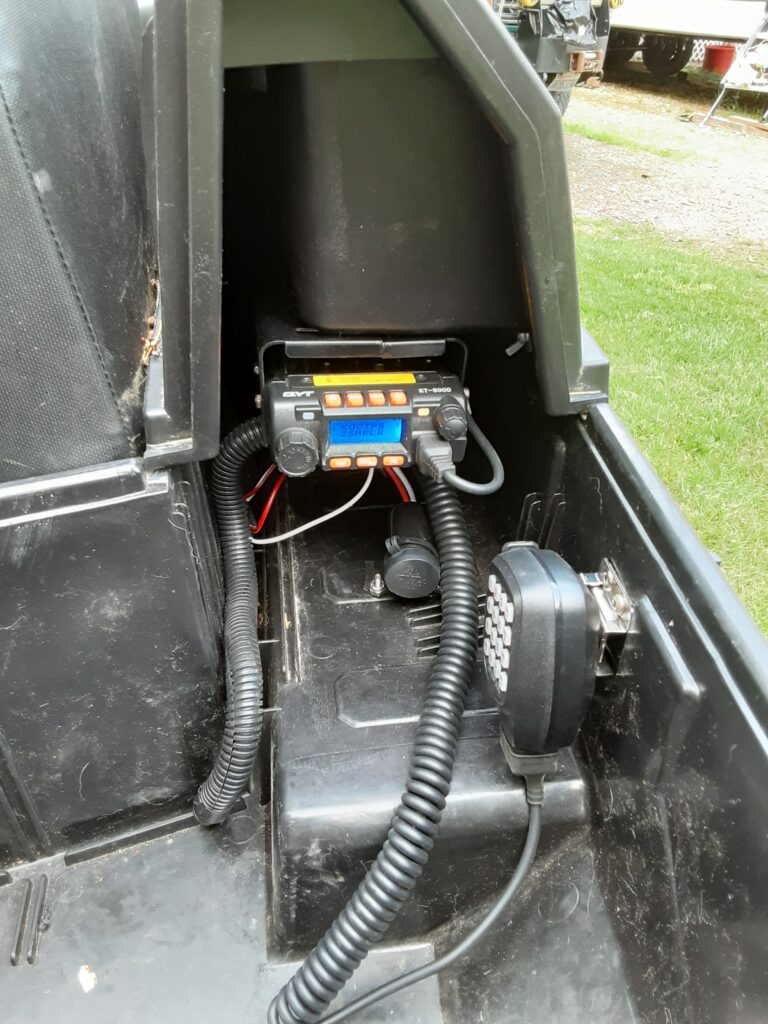
QYT KT8900 Mounting Location 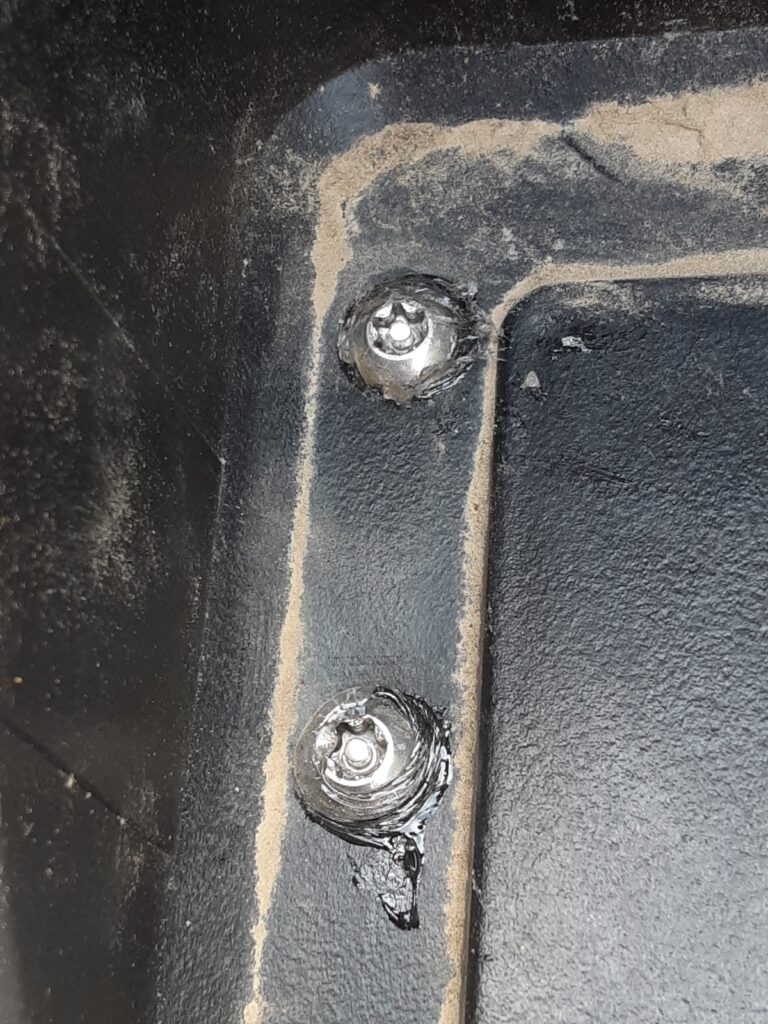
Outside Mounting Screws
I checked all the power connections and the antenna coax with a multi-meter again before putting the antenna on and powering everything up for testing. The radio turned on as soon as the ignition was turned on so it worked just like it was supposed to. We tested to radio and we could reach 2-meter repeaters 37, 52, and 68 miles away as the crow flies so everything was working as good as it could be considering. My signal getting into the more distant repeaters had tons of static in it, but people were able to decipher my voice through it so I would call the test very successful and even better than I had expected. An effective thirty-mile range was my primary goal and that was definitely surpassed by a long shot so I was tremendously happy with these tests. Again, this is on a quad so there is no simple way to get peak radio performance and still keep the quad usable in dense brush and woods so don’t set unrealistic goals if you decide to do a similar project yourself.
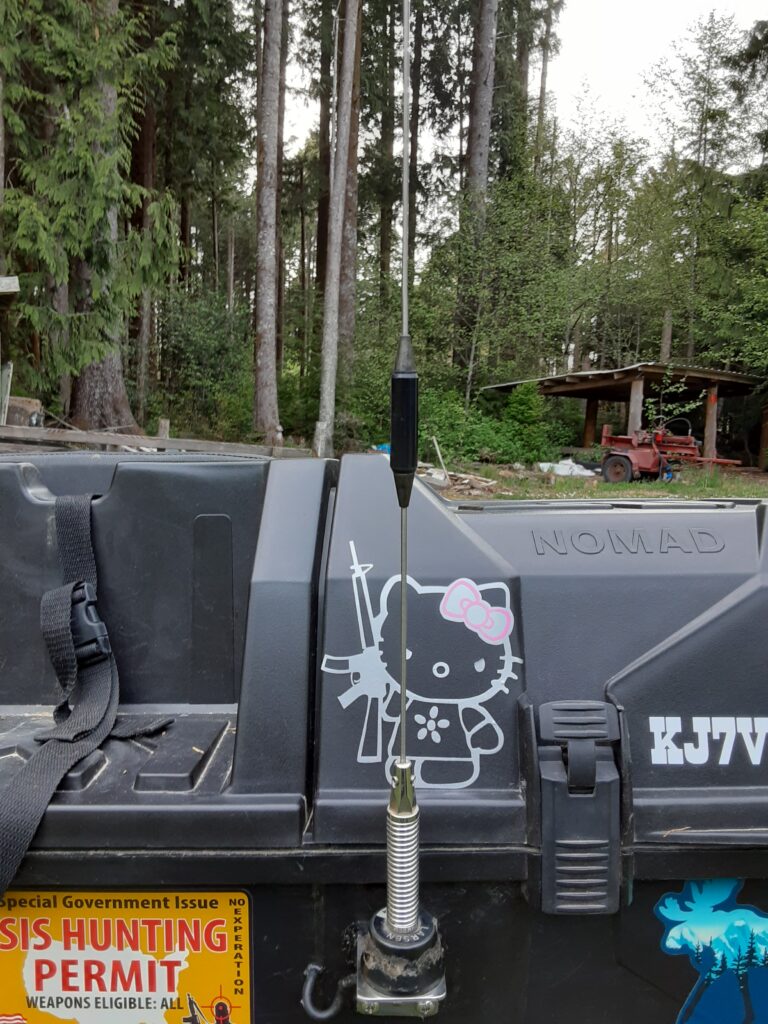
Larsen NMO antenna 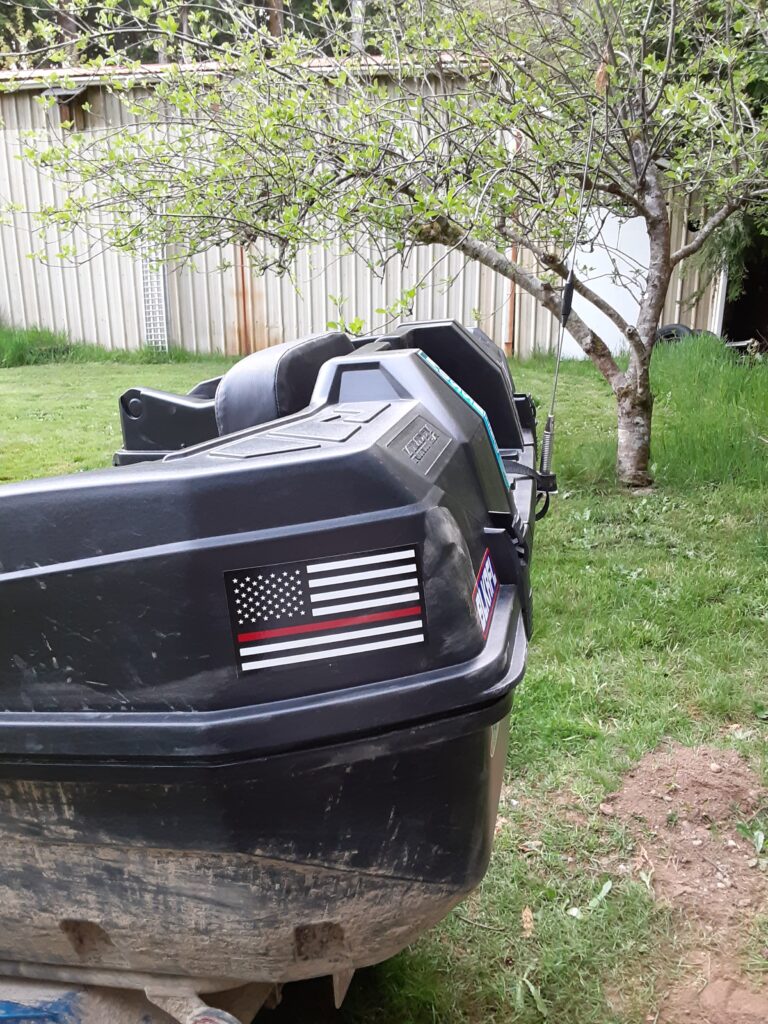
Antenna location 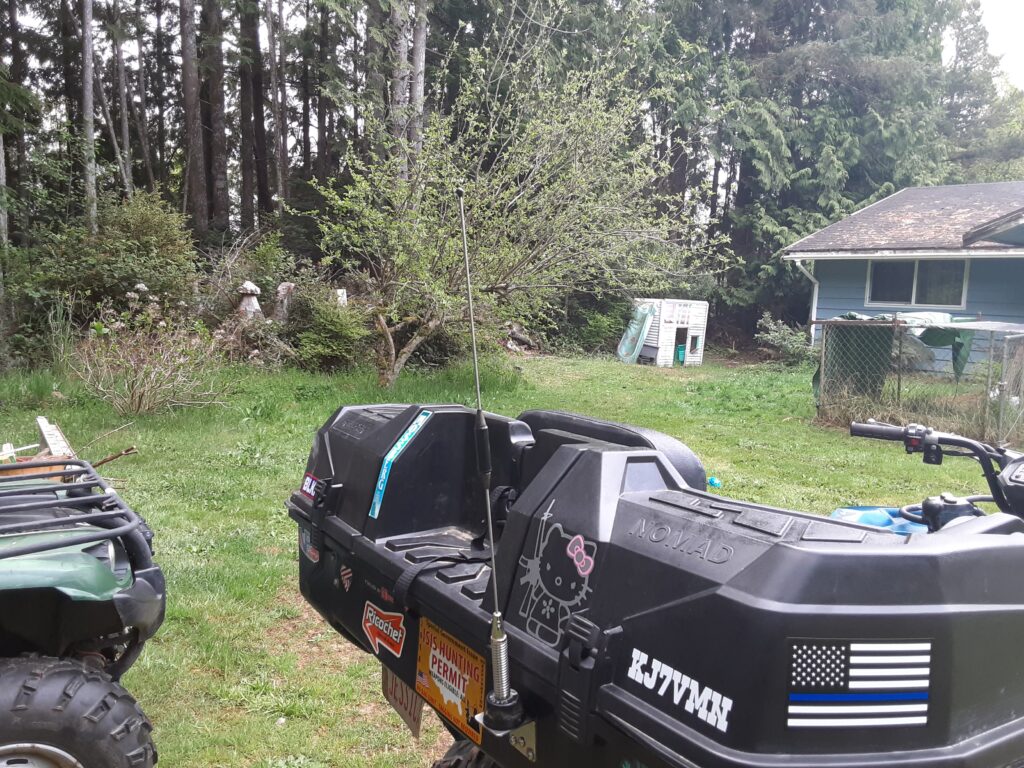
The Larsen 2M/70cm dual band antenna 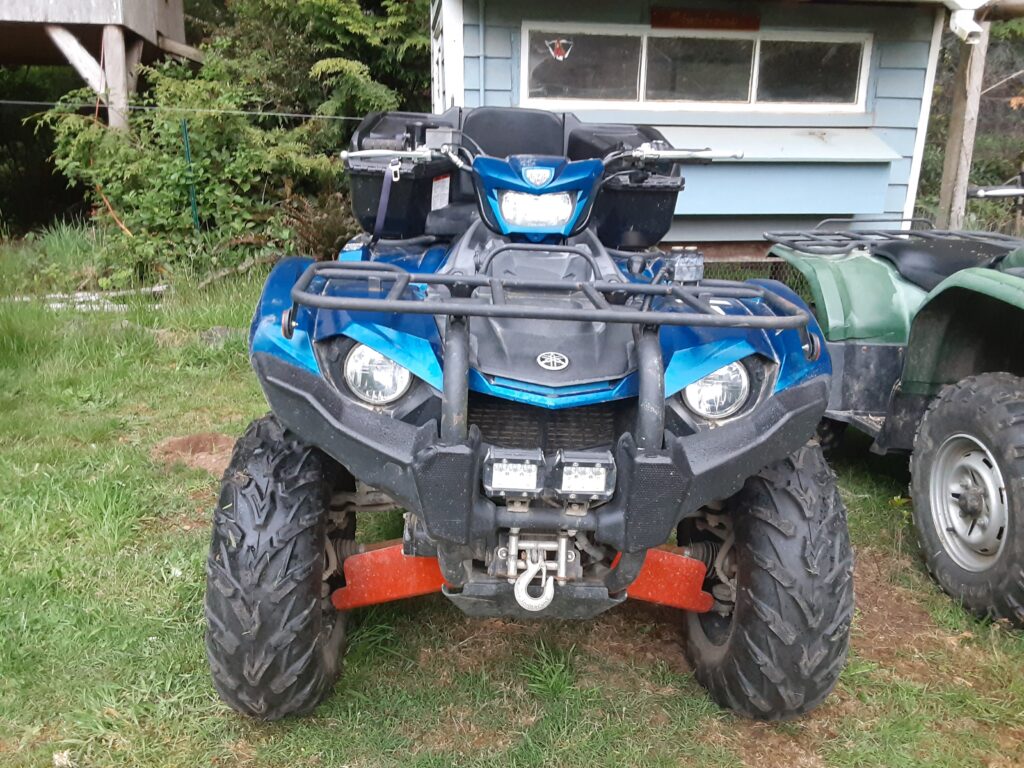
Jessica’s Quad
Great article on installing a mobile on an ATV. I’m in the design stages of doing the same to 2 ATV’s.
To improve your radio and antenna performance try creating a ground plane on you plastics using radials or metal tape and using good outdoor 50 Ohms coax. Get those right with a good 1/4 or 5/8 wave vertical for your frequency ranges and you’ll have much better performance. I’m thinking about trying a gooseneck antenna. Military has move to them for better performance and durability.
What I’m currently trying to figure out is a vibration damping mobile radio mount. Otherwise, vibration from riding will tear the radio apart eventually. Was originally thinking of using HT sets carried on body with a pigtail BNC connector. But mobile can get better performance if I can figure out a good isolating mount.
We tried several options for a ground plane, but it became too directional, so we scraped the idea ultimately. We plan on trying a different antenna in the future when this one starts having issues. So far the CDM1250 has been holding up good and the only problem has been corrosion on the mic plug, even with all the vibration on the trails over the past few years. We had a QYT8900 in out Gator originally and the vibration and weather started killing it, so Motorola is definitely the way to go. I had a Kenwood in my old patrol rig and it held up to vibration well too, not as good as the old Bat Wings though.