Refurbishing a Car Trailer
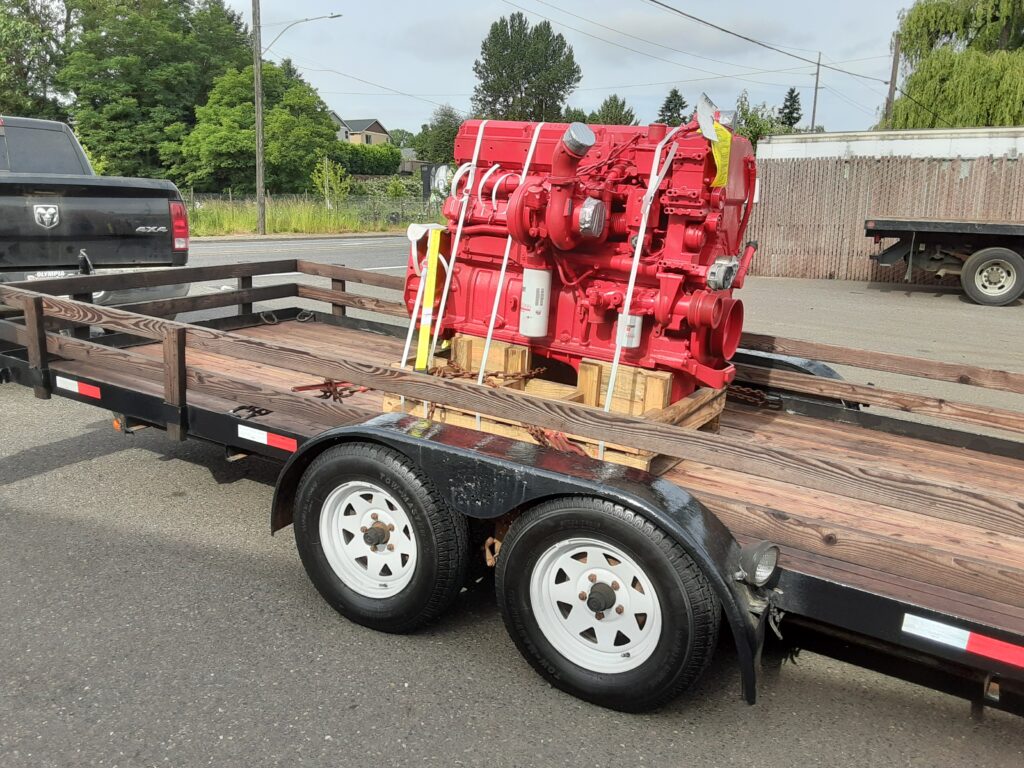
In 2004 I bought a brand-new car trailer to haul our quads and toys around. I selected a car hauling trailer over an ATV or UTV for following reasons when I made the purchase. Car trailers were slightly cheaper since they didn’t have an “ATV” in the name, the lengths were longer, the gross vehicle weight ratings were substantially higher, and it could be used to haul firewood or other heavy oversized items. Deck space and weight capacity were definitely the two top deciding factors. We only have wood heat so being able to bring home a three-cord load of firewood each time makes life way faster as you are done in four trips instead of twelve.
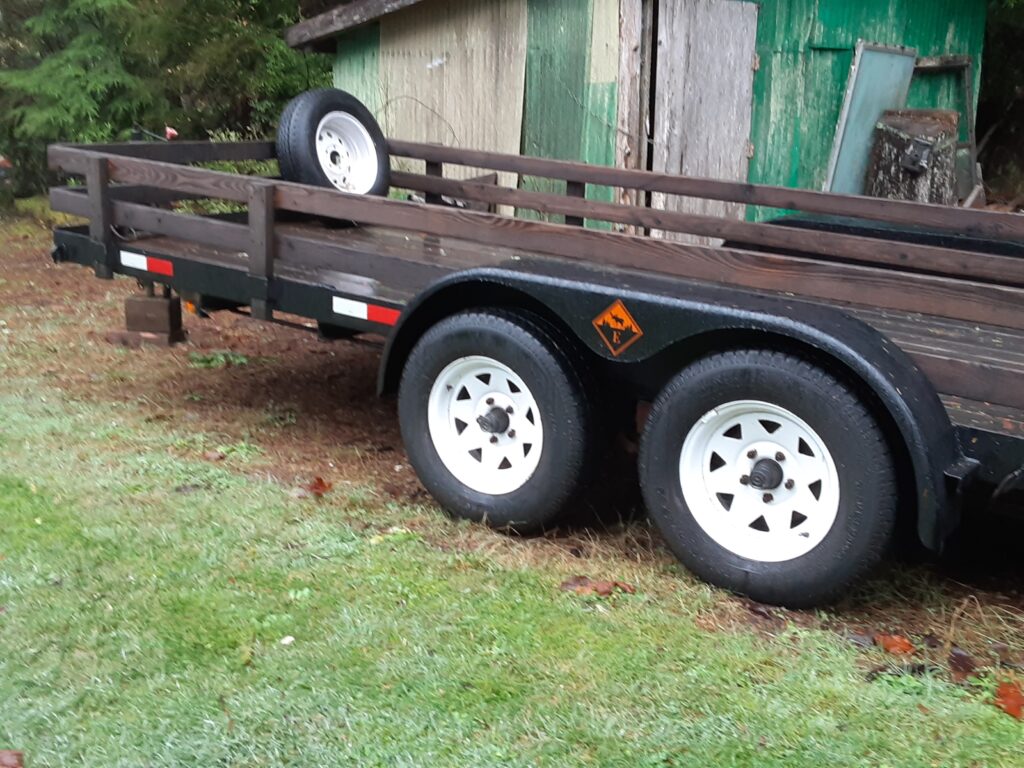
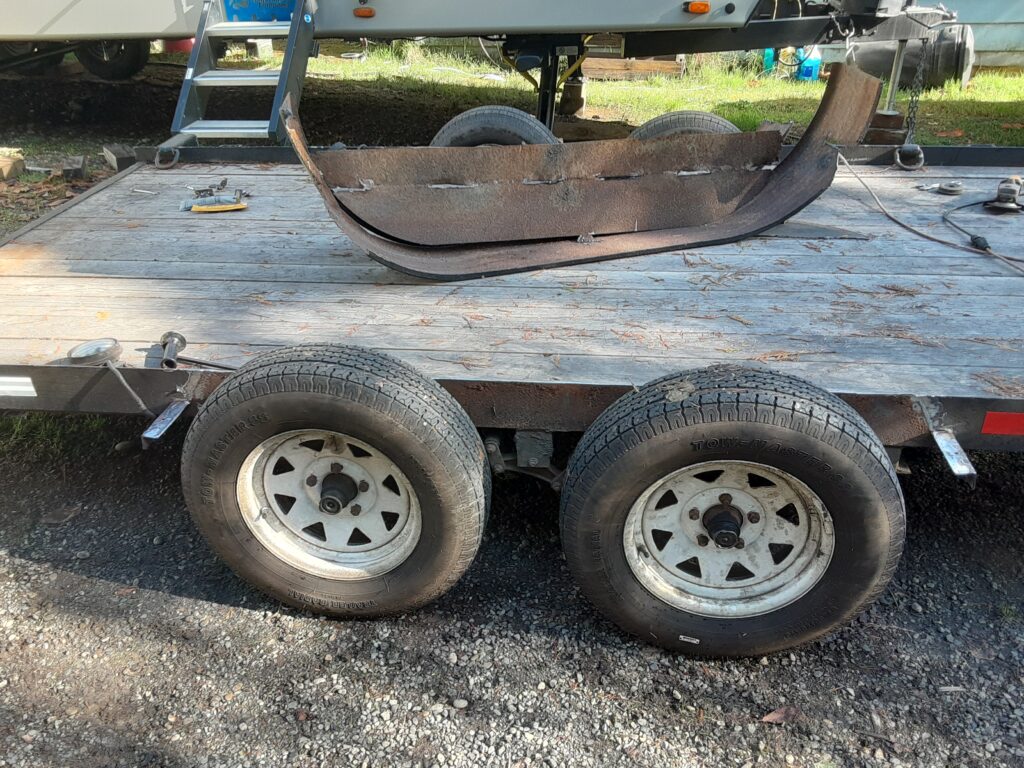
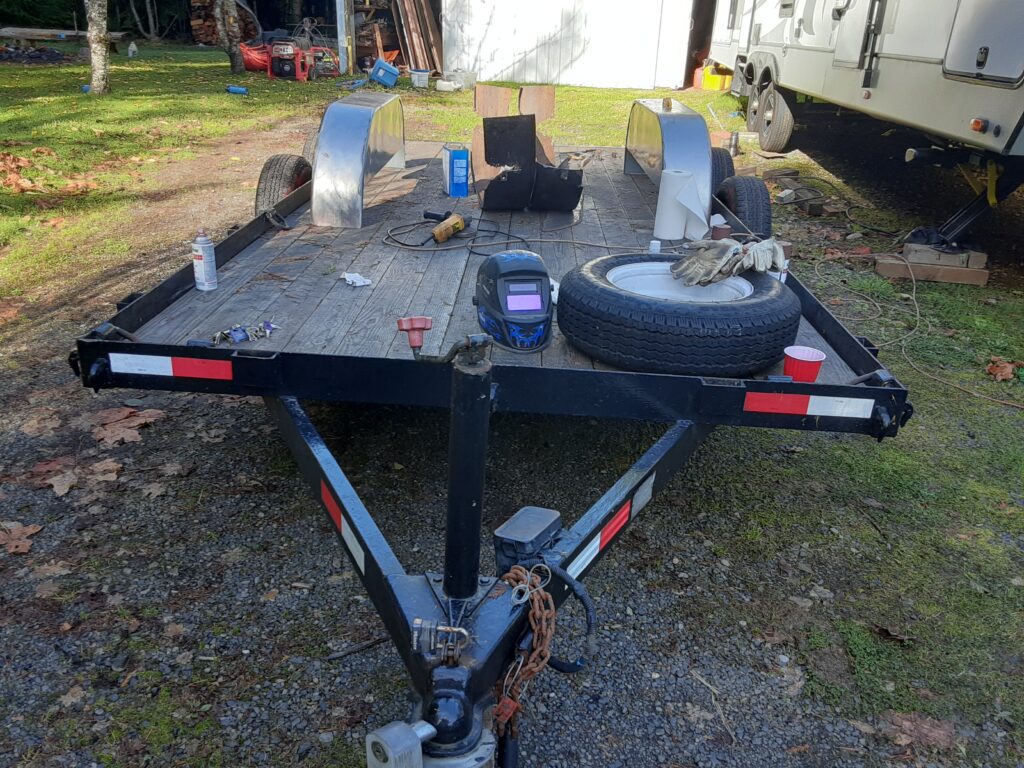
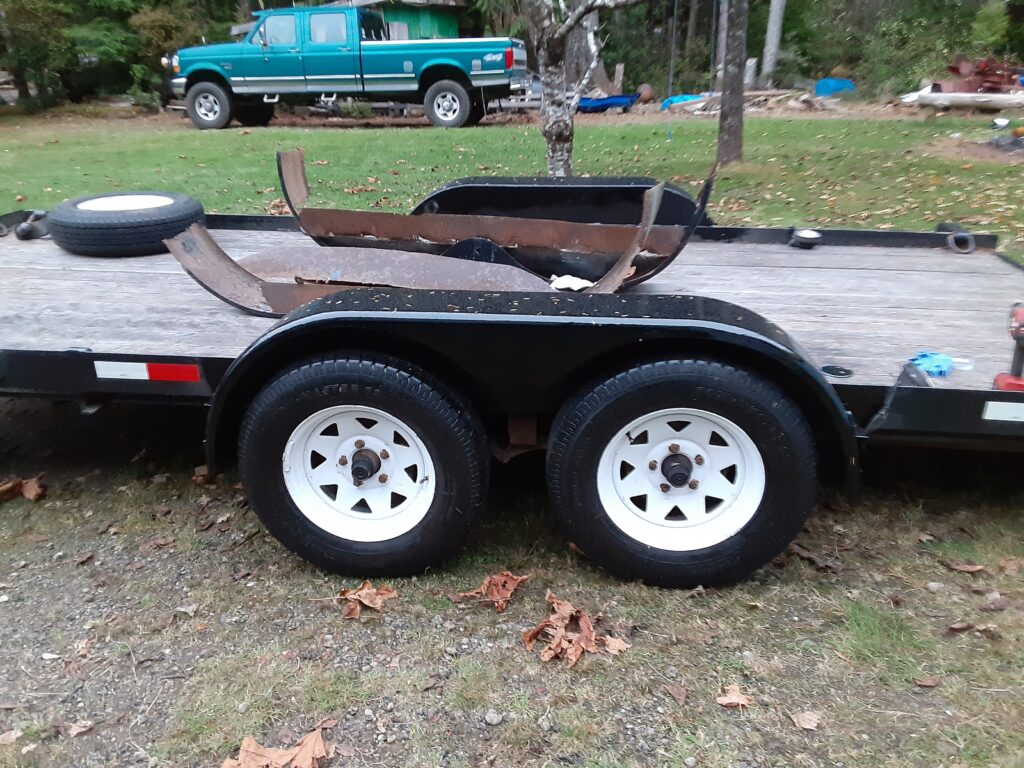
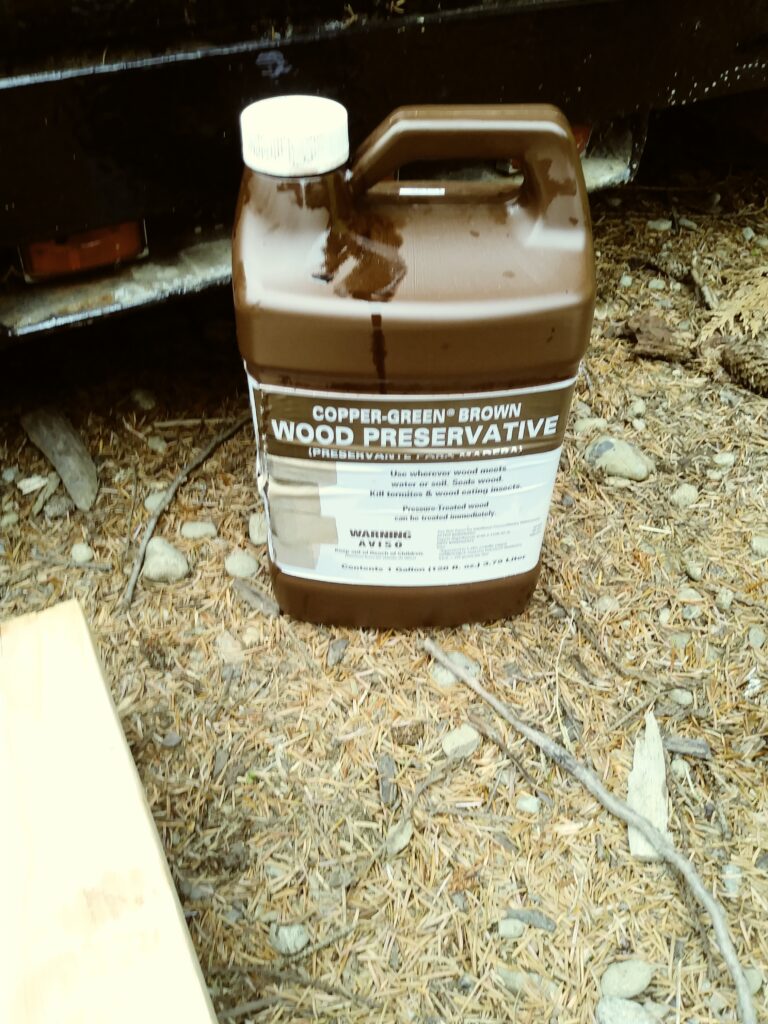
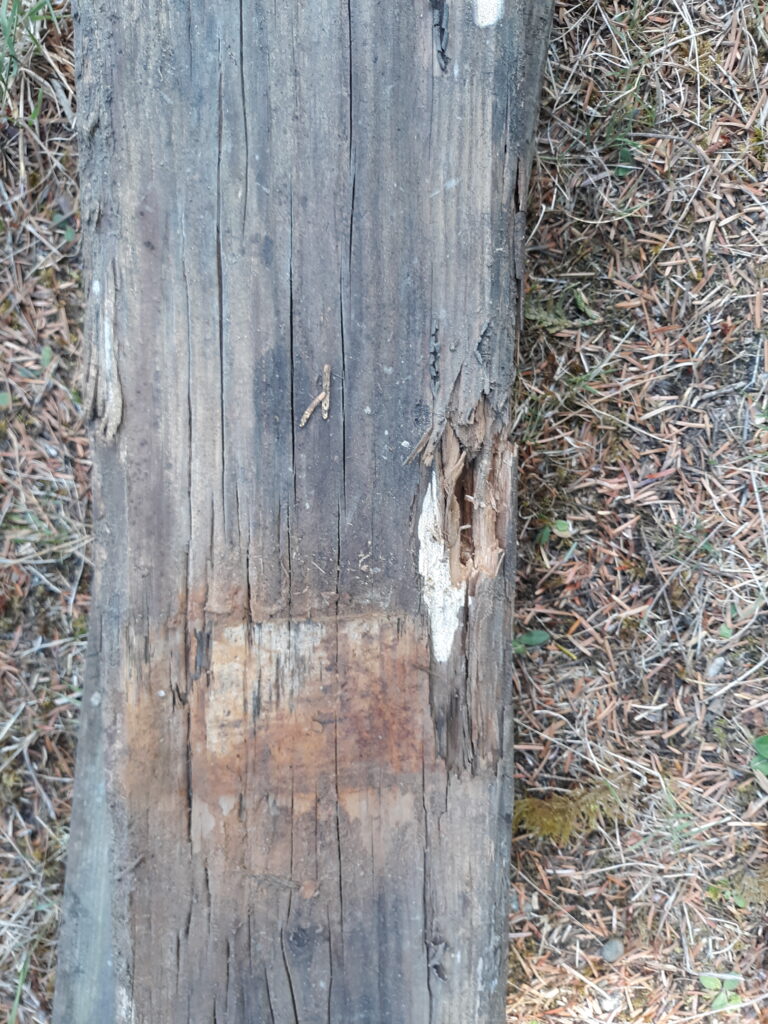
The trailer began showing signs of its age so it was time to refurbish it after seventeen years of hard use. The ends of the deck boards were rotten, the fenders had rusted through, and the paint was looking pretty bad too. It had been quickly repainted a few times over the years, but I just painted over everything instead of removing all the rust. I treated the deck boards when I got the trailer and retreated them over the years so that is the only reason they lasted as long as they did.
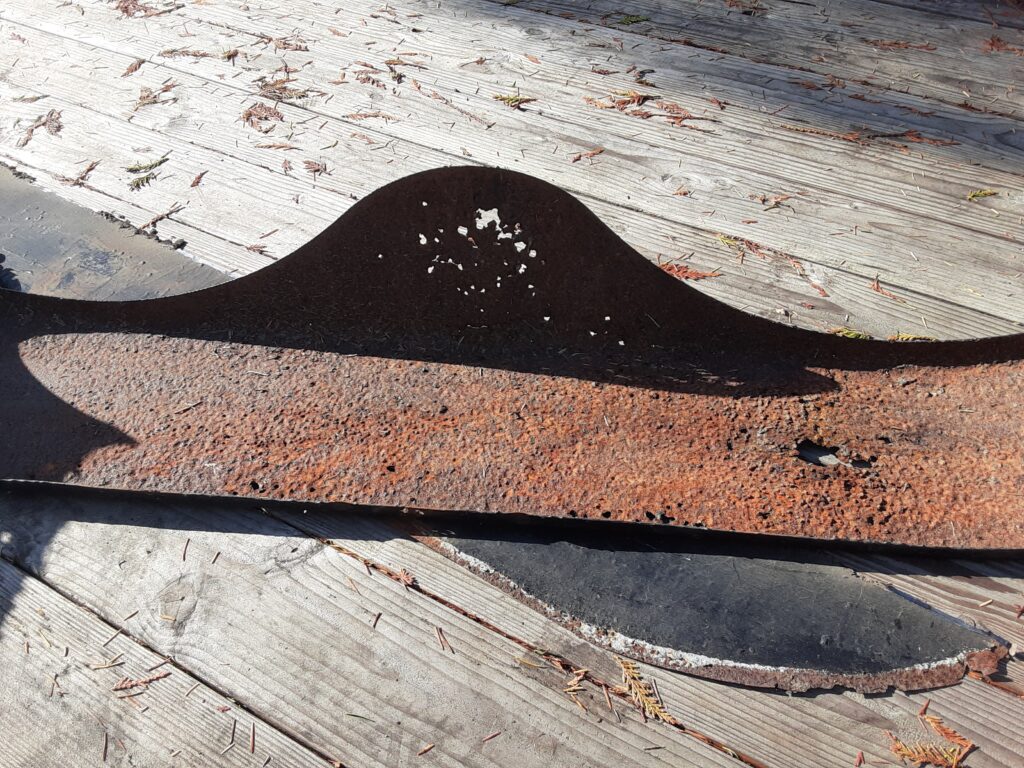
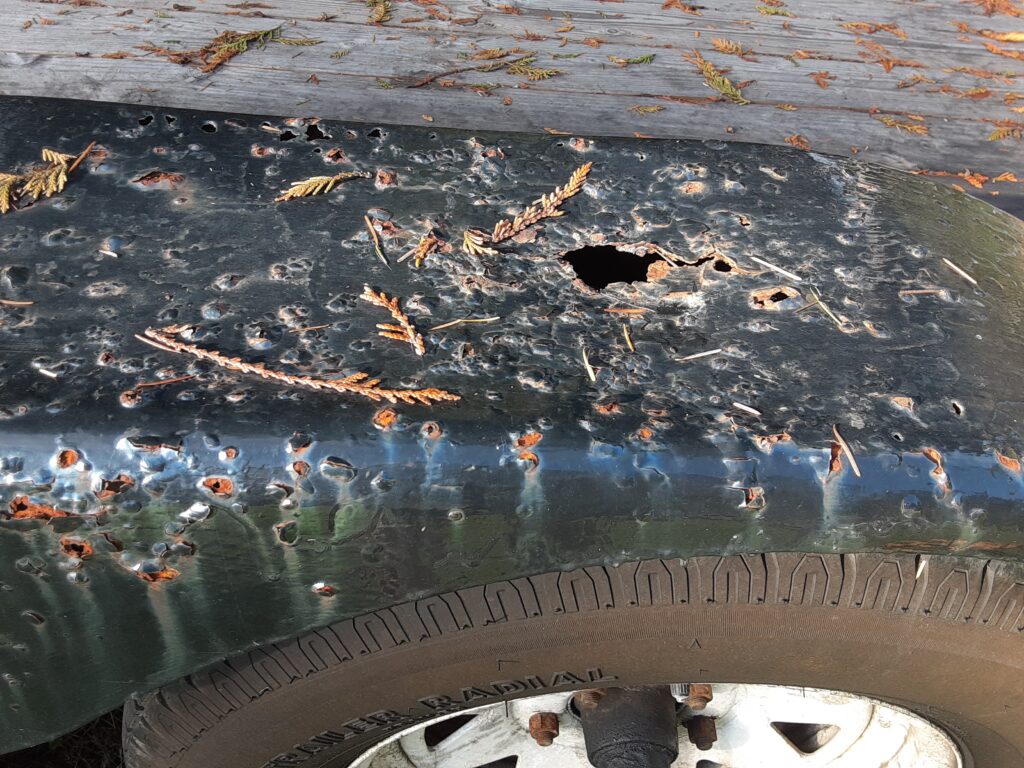
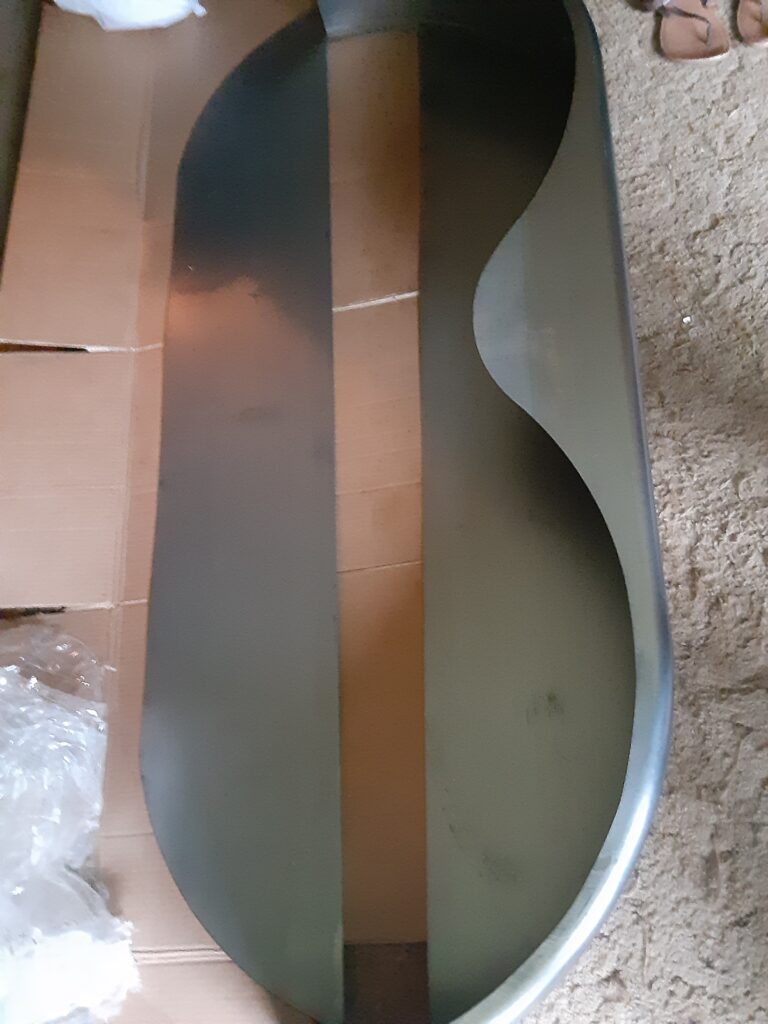
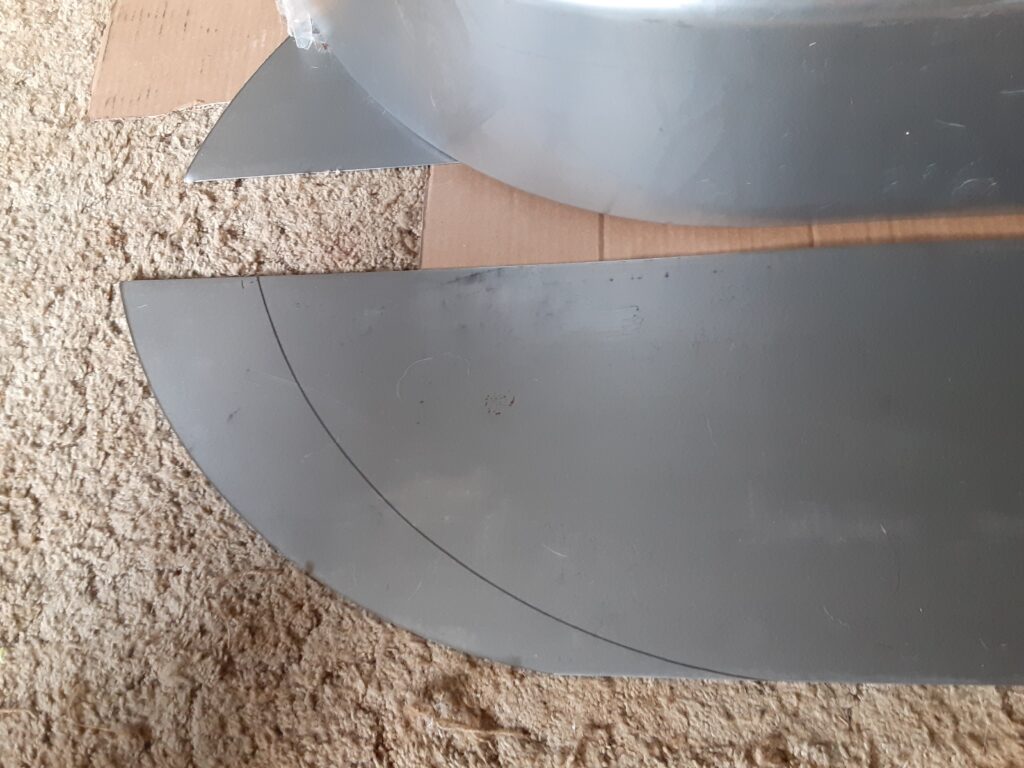
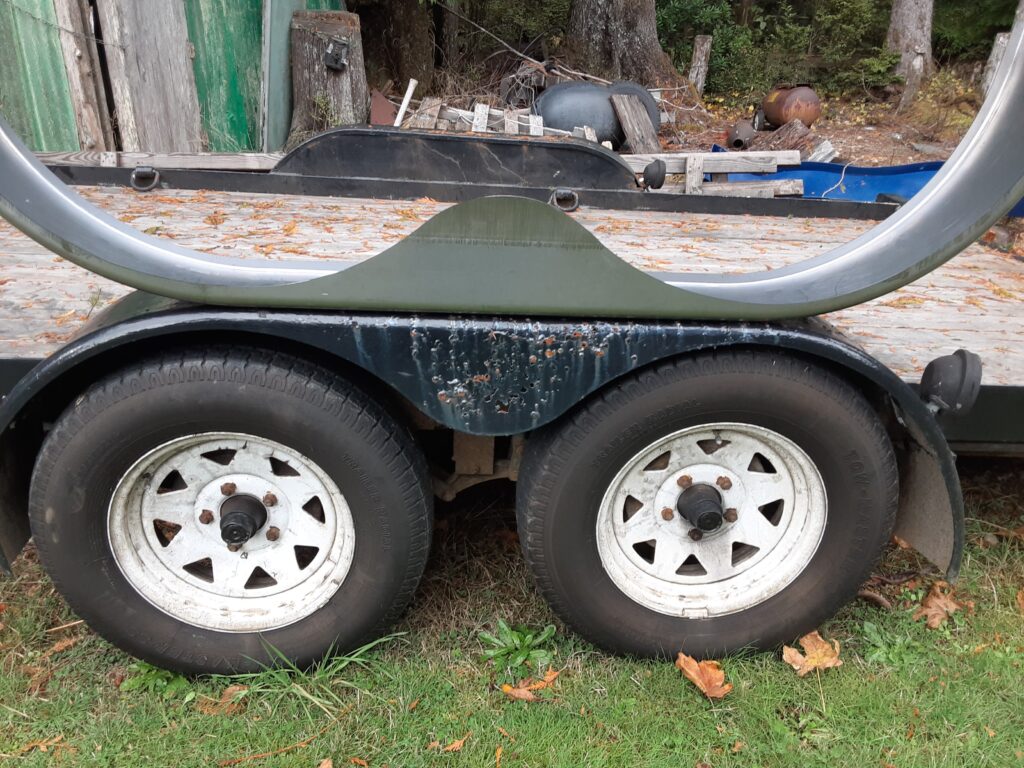
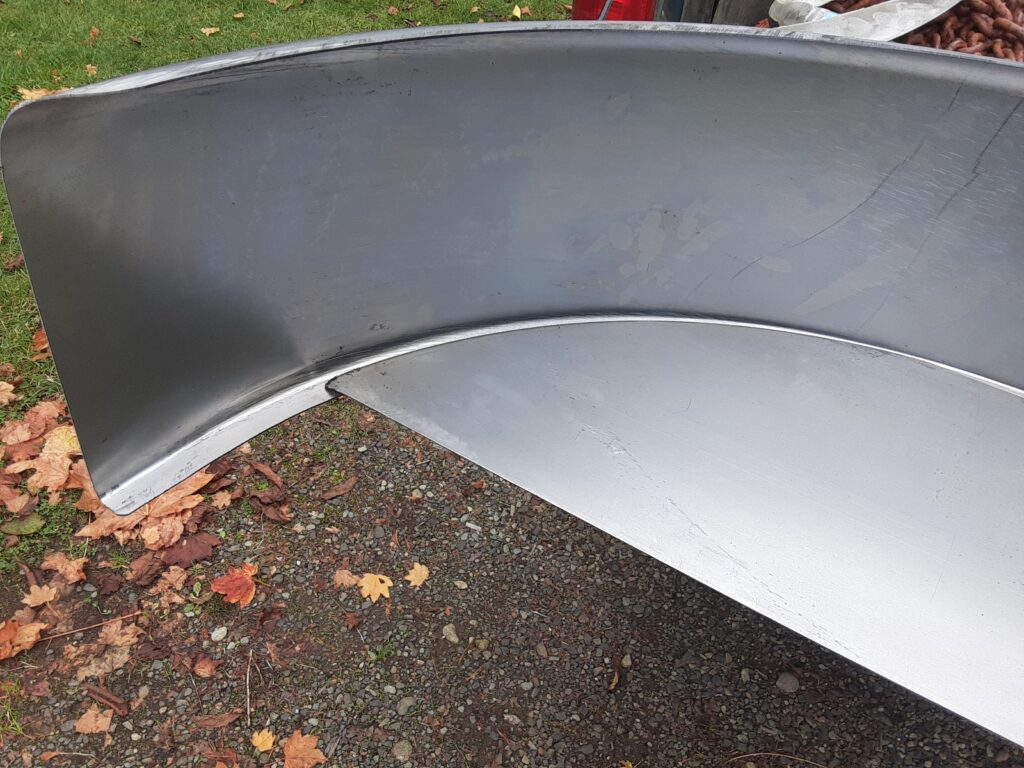
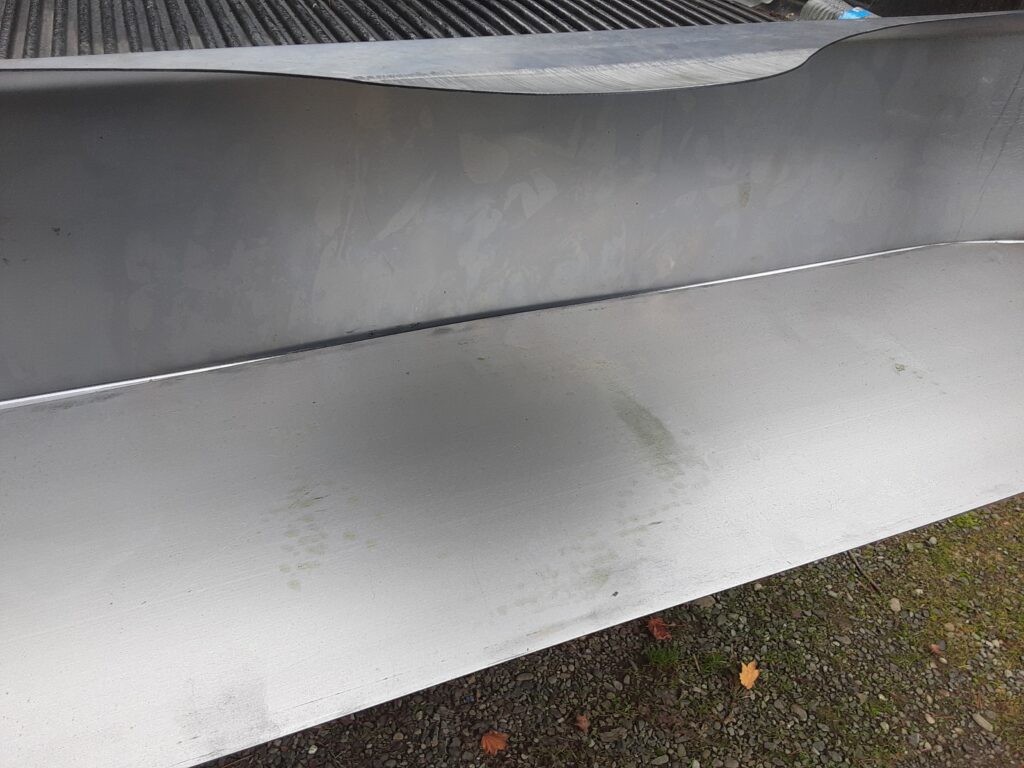
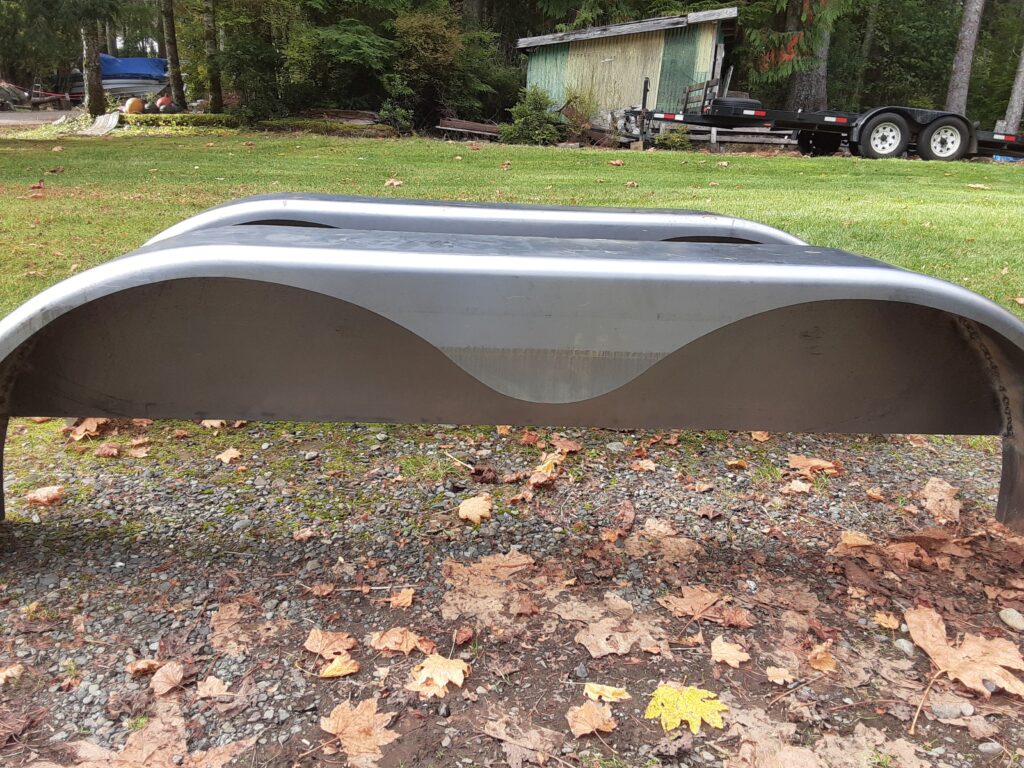
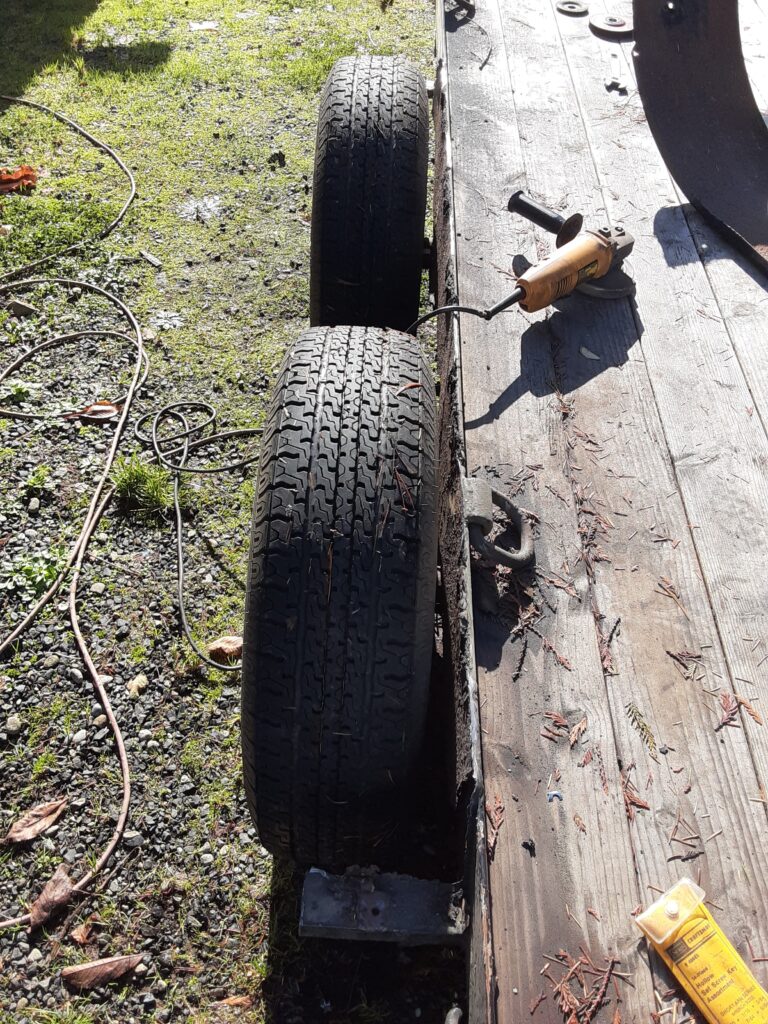
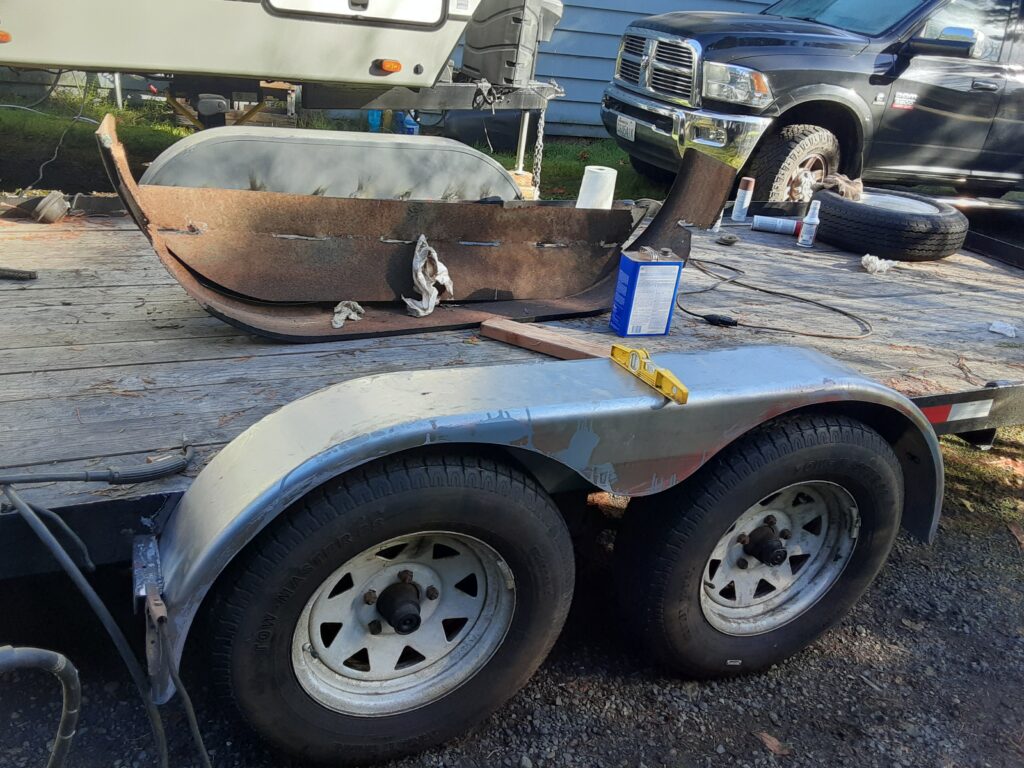
I ordered new fenders and inner fenders as there wasn’t much left to repair on the original ones. The correct size of inner fender was out of stock for the foreseeable future so ordered the next size up and trimmed both of those to fit the new fenders. I spot welded the inner fenders onto the fenders and gave the undersides two coats of primer and two coats of enamel finish paint. I knew that some of the paint would burn off later when I welded them on, but it was much easier to flip them over and put some good coats of paint on the underside to help stop rust later. The sections of burned paint would get repainted and a coat of automotive undercoating would later be added to help reduce rock chipping. Removing the old rusted out fenders and inner fender was not an easy process. It took a few hours and many grinding wheels to remove them. After making sure all the old sections had been ground off the new fenders were welded into place with some help from a friend who held them in place until I could put a tack weld on them. I used a magnetic level to make sure the new ones stayed level and parallel with the trailer bed.
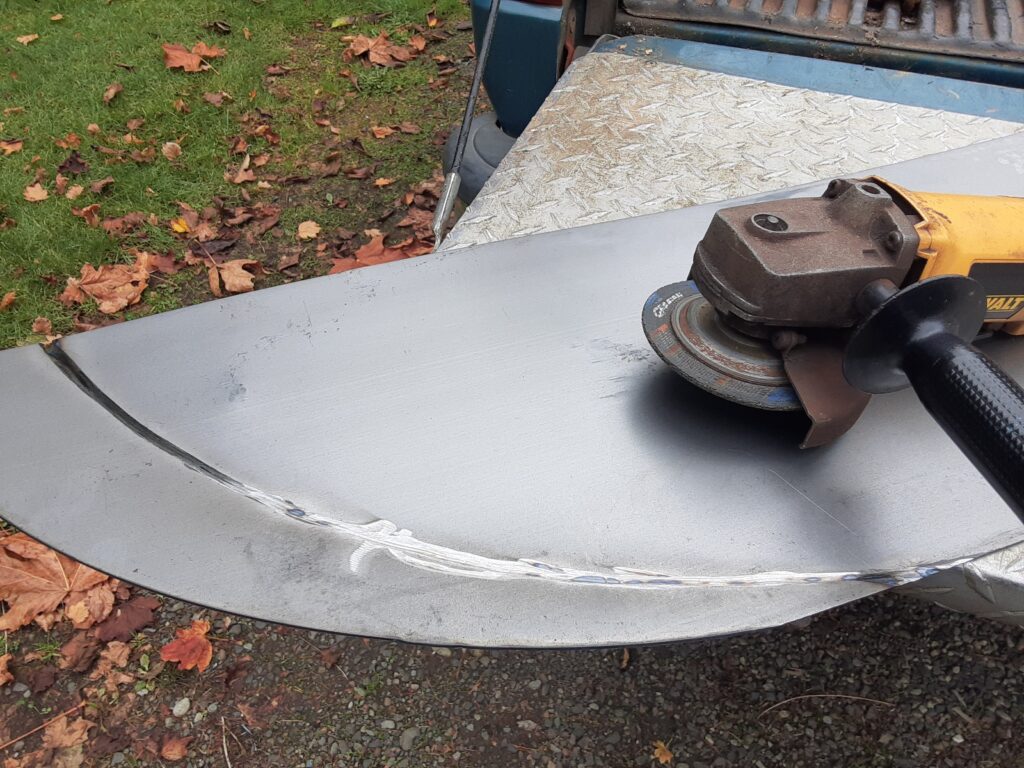

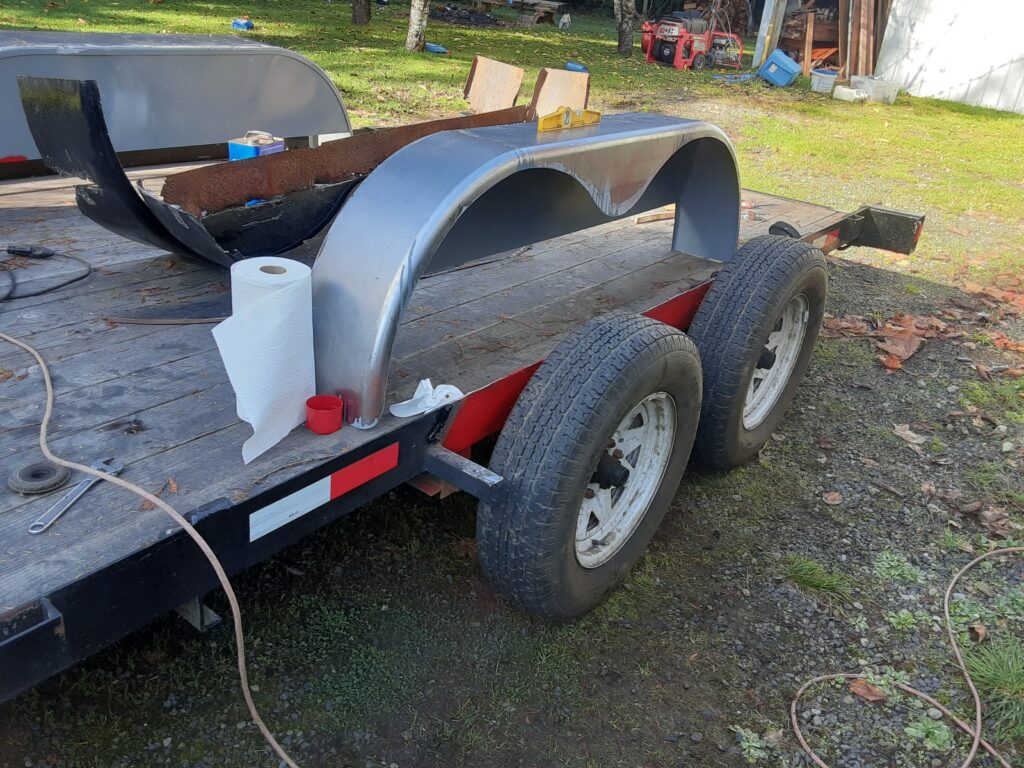
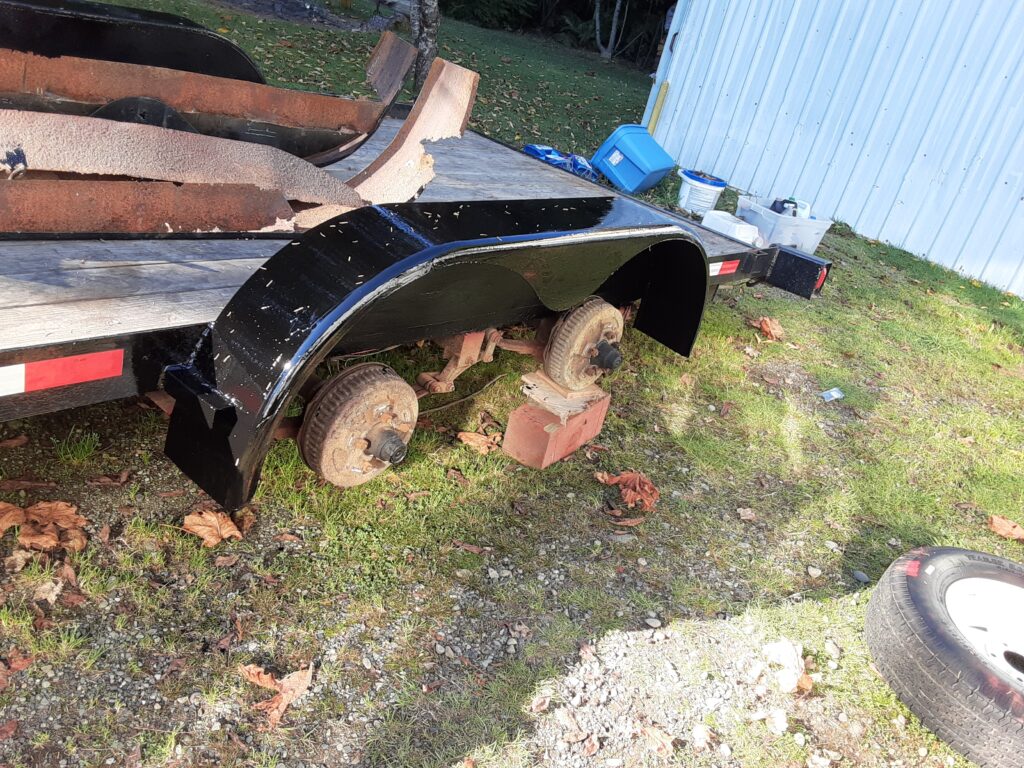

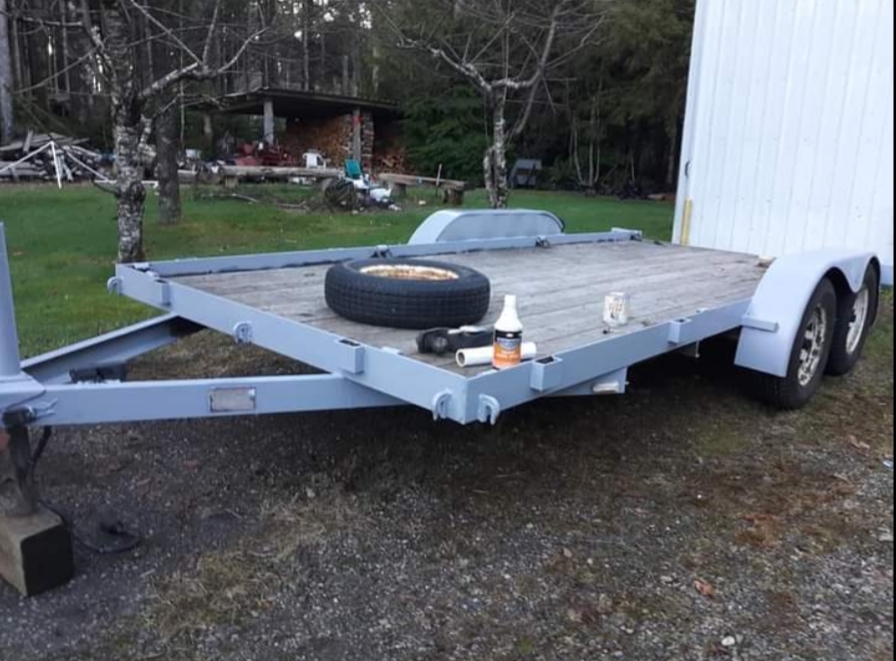
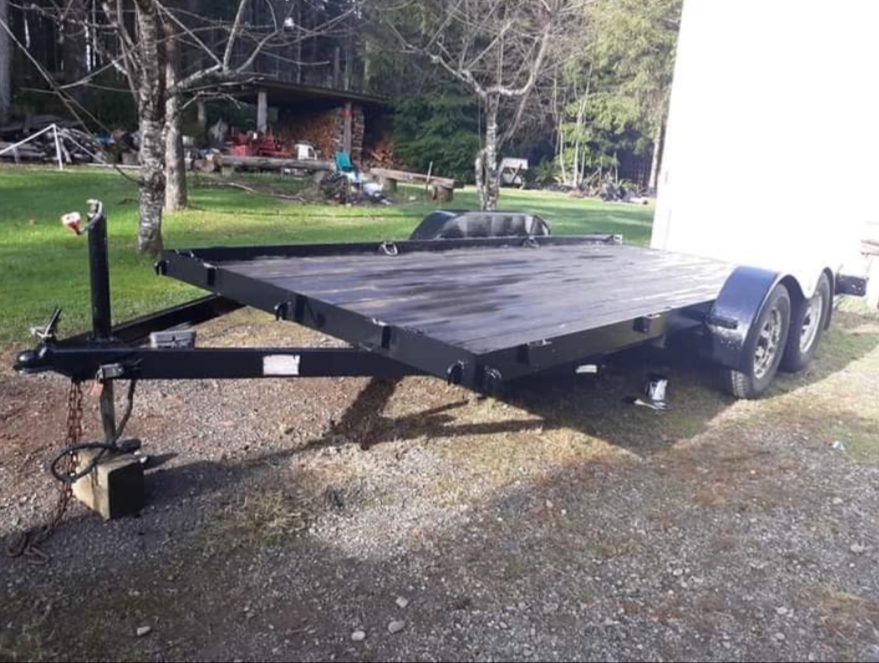
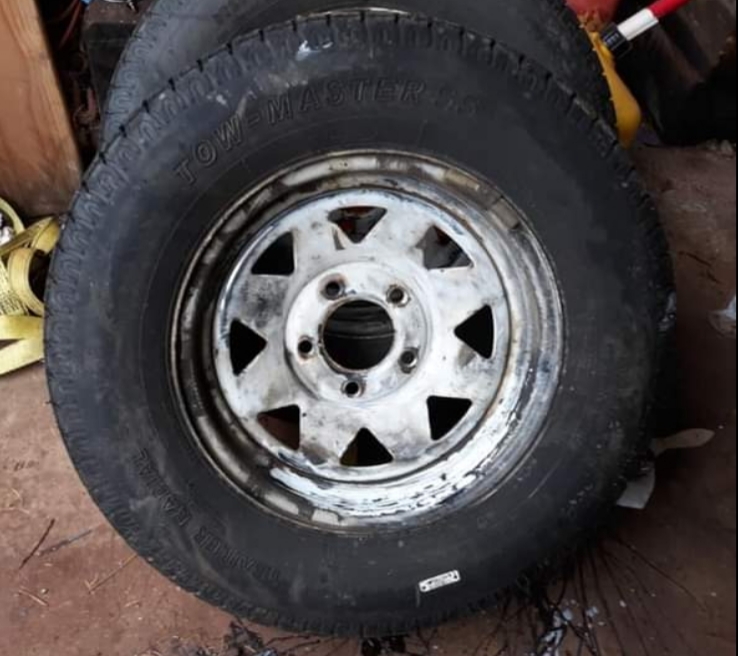
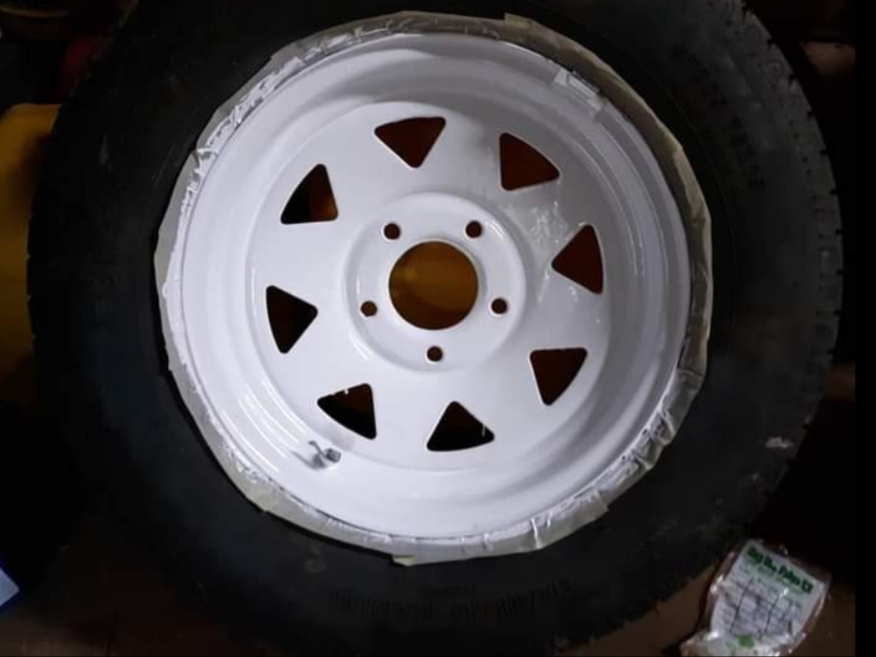
The paint job was fairly straightforward luckily. After pressure washing it, I used an angle grinder with a wire wheel attachment to remove all the rust. Once I reached bare metal, I treated all the rusted spots with a rust neutralizing compound to kill any microscopic rust to prevent it from later rusting through the paint. Our trailer takes a beating on logging roads so spray paint will not stand up to those conditions very long so we used an enamel paint and primer. I used two coats of enamel primer and followed those with two finish coats of enamel paint. It takes a few days to get this done as it dries slowly. It takes a long time to full cure with that many coats too so expect a month or more before it fully cures. DOT tape was added after it dried for several days. All four trailer wheels and the spare received the same treatment and paint.
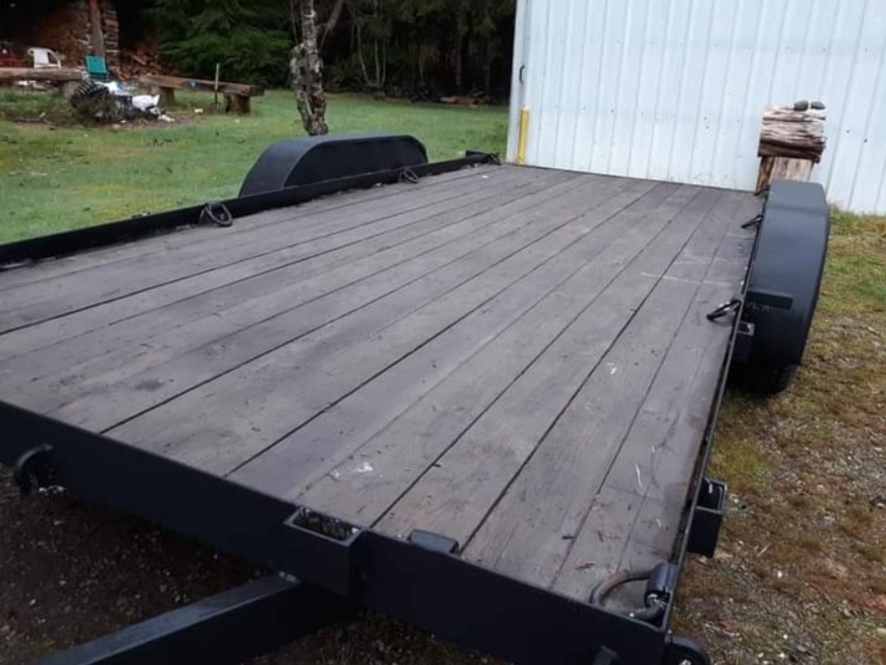
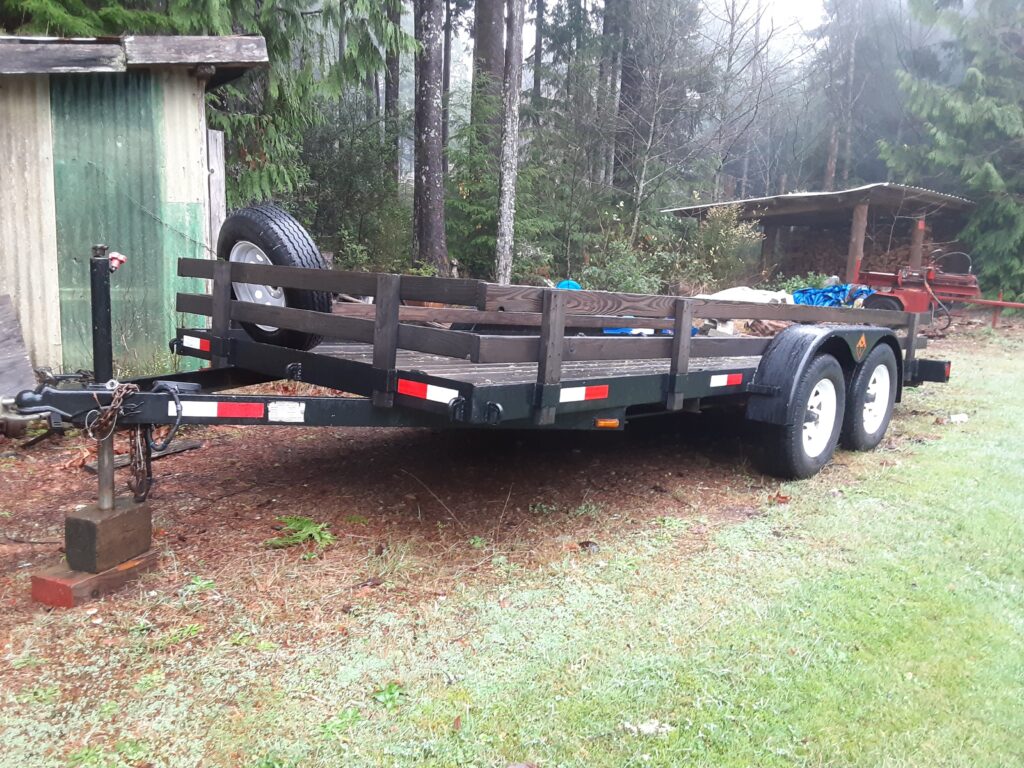
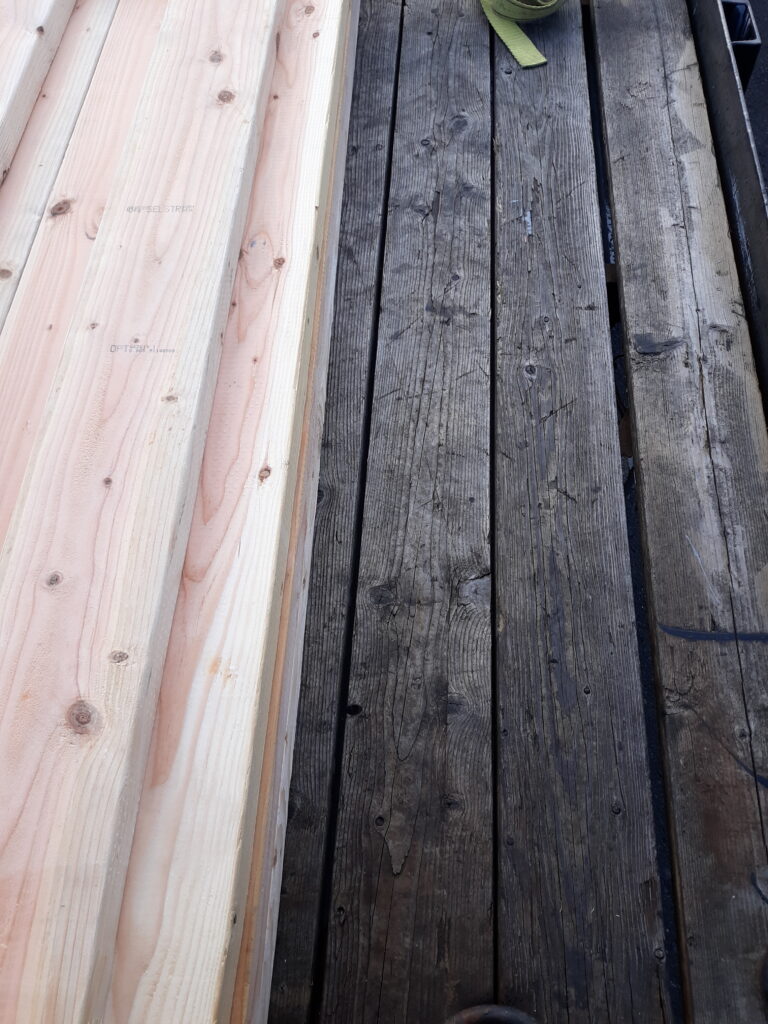
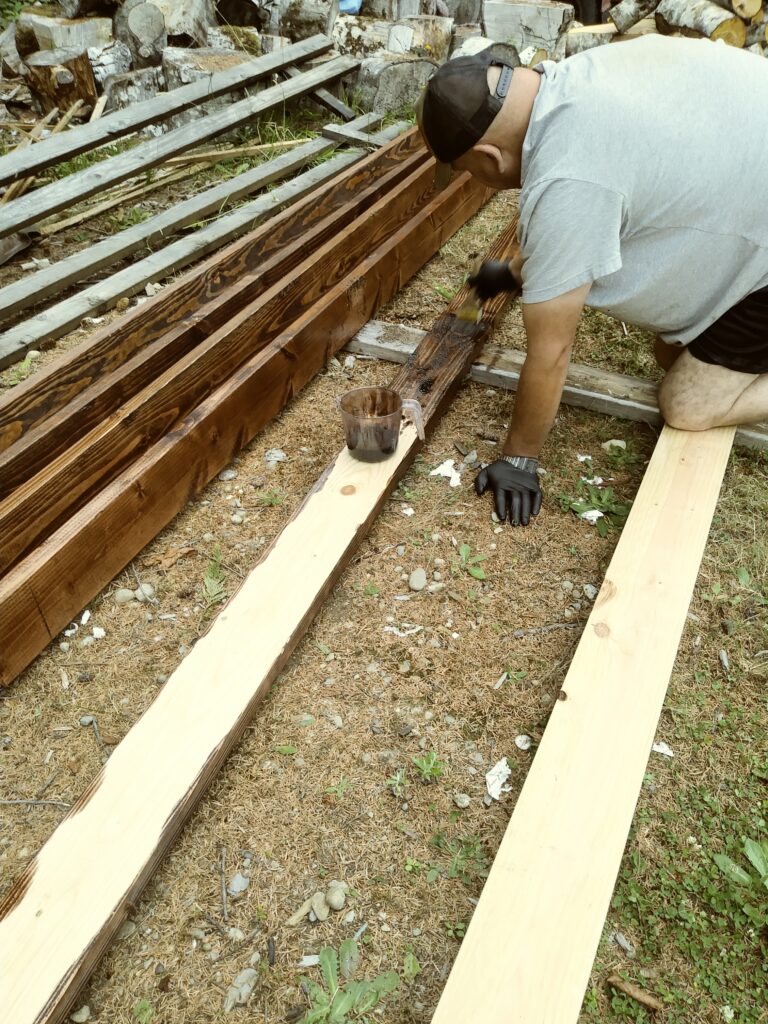
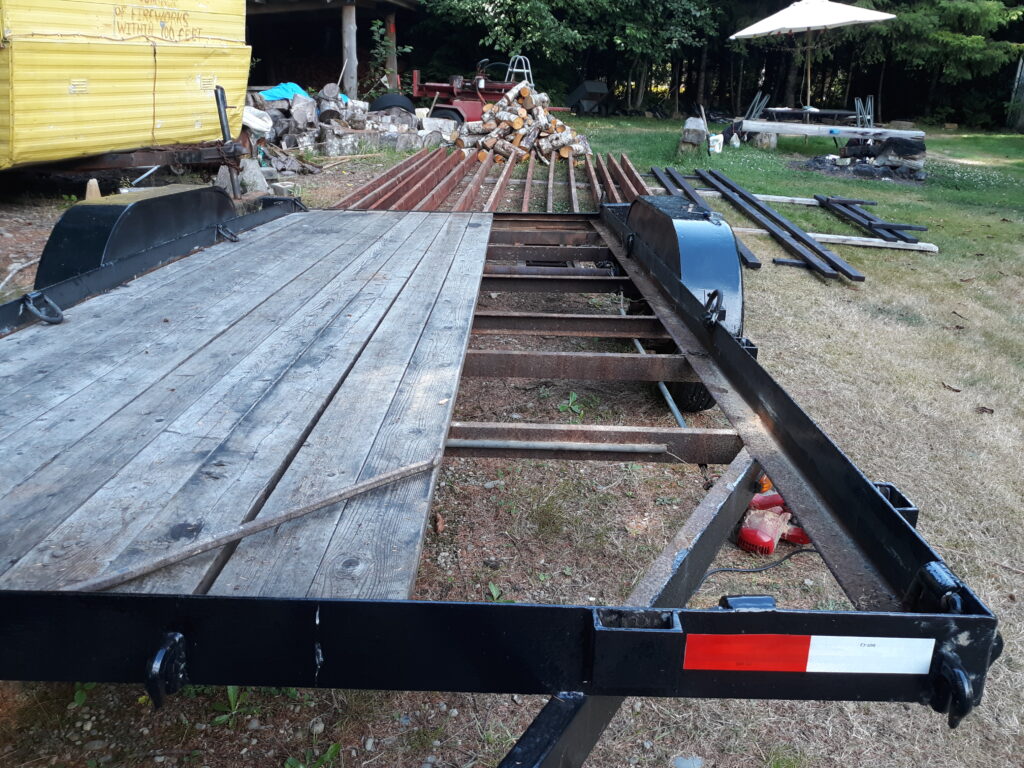
The deck boards are held down at both ends by metal bars that had been welded over the top of them to hold them in place. I cut sections out of a few of the rottenest boards so that I could slide one end of the others until they could be removed. I bought new 2X6’s to replace them with and treated with three coats before I began the install. The board ends were given an additional two coats to help preserve them since they would be inaccessible after installing them. A majority of the boards could be placed on the trailer diagonally and slid until place; however, the last three could not be. I had to use a different method to put these in using a scrap 2X6. One end of the board was placed under the metal lip and the scrap wood was placed about 1/3 of the way down the board from that. I could then stand on the other end of the board causing it to bend enough where it would slide into place when someone else knocked the leverage board out from it. There is a lot of pressure on that leverage board so keep all your finger and anything else that you don’t want to get squished out of the way when it is removed as it snaps out of the way with a vengeance.


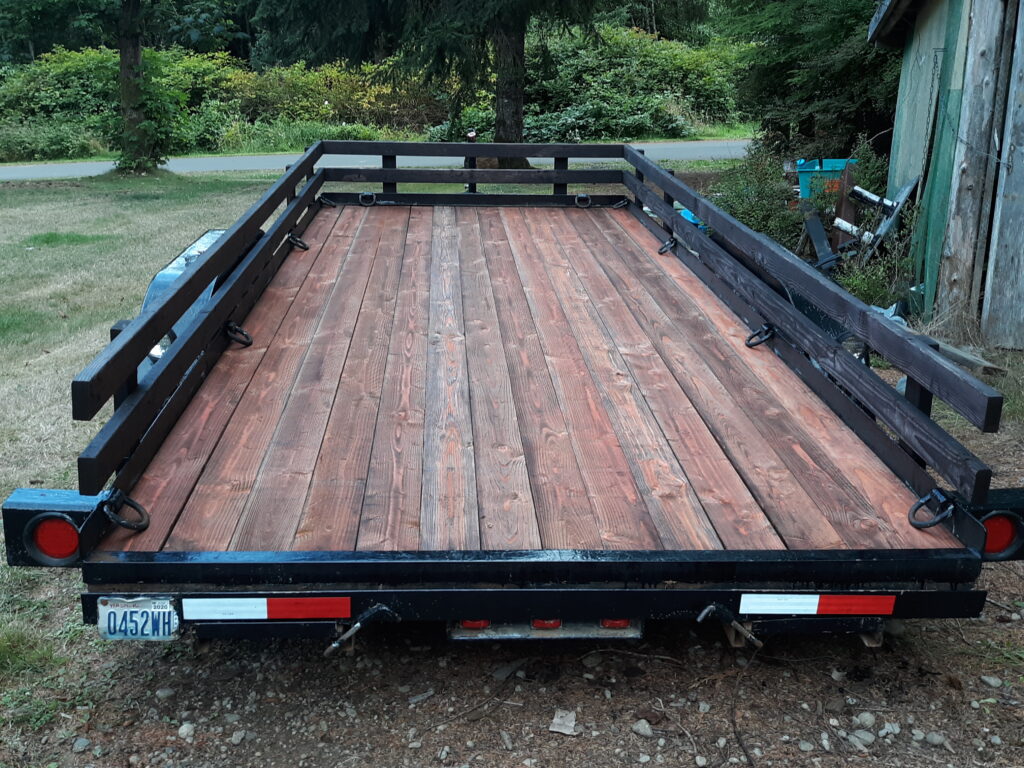
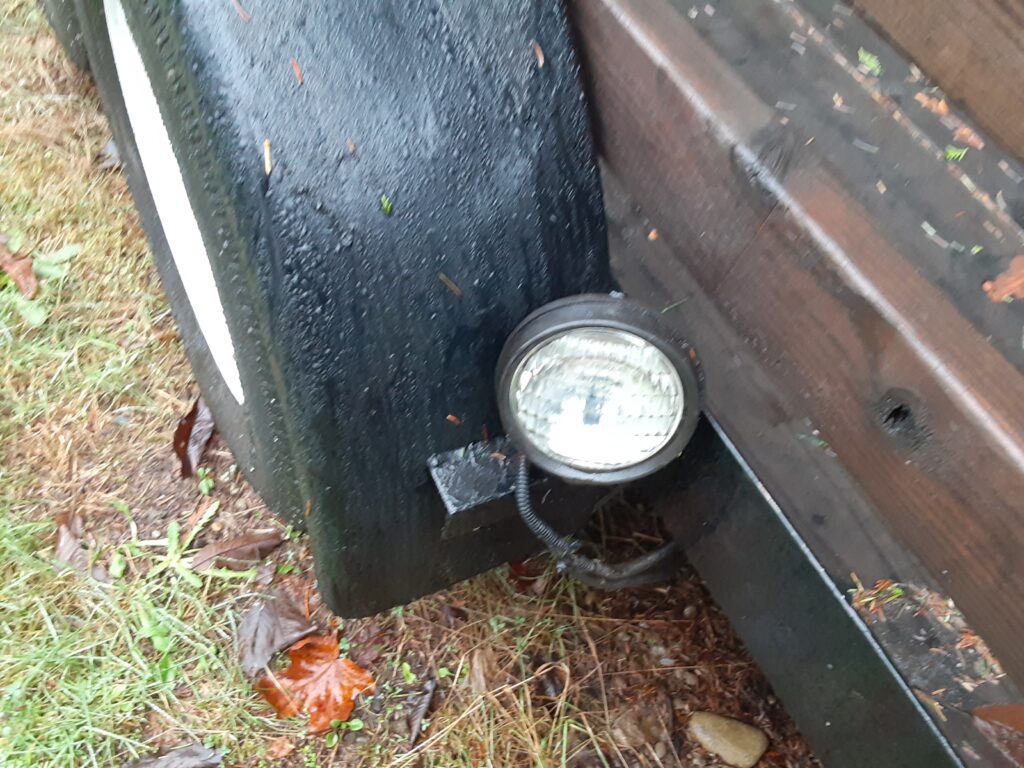
I added extra D-rings to the trailer along with some weld-on chain hooks to the outside of the frame so we have lots of extra tie down options for various load or covers. Side boards that could easily be removed were added for hauling firewood and other things. Of course, none of our vehicles or trailers would ever be complete without a good set of backup lights so those had to be added. We do a lot of trailer backing and just backing up in general after dark so lights make that way easier and you don’t have to keep hopping in and out of the cab to see where your tailer is and what you are going to hit. I took the trailer brakes apart and added an anti-seize compound to all the pivot points and adjusters so they wouldn’t lock up later too. You definitely want to take the time to do this to all of your trailers as it will save you some major headaches down the road.

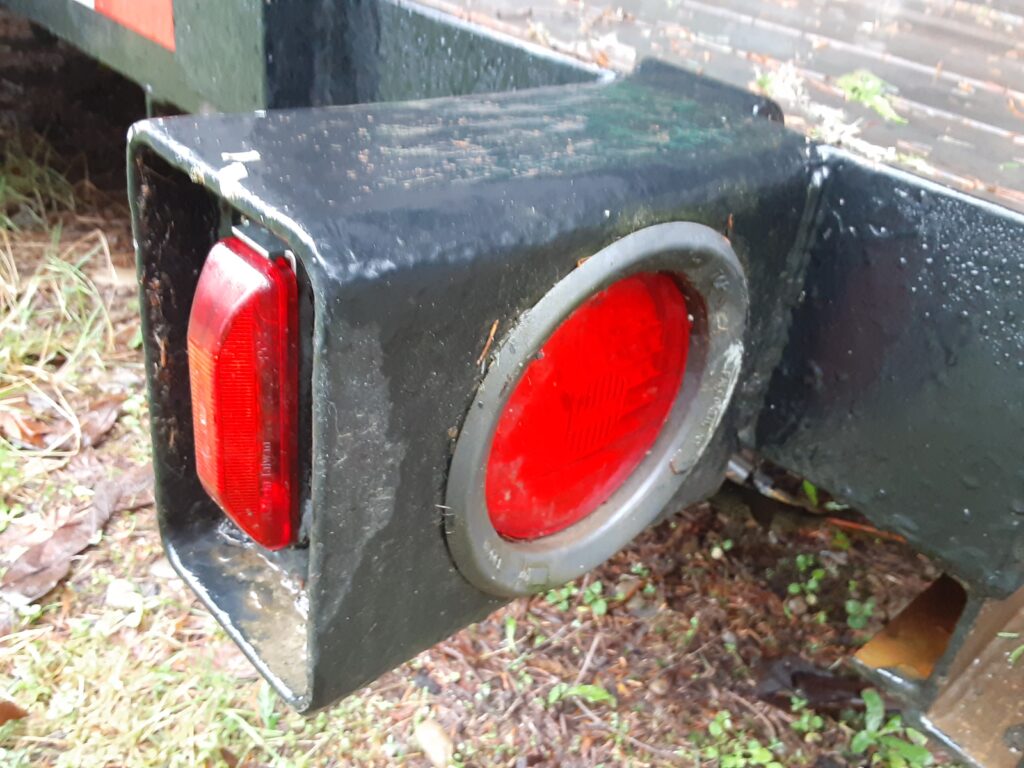
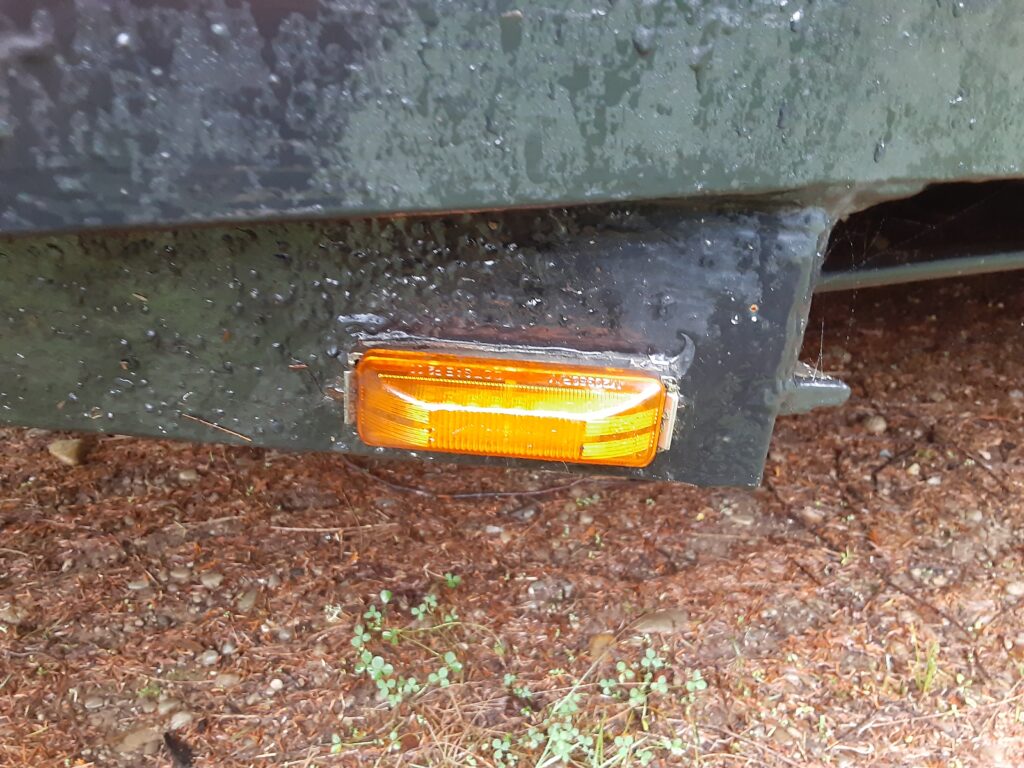
The lights were upgraded to sealed LED truck lights that are a standard size and easy to switch out if they get broken or burned out. The factory taillights were the cheap plastic ones so I cut those off and welded on a custom taillight box for the sealed beam LED taillights. The ID marked lightbar was a cheap piece of tin from the factory so I used ¼” angle iron and made a new ID bar that used standard truck lights for easy replacement when needed. The angle iron also protects the lights was better and it is heavy enough to be used to jack up the trailer too when needed. The side marker lights were also replaced with sealed beams so all the lights have been standardized and replacements can be easily found at any store that sells semi-truck parts.

We are lucky that we have the tools and skills needed to do projects like this. We spent about $400 overall to refurnish the trailer and make it like brand new again so we saved a lot of money over having a shop do it. In this case we bought the trailer brand-new and refurbished it rather than buying another trailer, but if you are looking for a budget friendly used trailer you can save a lot of money by reconditioning one that has the length and weight capacity that fits your needs.