Making Apple Cider
If you haven’t had homemade apple cider or apple juice yet you have definitely been missing out on some of life’s simple pleasures. While store bought commercial versions do taste good, they really do pale in comparison to any small batches of homemade or even some small-scale production private companies. We are blessed to have apple trees that produce enough apples each year to allow us to make juice or cider. They are not the sweet apples, but they are not the tart pie apples either so we have to add some sugar to our cider to get the sweetness that we prefer. You may also be able to find neighbors who have excess apples or some fruit stands that have apples that may need to be sold soon to make cider out of if you don’t have any apple trees.
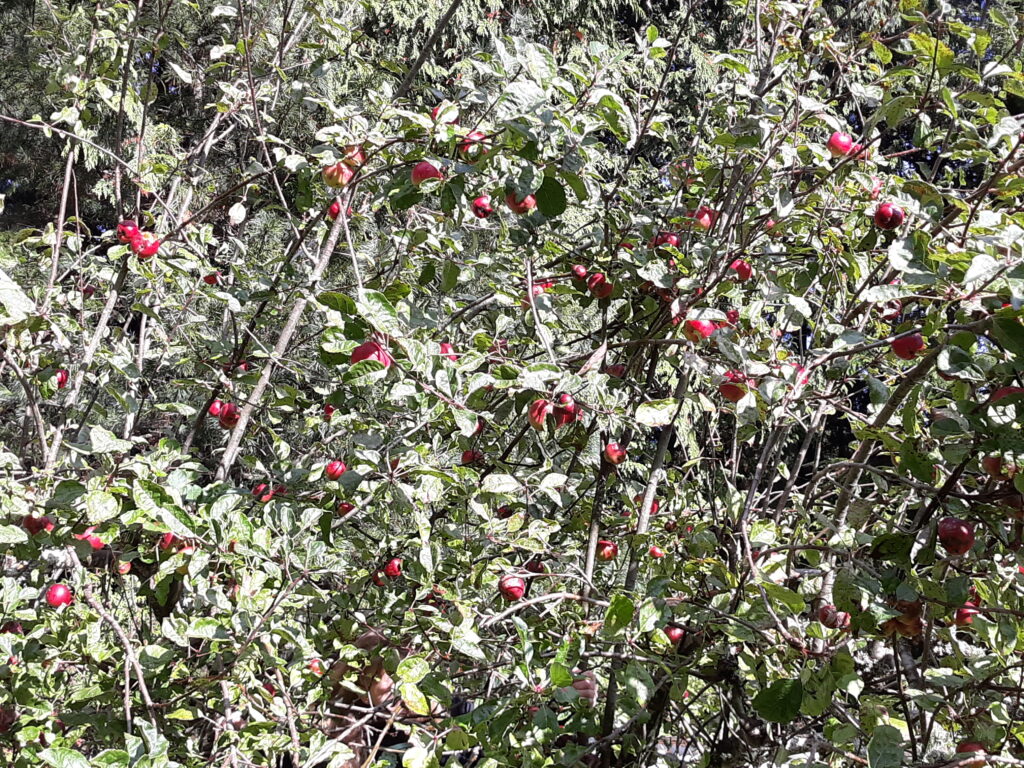
Harvesting the apples if the first step obviously and trying to find safe ways to harvest the higher apples safely can be a challenge. We took the risk and carefully used a step ladder to pick all the apples we could get. I usually prefer to inspect them as I pick them so any rotten ones could just be dropped on the ground to fatten up the deer before hunting season. We usually get a good wheelbarrow load of apples from each tree for juicing. Having kids really speeds up this process.
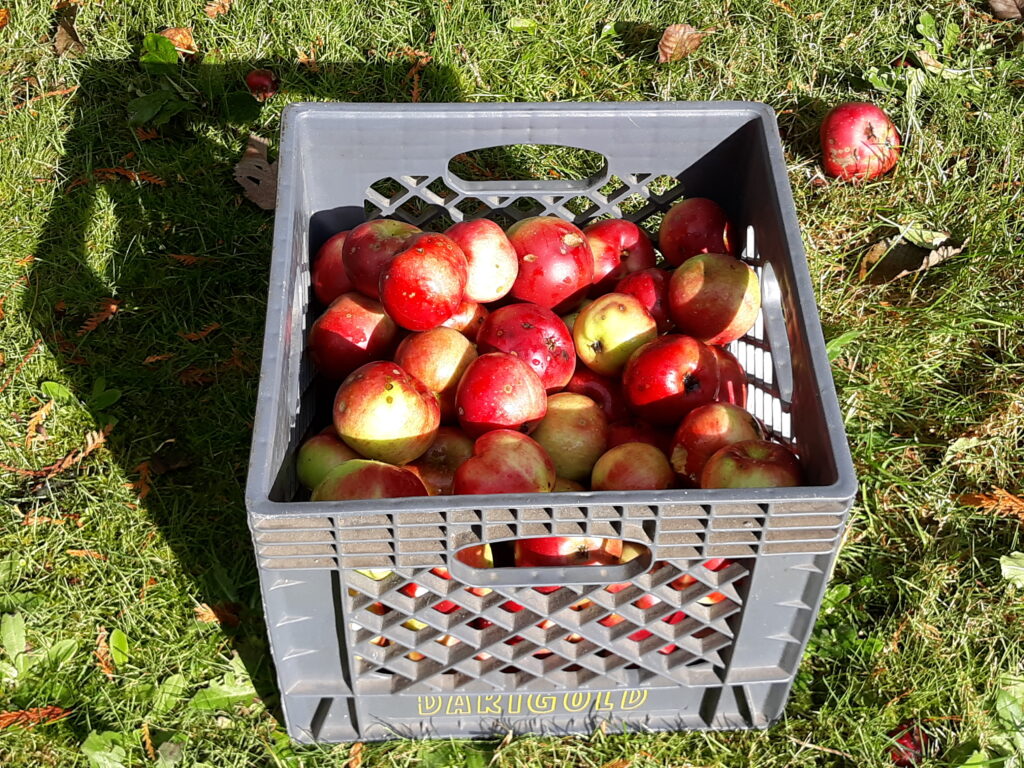

We don’t add any chemicals to our trees generally if there is no need to so a quick rinse usually suffices to get any surfaces contaminants off of them. This also gives us a chance to double check to make sure we didn’t accidently throw any rotten apples in the wheelbarrow by accident after inspecting so many apples. You do have to slice the apples to make them thing enough to juice well so we run them through a corer, peeler, and slicer to make them thin enough.
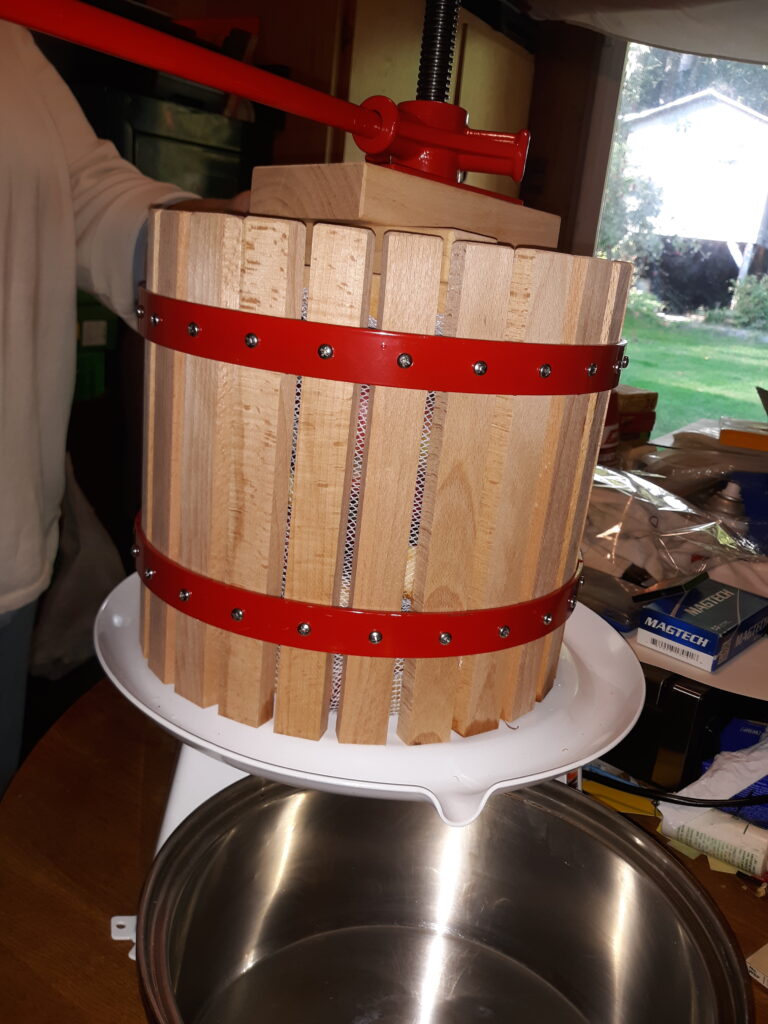
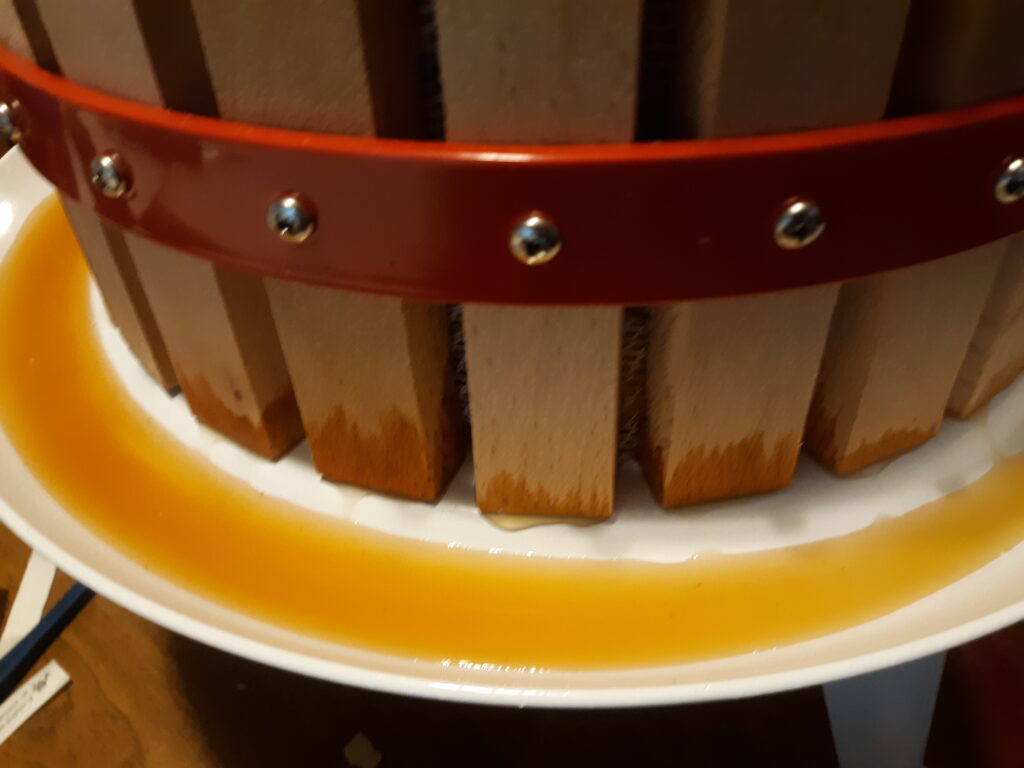
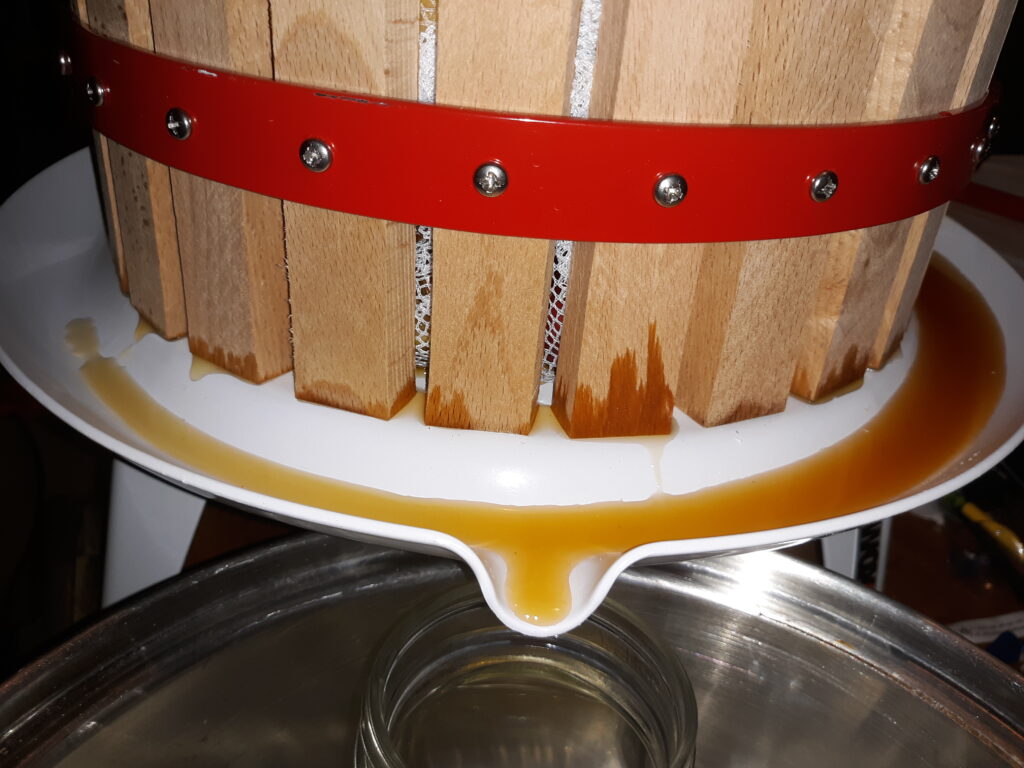
We an electric juicer and a press so we have tried both methods. The electric juicer works great for very small batches, but no so much for larger batches. We mainly use it to make seedless jellies from blackberry and other berries now so it’s been retired from apple cider production. We place the apple slices in a bag which is then placed into the press. Keep some extra pieces of board handy as you begin this operation as you’ll have to keep adding spacers as you go to keep the press on the apple slices. If you are not getting juice or if the press is turning too hard the odds are very good that you probably didn’t slice the apples thin enough so stop and re-slice the apples before you break something. Keep adding wooden blocks to the press as you go until no more juice comes out. That batch is done as soon as the juice, which is generally also when the press itself stops so repeat this step until you have processed all the apples.

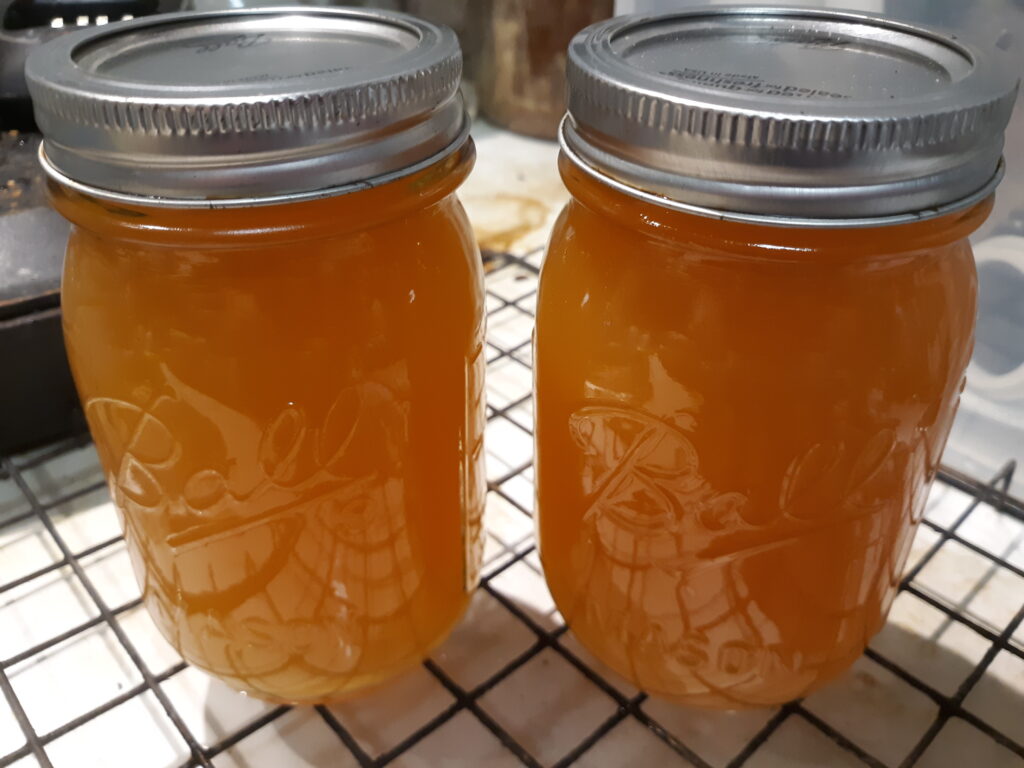
Once you have juiced all the apples you can begin processing the juice or cider by bringing it to a boil to kill off anything that shouldn’t be in there. We add sugar to taste during this process and there is no set amount to add as it varies from year to year with the apples. We fill canning jars while the cider is hot so it can be canned and stored throughout the year. It is a water bath canning process so it is simple for anyone to do at home using any pot that is big enough to cover the jars. The taste of both the fresh and the home canned cider and juice is way different and far better than any of the store-bought ones we ever had. This is another great way to use up any apples that would have otherwise just went to waste and it provides great homemade apple cider throughout the year until next fall’s harvest time!