Basics of Northern Lights Photography
Many people only dream about seeing the Northern Lights, otherwise known as the Aurora Borealis, and only ever see them in photographs. Experiencing them in person is truly an amazing display of God’s handiwork and we are very blessed to be able to see them out of our living room or bedroom windows. Alaska is known as the “Land of the Midnight Sun” for good reason so although Auroras happen year-round, they are not visible from May to late-September as it does not get dark enough. If you are planning an Alaska trip to see the Northern Lights January and February provide the best opportunities with the skies maybe being a little clearer
Predicting the Northern Lights
Although this is impossible to accurately do, the KP Index (“Planetarische Kennziffer”) is the best way and the measurement of the geomagnetic activity in the Earth’s atmosphere so the higher the KP number, the better your chances are of seeing a lightshow. There are other factors such as solar wind velocities and other things that can be used but looking for a KP number above KP 4 is the easiest to remember. You need to go to an area without any light pollution to get the best photographs. Some newer cell phones have cameras that can capture the northern lights, but many will not. There are no sharp edges for the camera to focus on so that’s another challenge. A good quality DSLR (Digital Single Lens Reflex) with a tripod is the best route to go.

The Equipment & Settings We Use
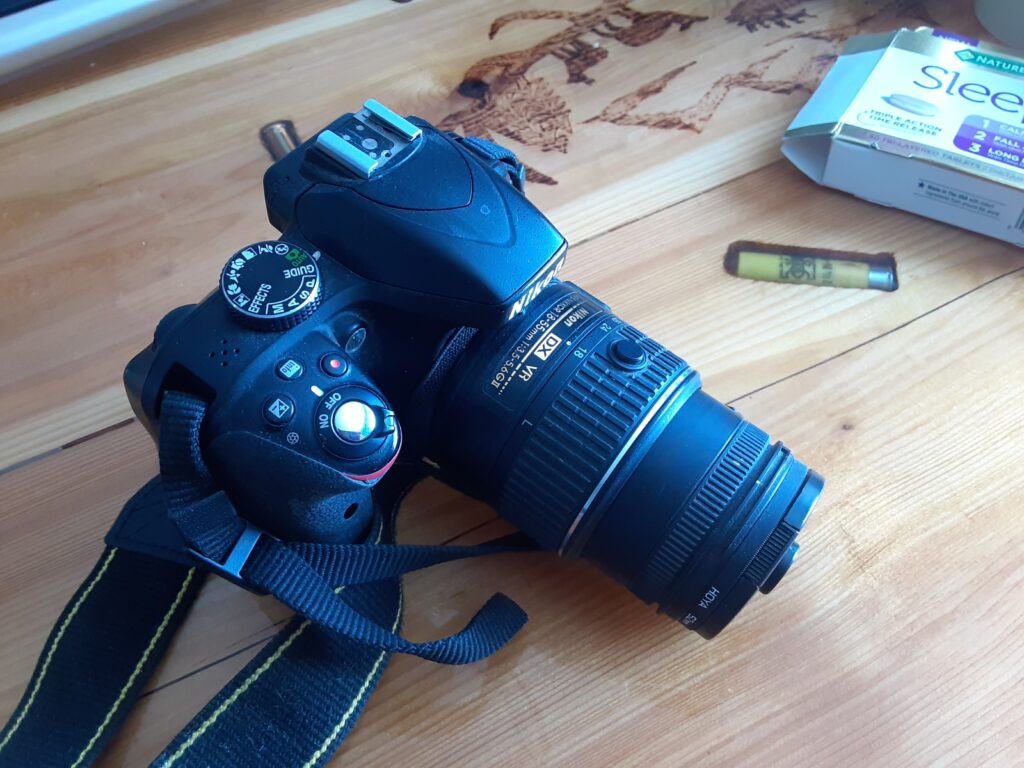
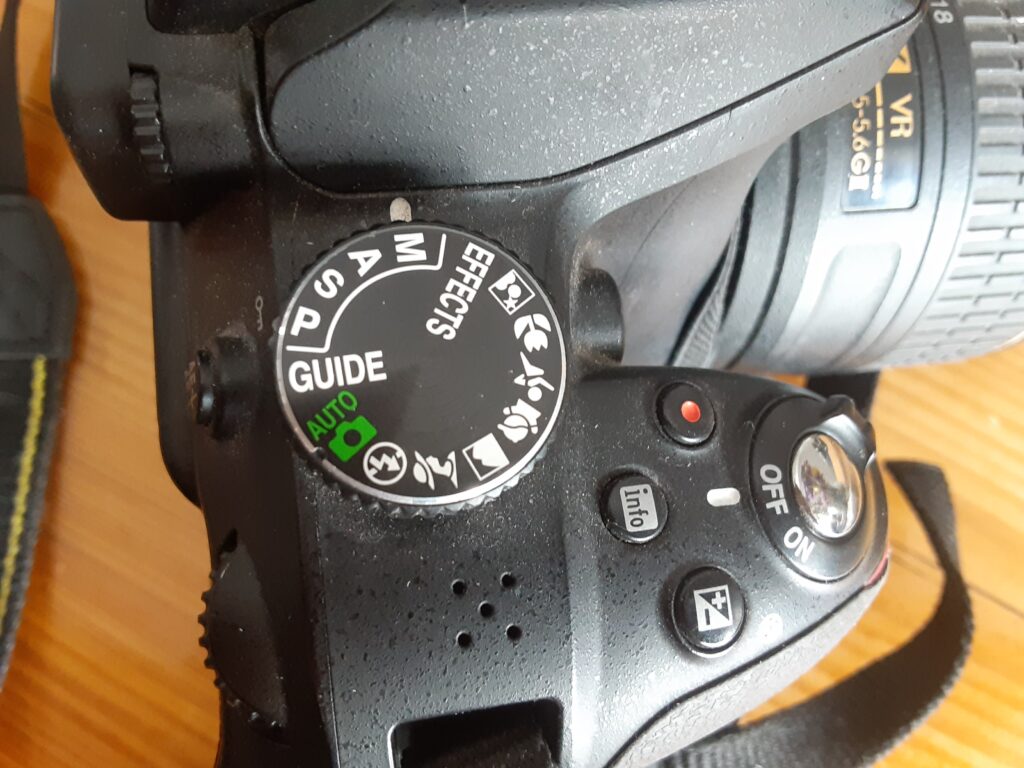
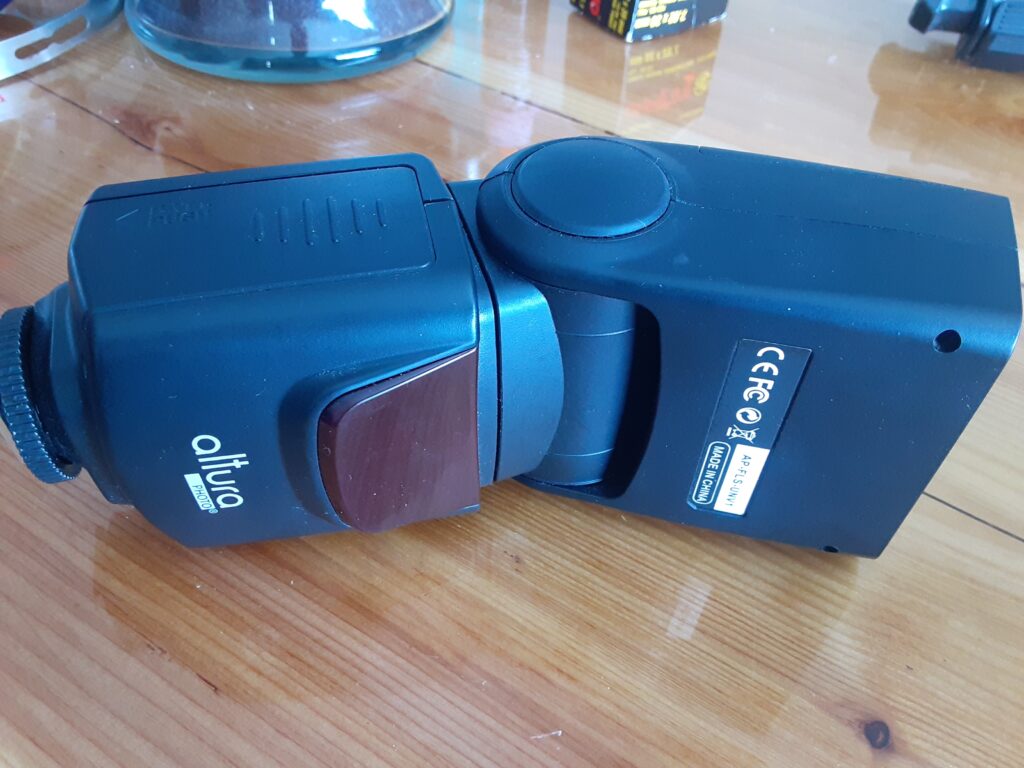
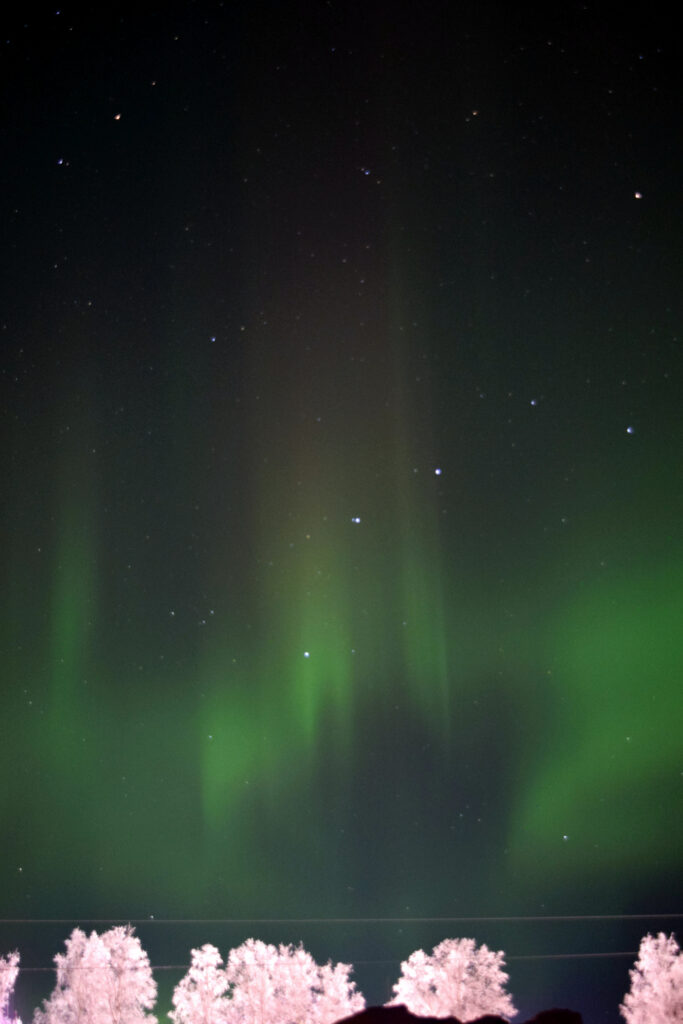
We use a Nikon D3300 DSLR with a tripod, remote shutter release, and aftermarket flash to take our pictures. The camera must have a fully manual option to get the best pictures. This allows you to set the exposure time, F-Stop, and film speed (ISO) to get quality photographs. A good starting point and the setting we start at is F5.6, ISO 1600, and a 15 second exposure. The 15 second exposure does make the star light track in a short line, but it also allows the camera to capture the northern lights’ colors the best. You can add exposure time or change the F-stop settings to see what works best given the specific lighting conditions as this is just the baseline to start at. The northern lights do not have sharp edges, so you must switch to manual focus mode and use the infinity “∞” setting. You can take a few test photos of stationary objects so you can view the picture and zoom in to double check your focus if needed. Be aware that the focus ring may move slightly as you turn the camera to different areas so be sure to check it frequently.


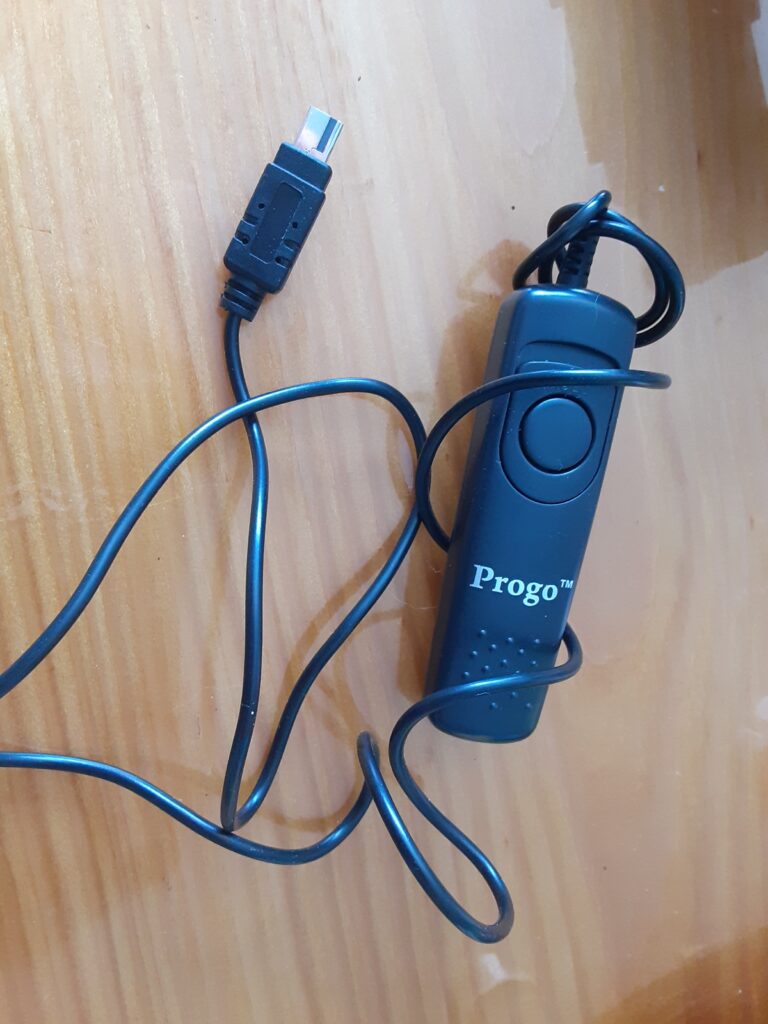
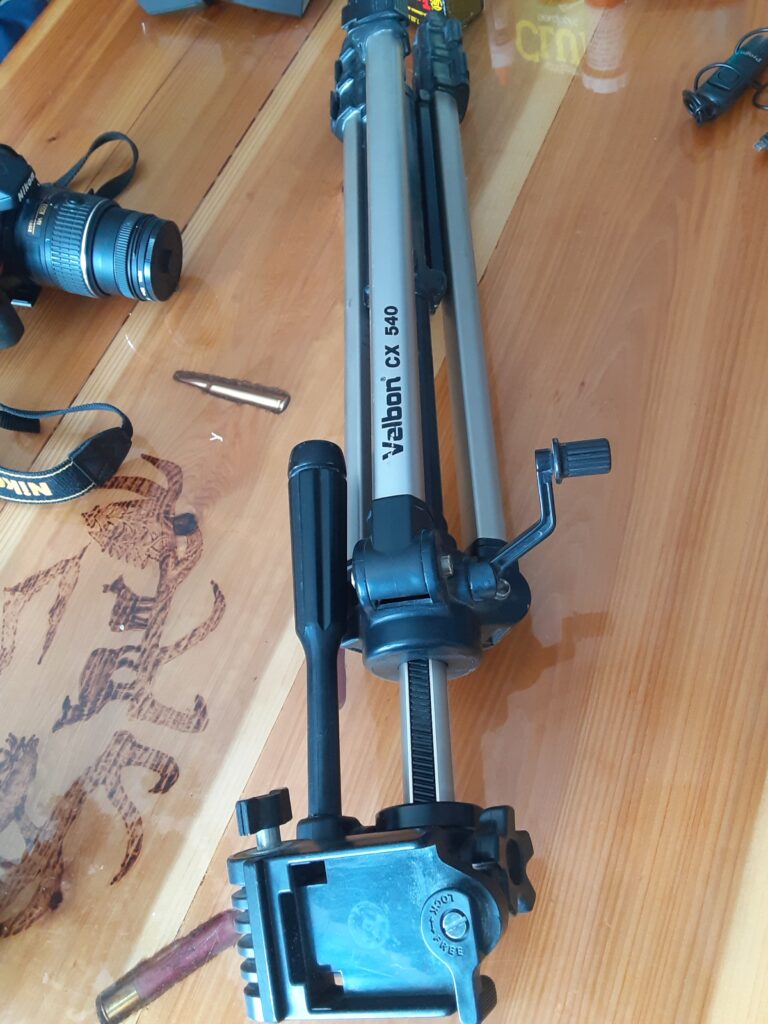
A 10-15 second exposure is nearly impossible to take freehanded so use a rest or a tripod. Logs, stumps, rocks, cars, and other solid objects can be used if you don’t have a tripod. Just pressing the shutter release button on the camera may cause movement so use a remote shutter release or just simply use the built in timer for a movement free picture if needed. Hopefully this gives you a few starter tips and an interest to capture your own northern lights photos. Our youngest is taking a photography class as a high school elective class so she has begun taking her own photos, some of which are included here.
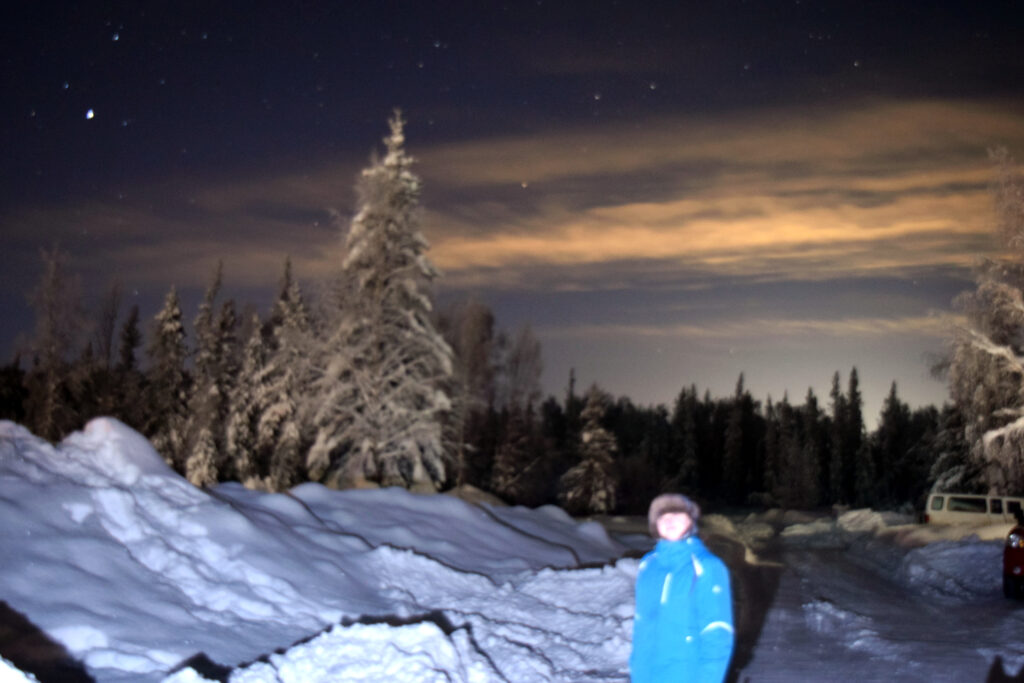
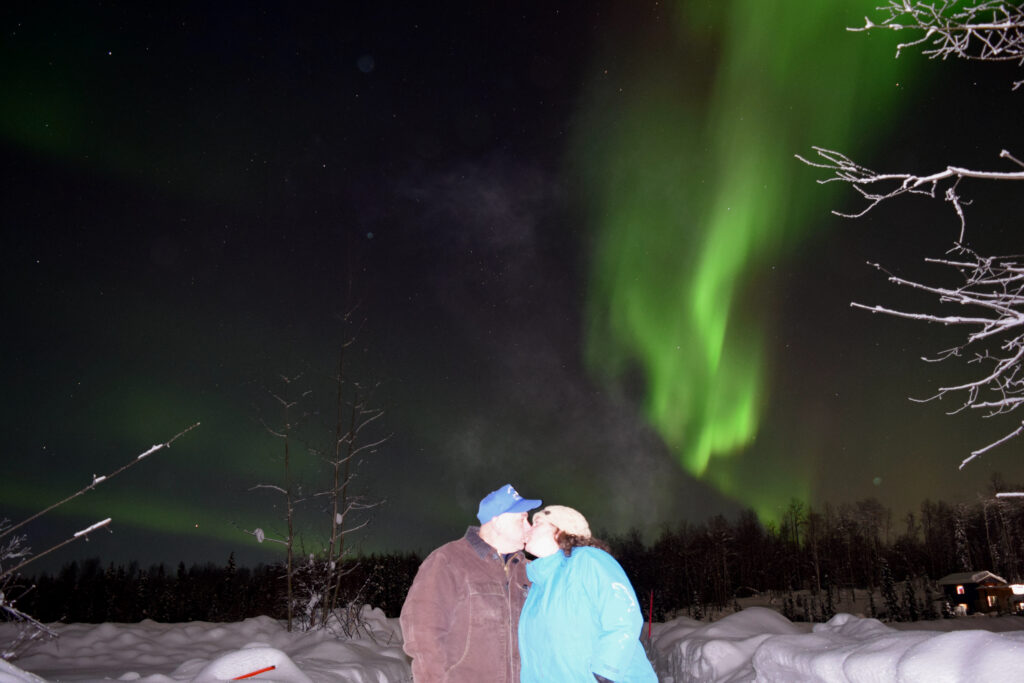
A flash with a manual or test setting can be used when needed to light up or “Paint” people or objects in the foreground if ambient light alone is not enough. One simple low flash is plenty to light up people for pictures in front of the northern lights. Here are a couple of photos using this technique. The one photos is where a “painted” my daughter with a flash, hade her move, and painted her again to give an illusion that there was a copy of her there too. This also illustrates that all the subjects in the photo must remain still until the shutter closes to prevent them from being blurred or duplicated.

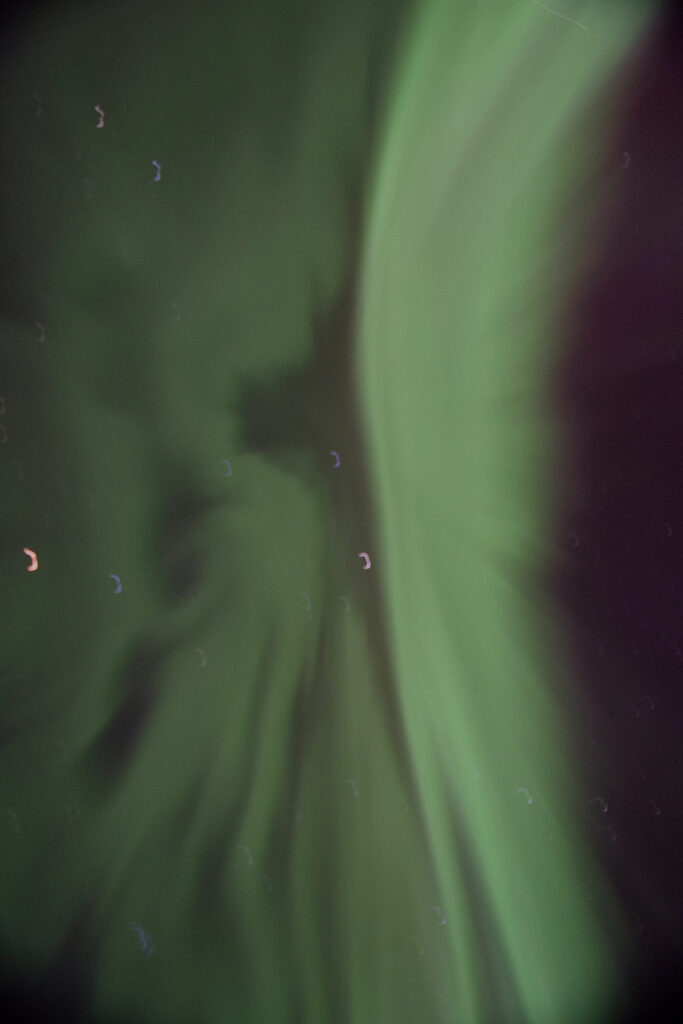
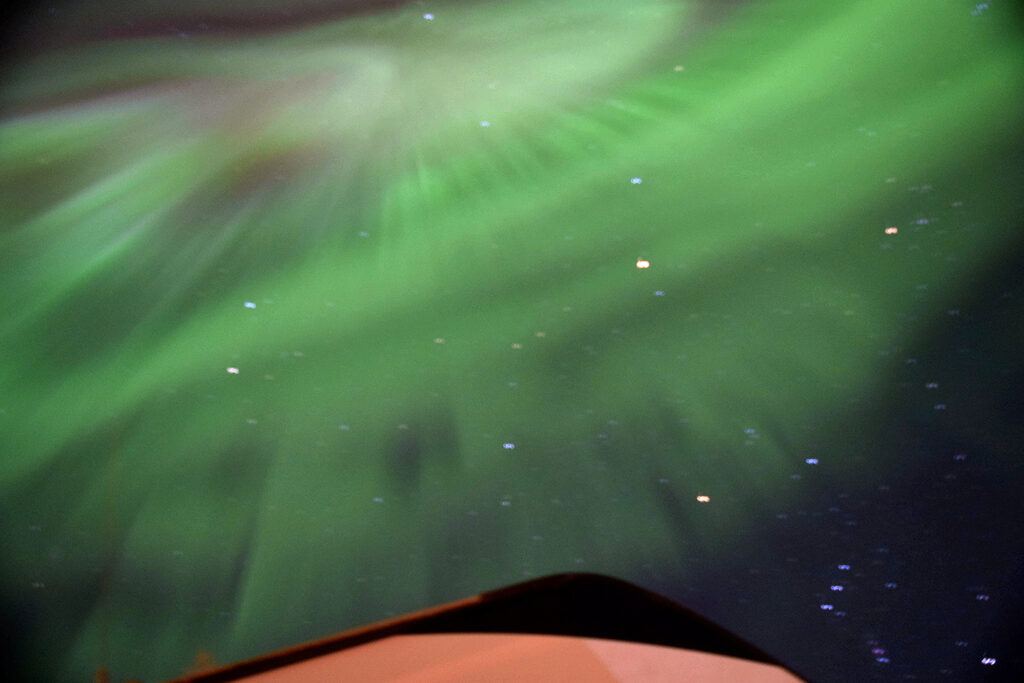
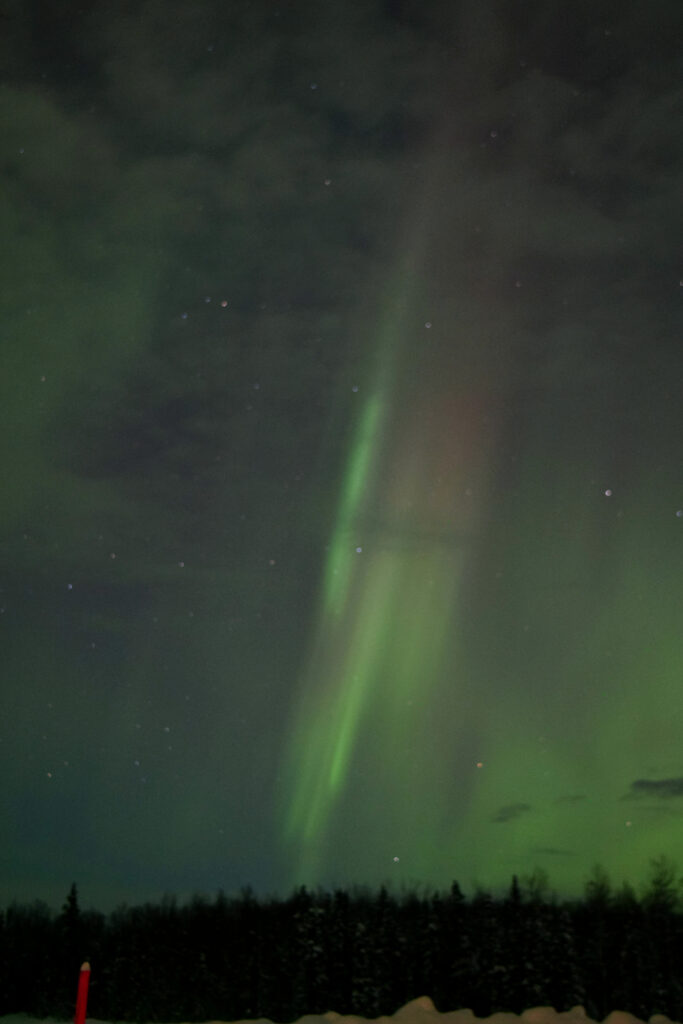
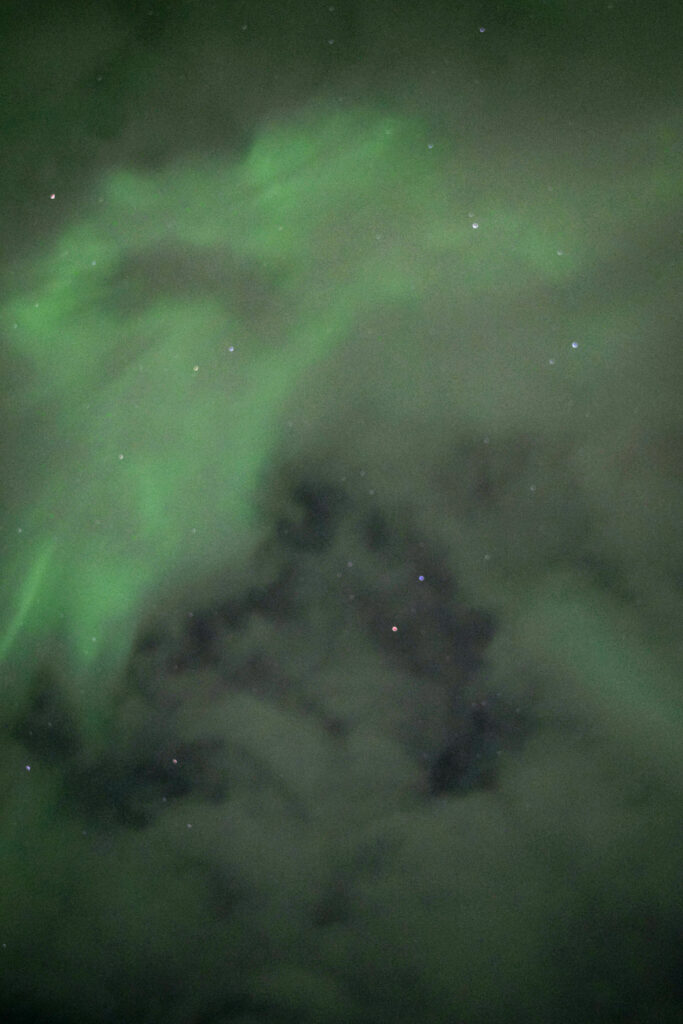
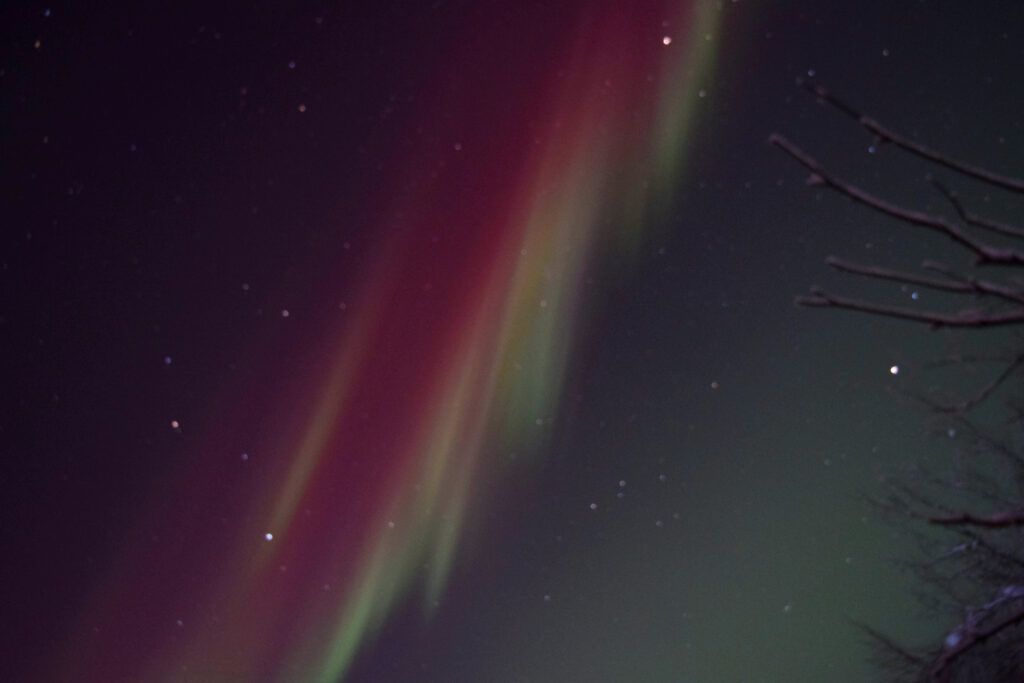
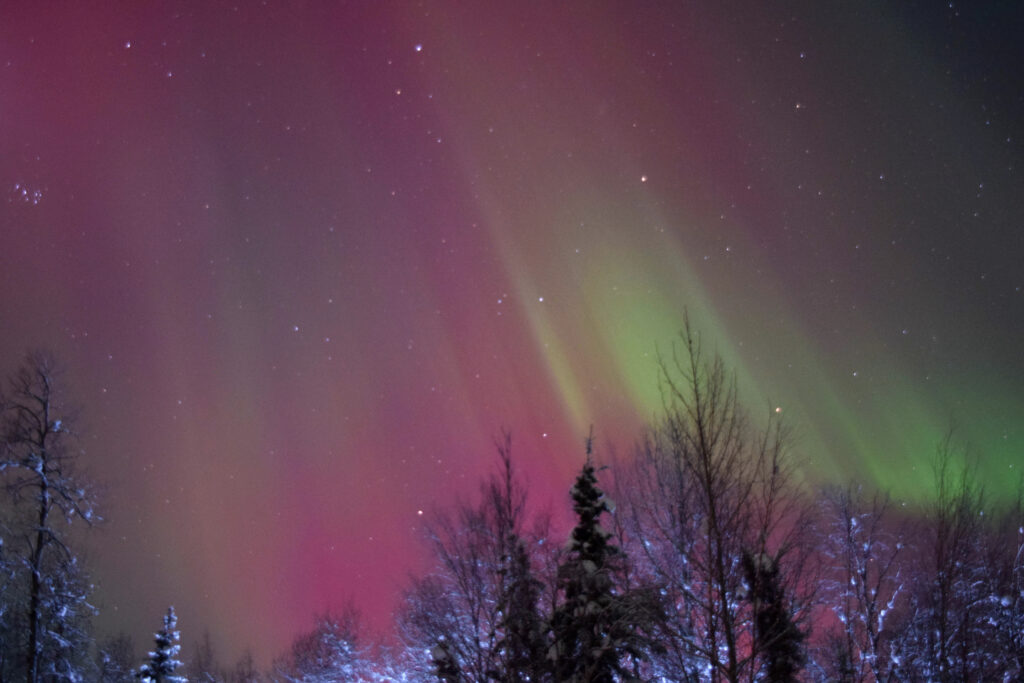
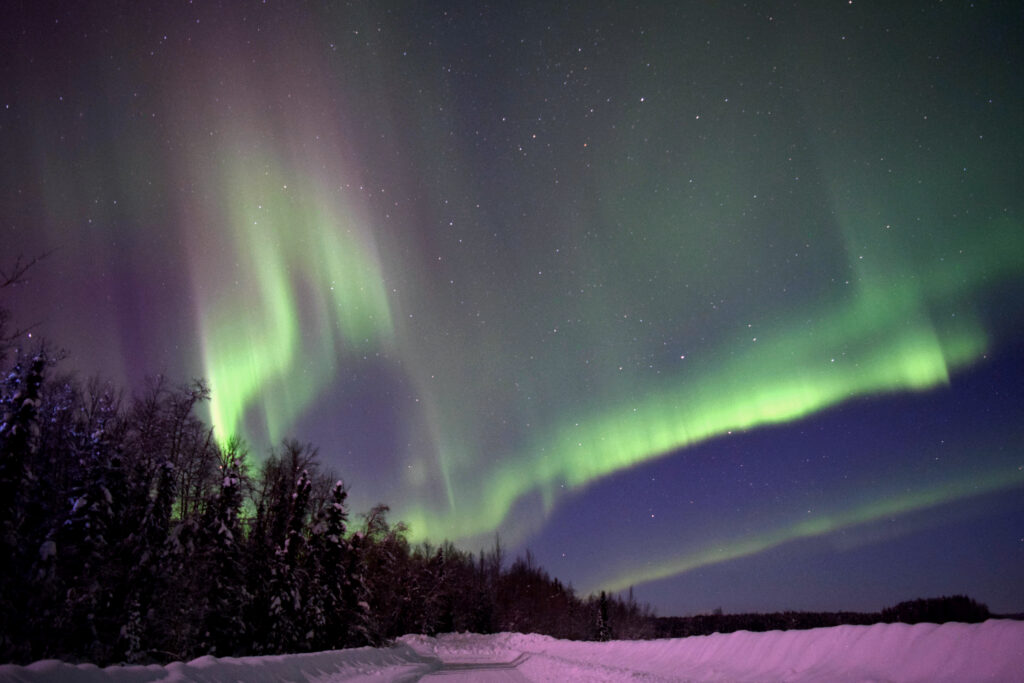
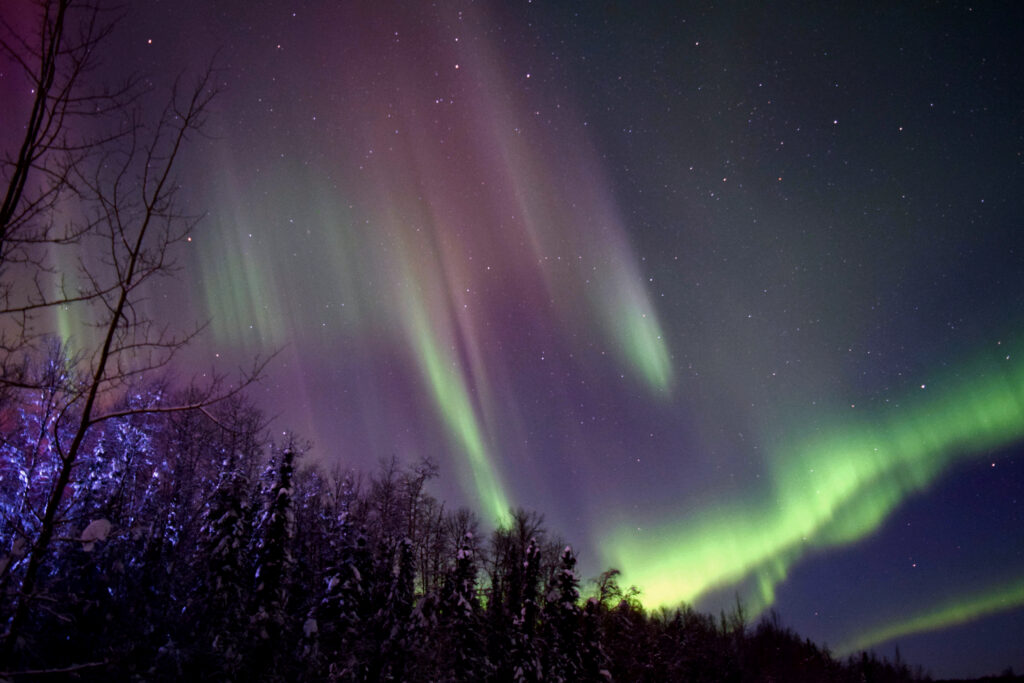
Some photos we have taken:

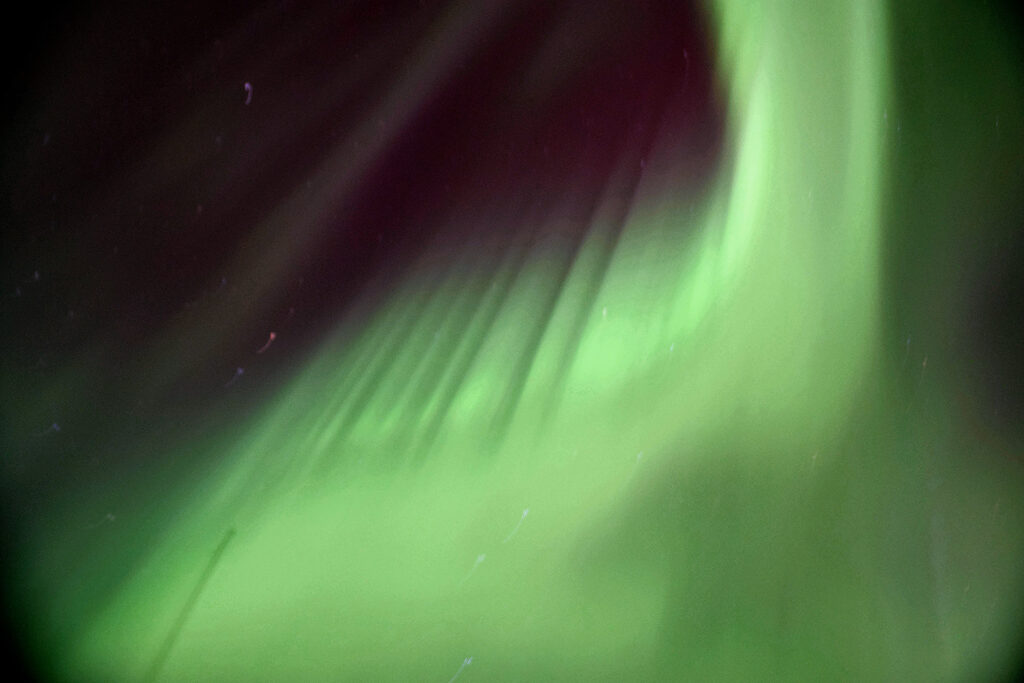


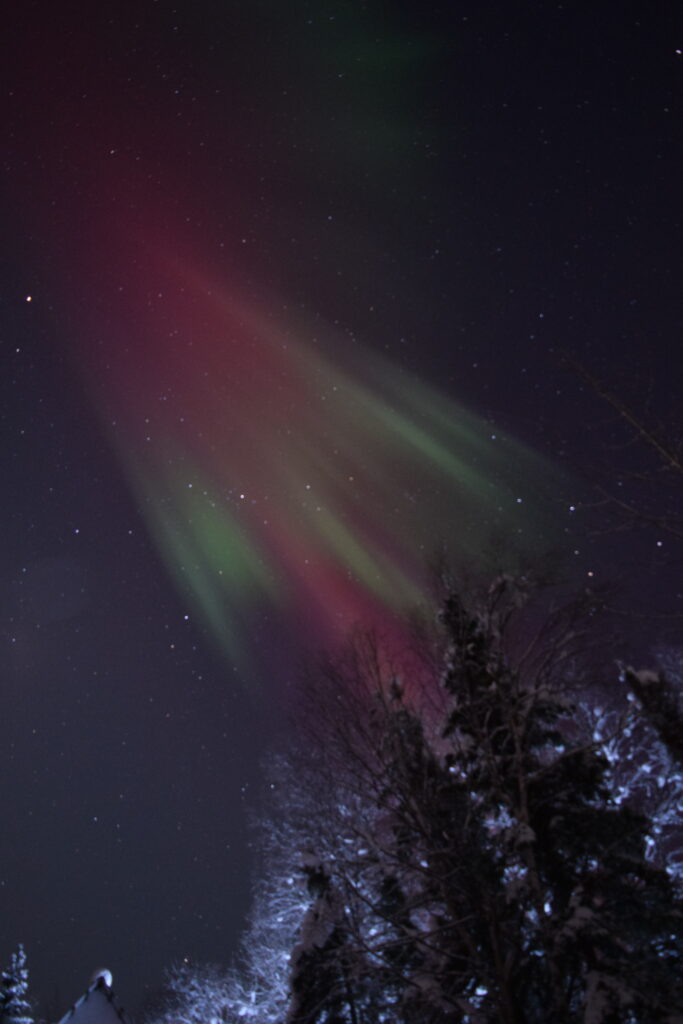
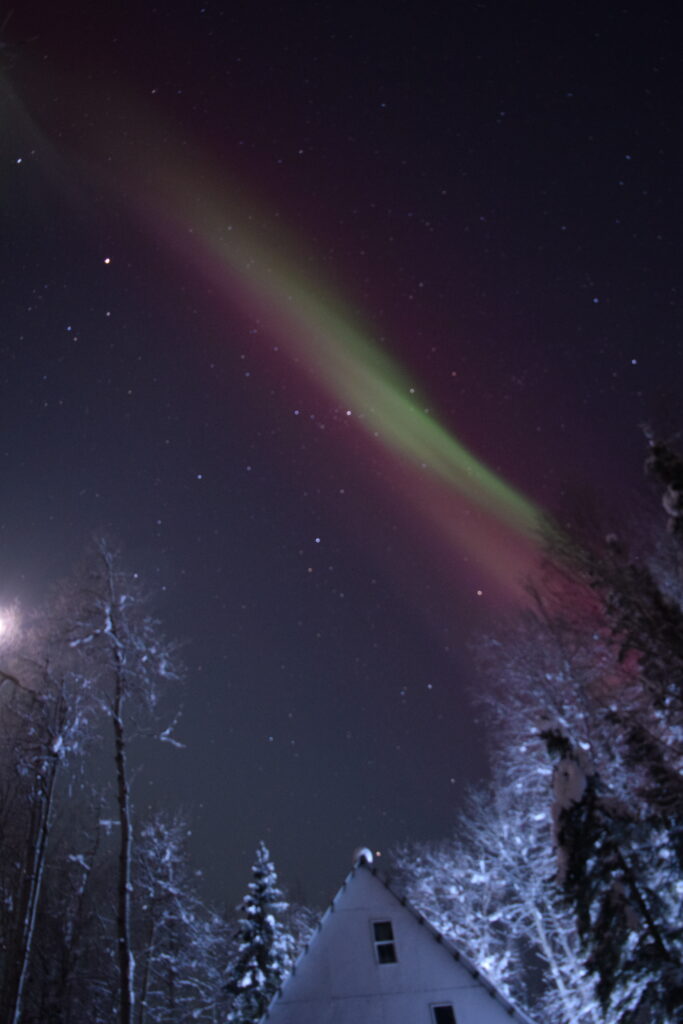


Jessica’s Northern Lights Photos
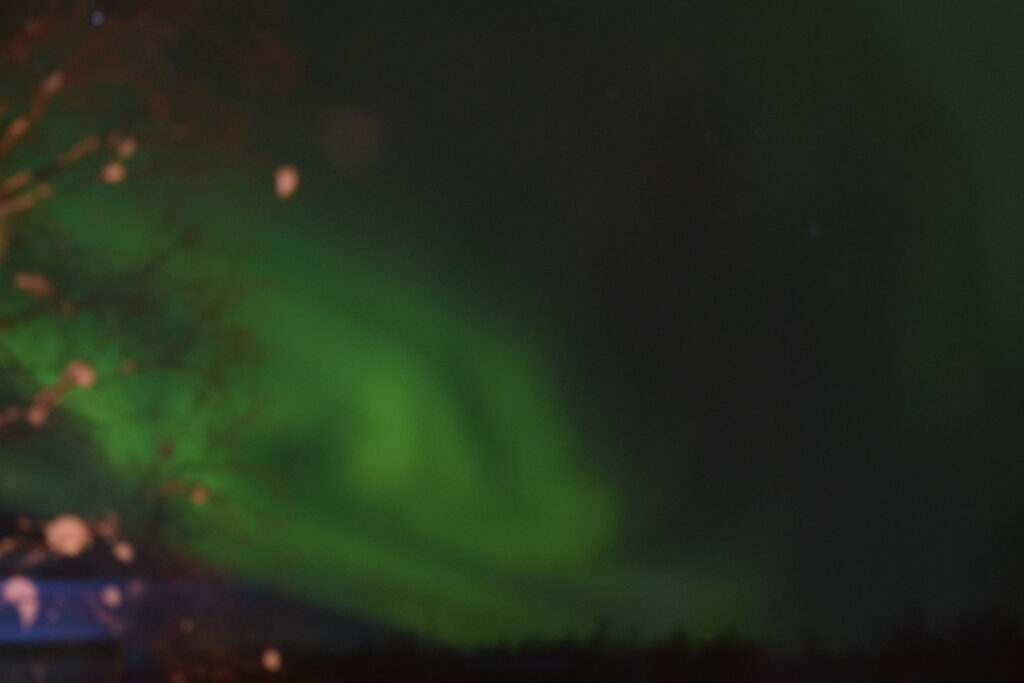
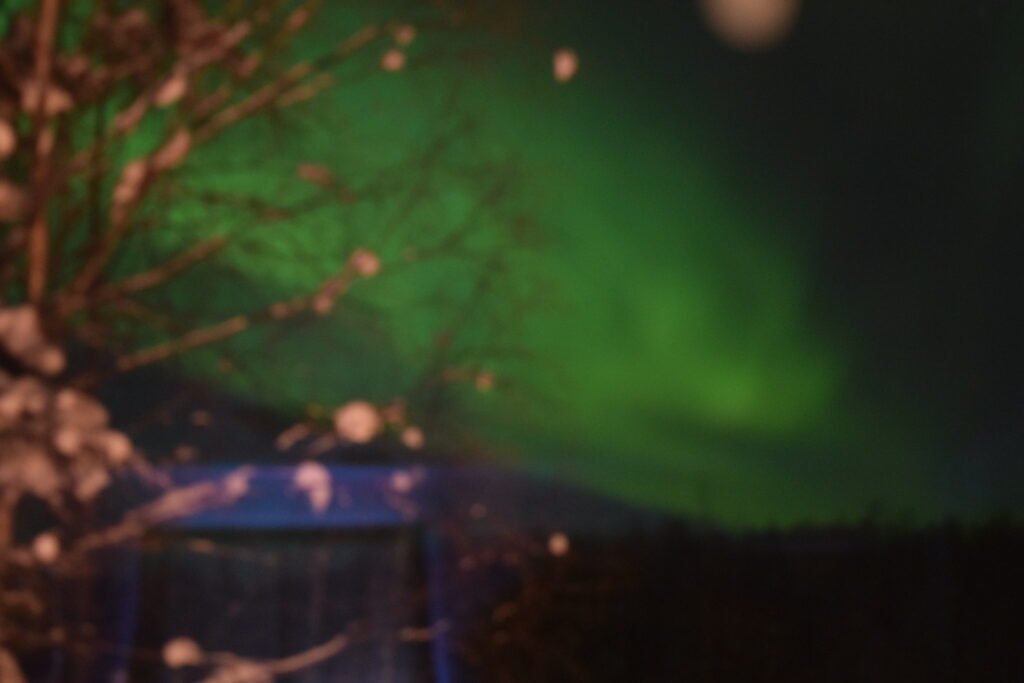

Jessica with the Alaska sky at night using the same technique