Making Summer Sausage
We began making our own breakfast sausage, summer sausage, pepperoni, hot dogs, and bratwurst in 2008 after running out of trustworthy processor options within the county. We had a bad experience with one place with not getting all of our meat back and most places did not make pepperoni or sausages that had the flavor we wanted. The one person who did do good work is very hard to find in the fall as he goes hunting too so we opted to bite the bullet and do it on our own.
The initial setup costs can run about $600 or more if you get the heavier grade equipment like we did because we typically process several animals a year. Meat processing will be covered in another story so only the grinder motor, mixer, stuffer, and smoker are covered here. We went with a ¾ horsepower grinder motor that will handle mixer, cuber, and jerky slicer attachments in addition to the grinder head itself making it more versatile. You can use a grinder with stuffing attachments to make sausages, but they really don’t work that well if you are making any large sized batches. We bought a 25-pound capacity mixer that can be powered by the grinder motor so you don’t have to hand crank it as that can be a chore unto itself. Stuffers come in many sizes and prices so find the best one that fits your needs and don’t forget to order a snack stick tube or it if you plan on making pepperoni. We opted for the smaller 5-pound stuffer only because the snack stick was readily available for it. You will have to refill it many times on large batches so there is a tradeoff.

Grinder motor and mixer
Start the process by thoroughly cleaning and sanitizing your work area and equipment with a bleach solution. Make sure you have all the seasonings, water, and casings that you will need before you get started. You can make your own seasoning if you have ample amounts of spices on hand or you can buy ready made kits that come with seasoning packets and casings or you can doctor up a kit to your liking so the possibilities are endless. High temperature cheeses are also available and will really add flavor to your sausages. I do highly recommend making experimental batches in 1-pound increments until you find the recipe you like as those are easier to scale up for large batches. Casings also come in different styles and we finally opted to use the mahogany collagen casings as they seemed to allow the smoke flavor penetrate the meat better. Once you ensure you have everything you need you can get started.
After getting the mixer attached to the motor add all of your spices and start with 1-ouce of water per pound of meat as water is needed to make stuffing easier. Odds are that you will have to add more water later and now I start out at 1 ¼ ounces of water per pound of meet for my recipe so add more water initially in future batches if needed to help with stuffing. Once you have all your spices and water in the mixer turn it on and let it run to thoroughly dissolve the seasonings. You also need to add a cure because it will be low temperature smoked so the cure stops bacteria from growing in those low temperatures. There are smoking cures and shelf stable cures that do not require refrigeration so pick the one you want. We opted for the smoking cure just to keep additives to a minimum. This is a crucial step as the it is very difficult to get the spices mixed thoroughly in the sausage mix once the hamburger has been added. Add your hamburger to the mixer and let it run until all the meat becomes a consistent color. The cure and spices will cause the meat to turn from red to a reddish-grey once it is mixed good so stop the mixture as soon as you see a uniform color as over-mixing will dry it out.
Adding seasonings 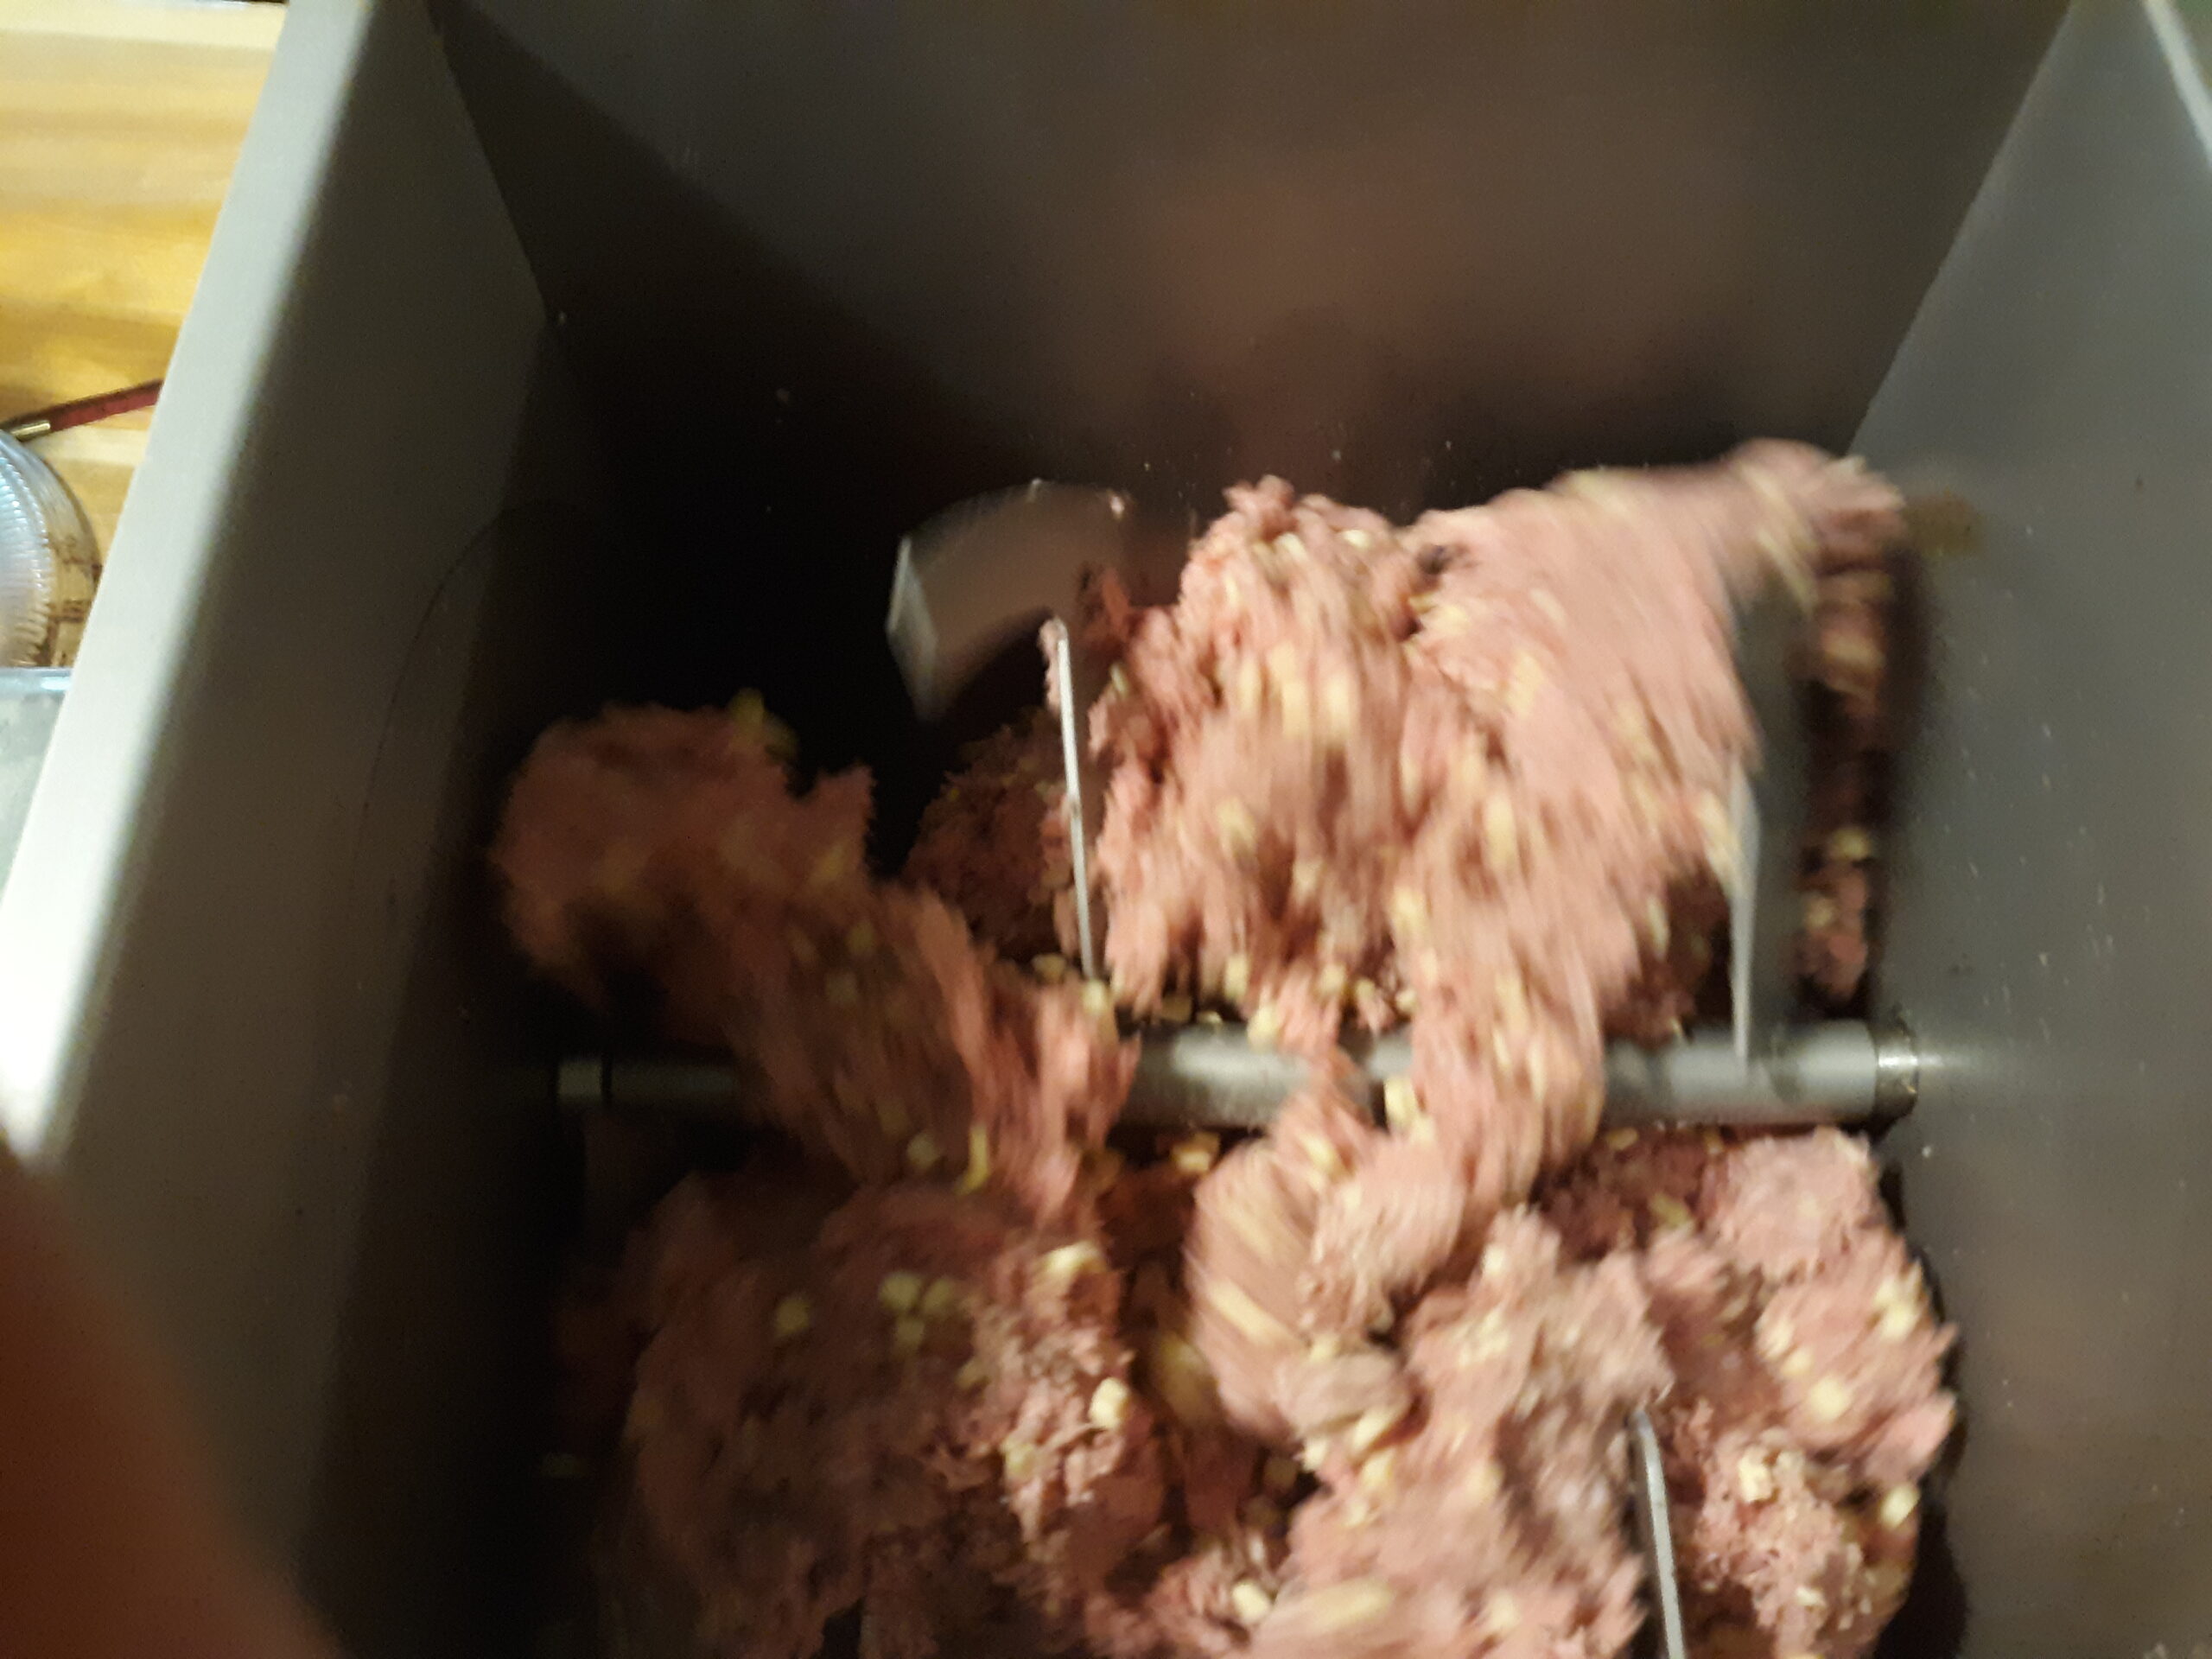
Sausage mixture 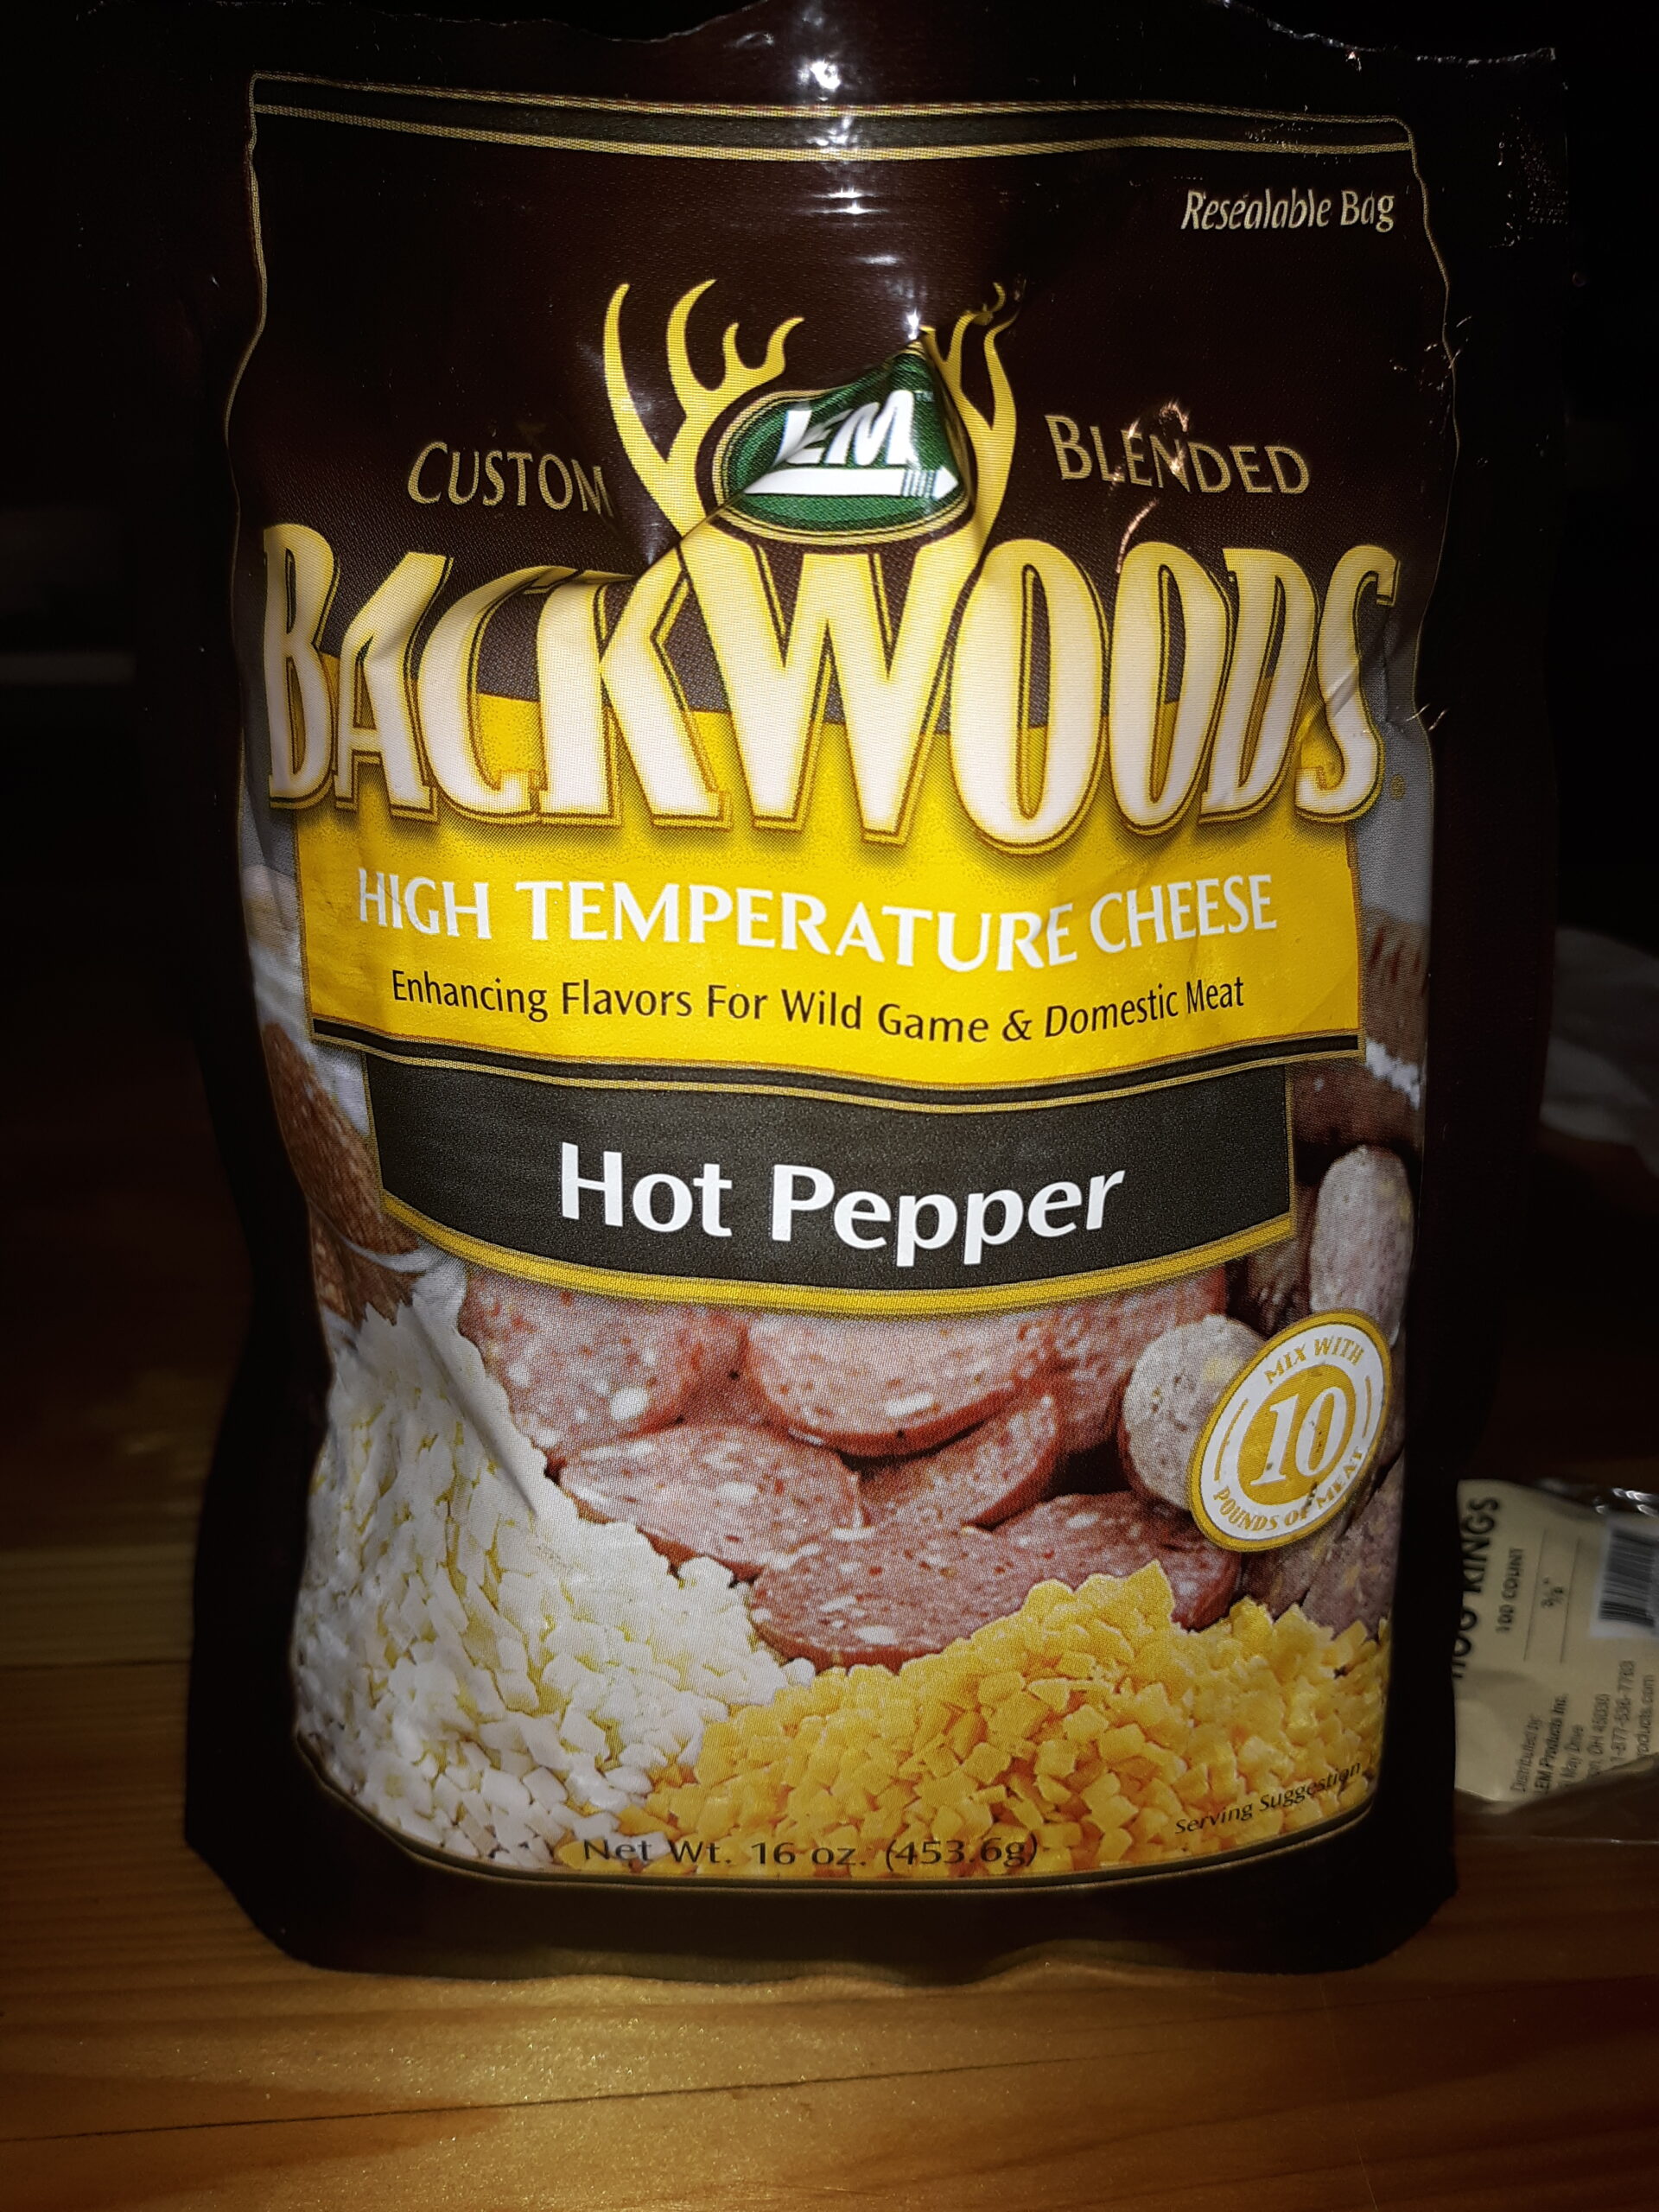
High Temperature Cheese 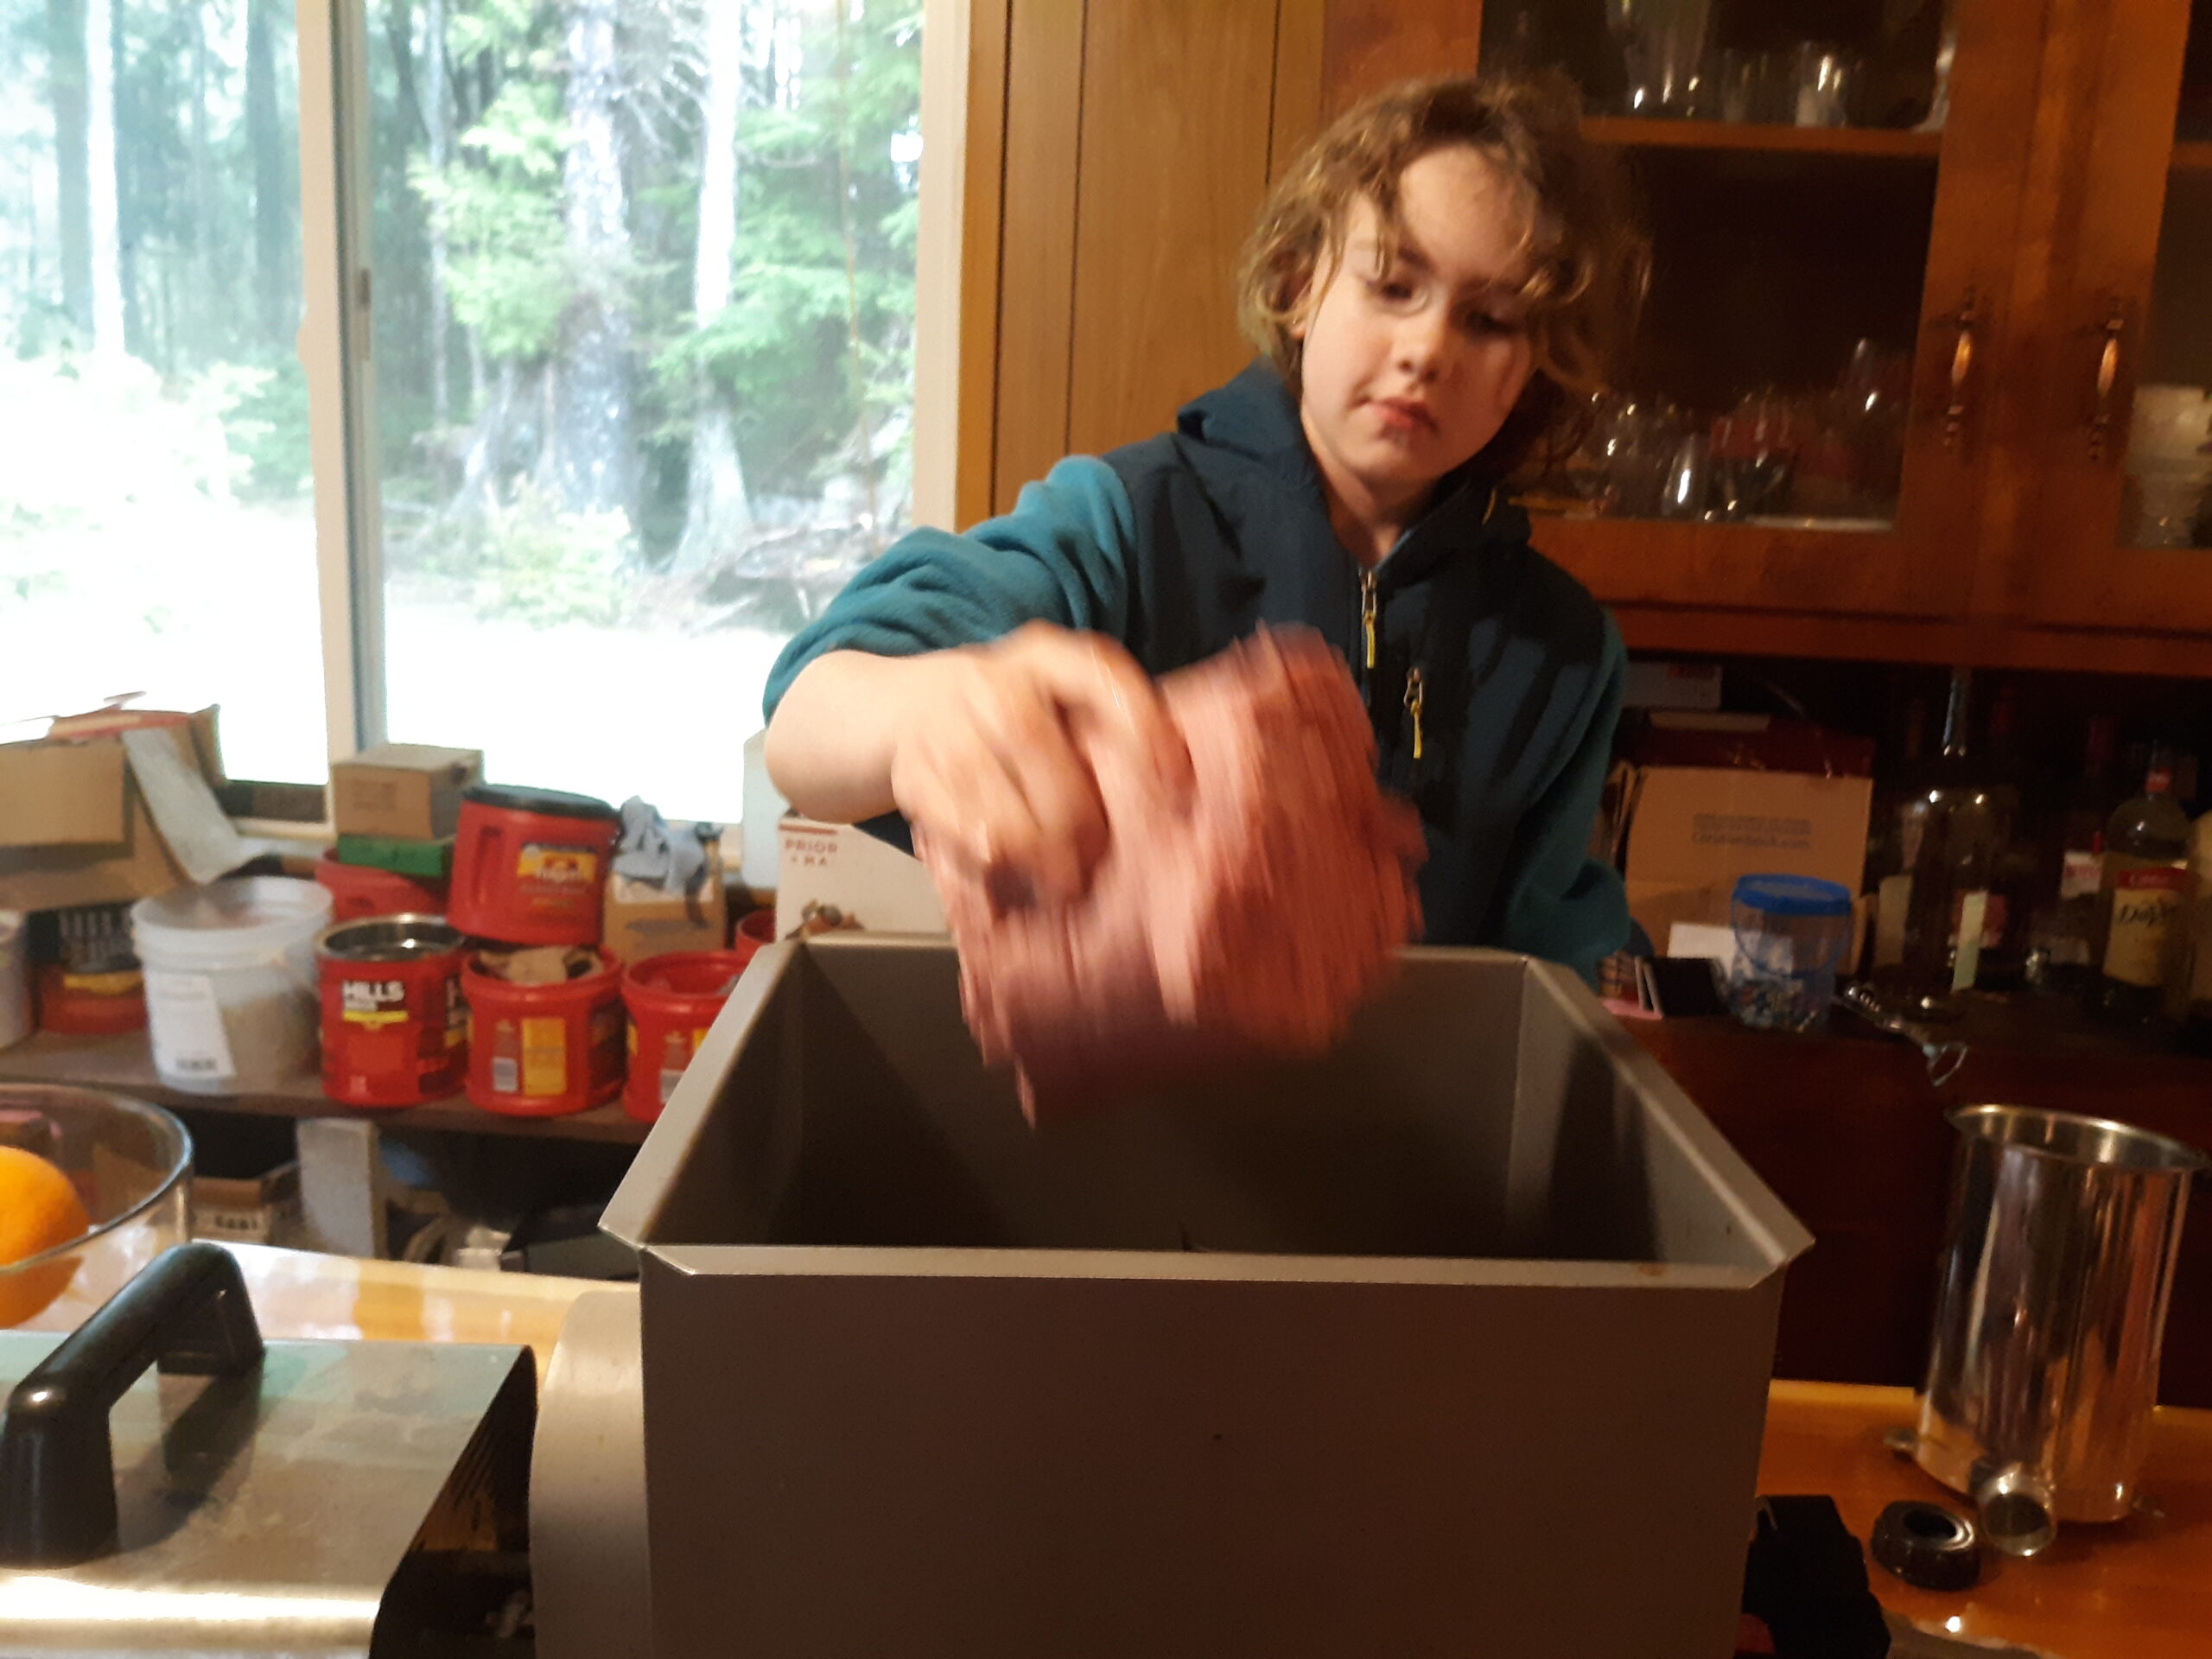
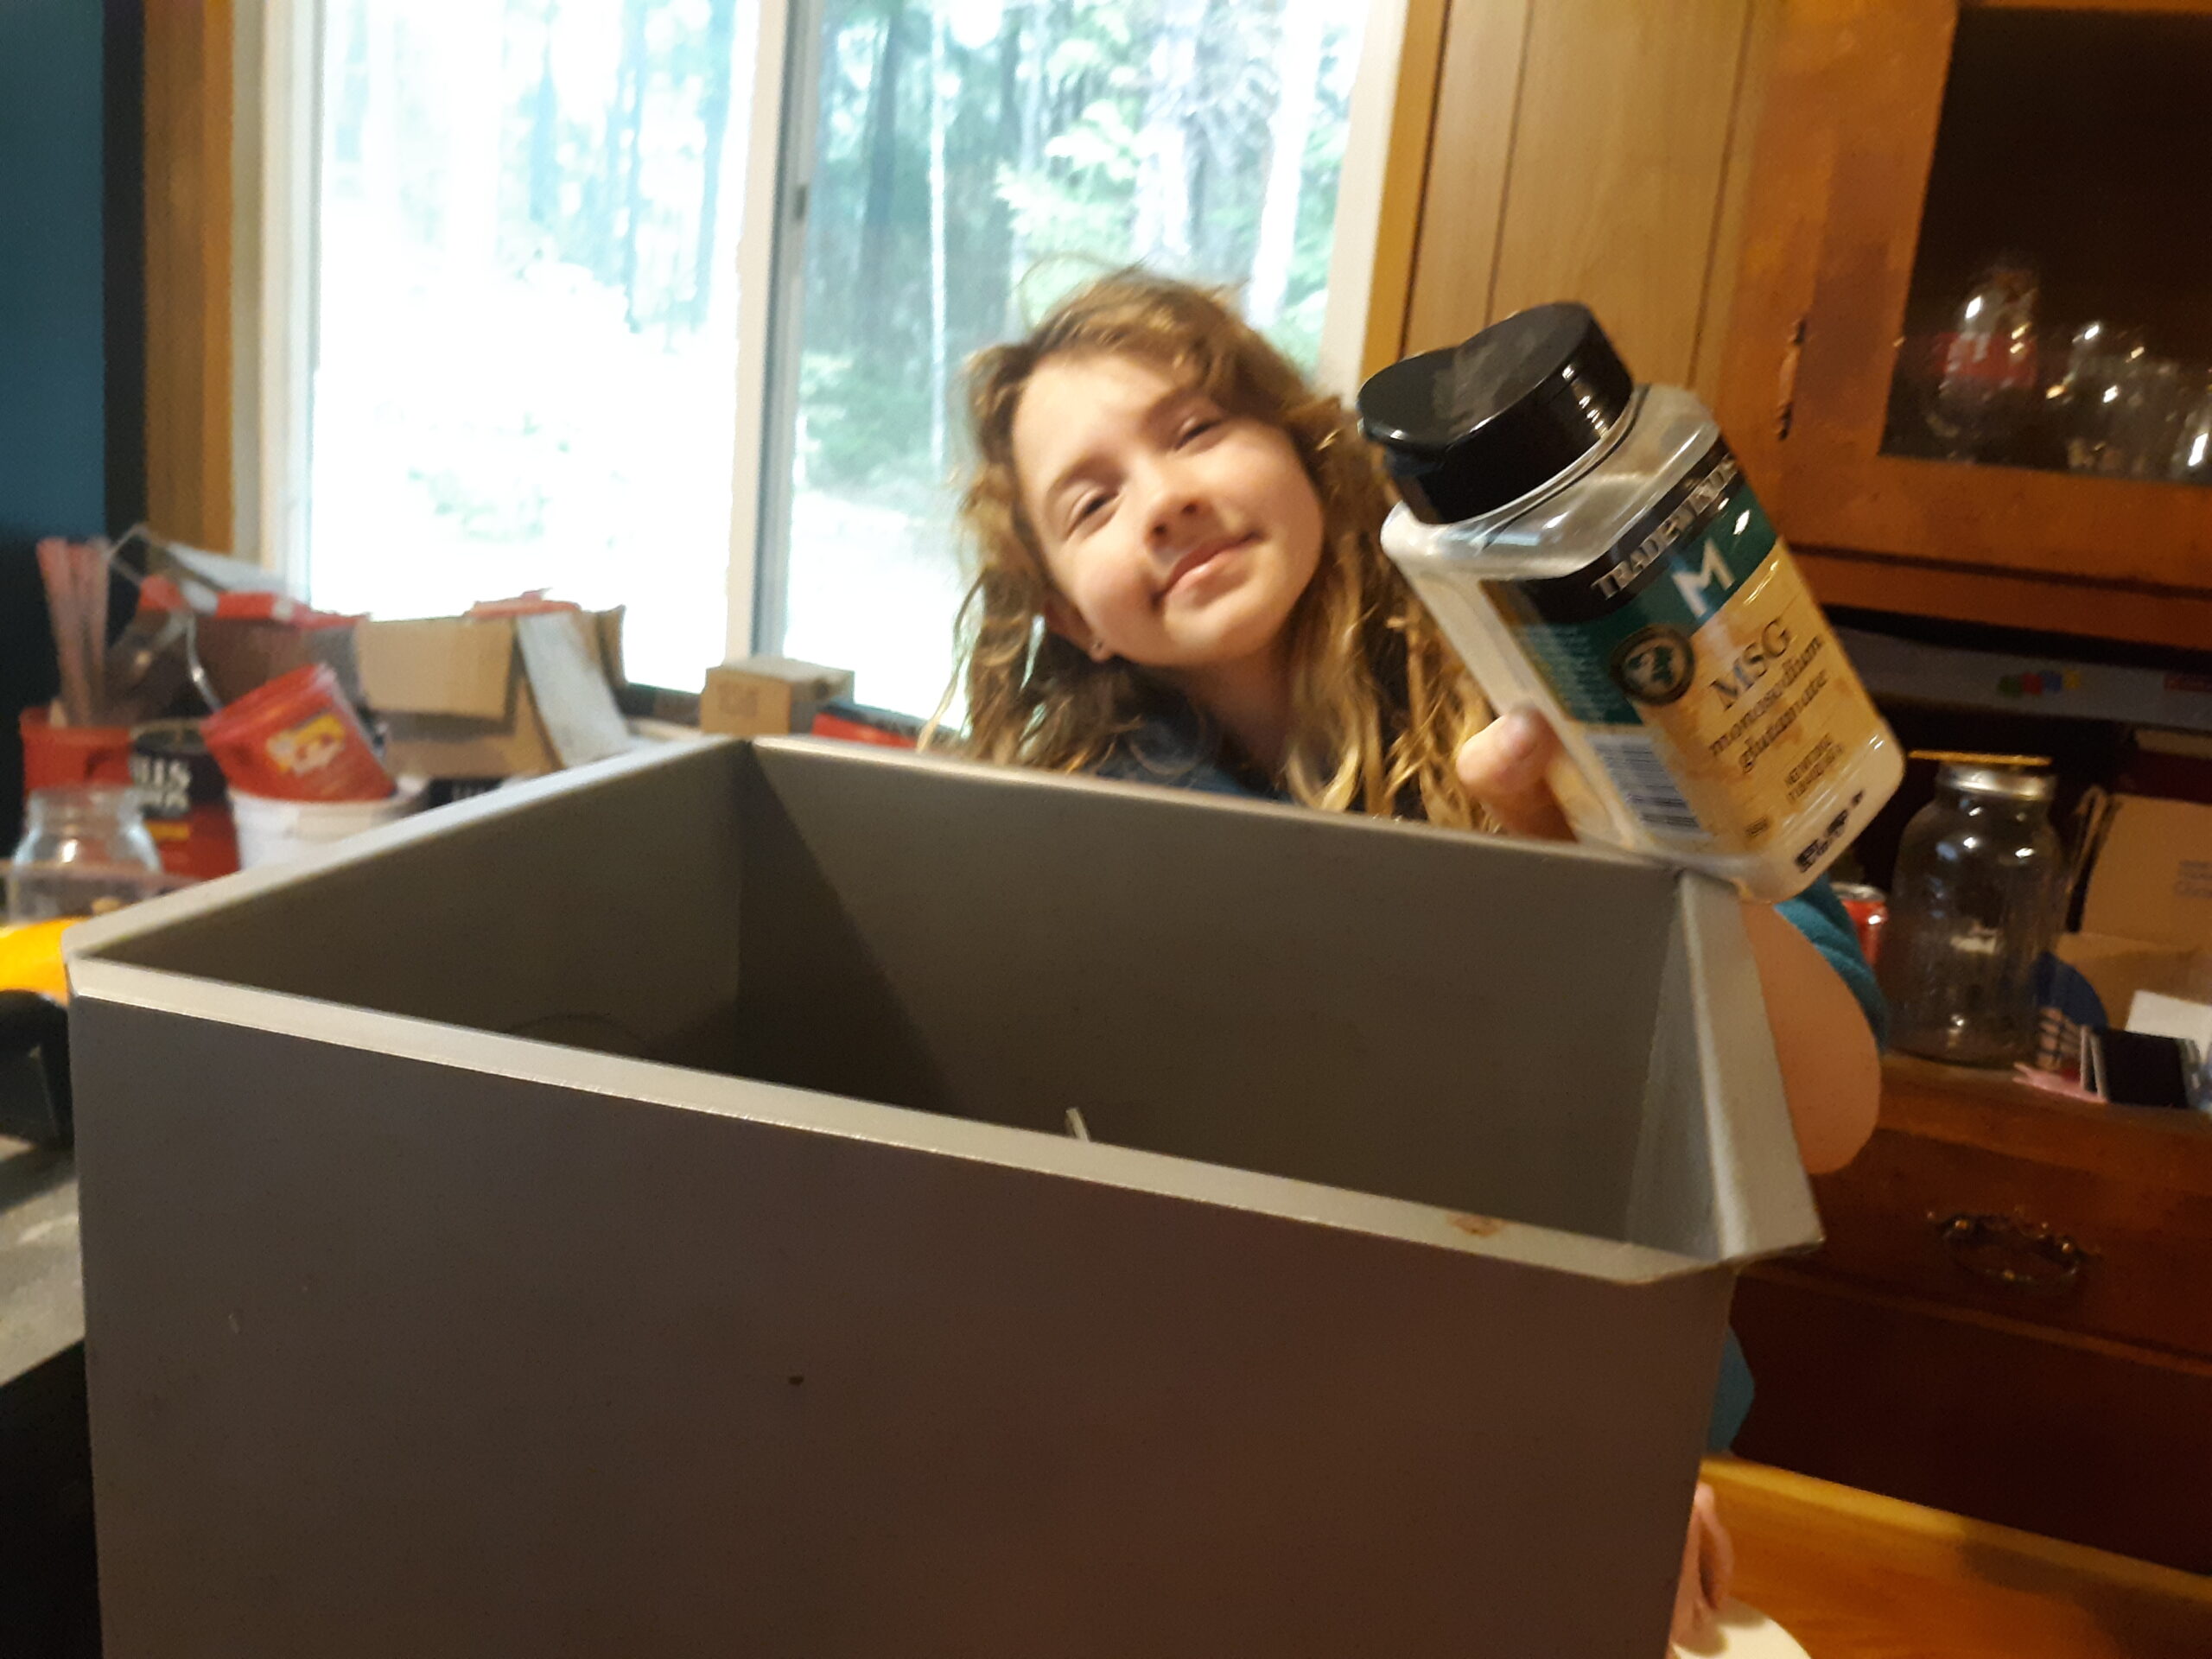
Loading the mixer
Fill the stuffer canister with the mixture and place a casing on the stuffing tube before you start cranking the handle. It shouldn’t take a lot of force to turn the stuffer handle if your water ratio is right. Too dry of mix will make it difficult to operate the stuffer so put the mixture back into the mixer and add more water if necessary until it flows out of the stuffer easily. Keep light pressure on the casing over the end of the stuffing tube to keep the mix from going backwards over the top of the tube. Do not apply too much pressure as that will cause the casing to get overstuffed and split later during the cooking. Carefully let the casing get pushed out past the end of the tube by the stuffer’s pressure only. There will be small voids along the outside of the casing so don’t worry about that as tightly stuffed cases will most likely split when they are cooked. Leave the last two inches or so of the casing unfilled so that you can twist the end of it closed and either place a hog ring on it or tie it closed with string. Crank the stuffer handle backwards about half a turn before removing the stuffed casing to prevent it from slowly leaking as you tie the case and put a new one on it. Continue this until all the mixture is stuffed. There will be some mixture left in the stuffing tube and I usually cook it up in a frying pan for a sample of my work. The stuffed cases need to be placed in a refrigerator for 24 hours so the spices thoroughly penetrate the meat. Also, the mixture dries extremely quickly so clean your equipment immediately as it will dry onto it like glue if it sits for very long.
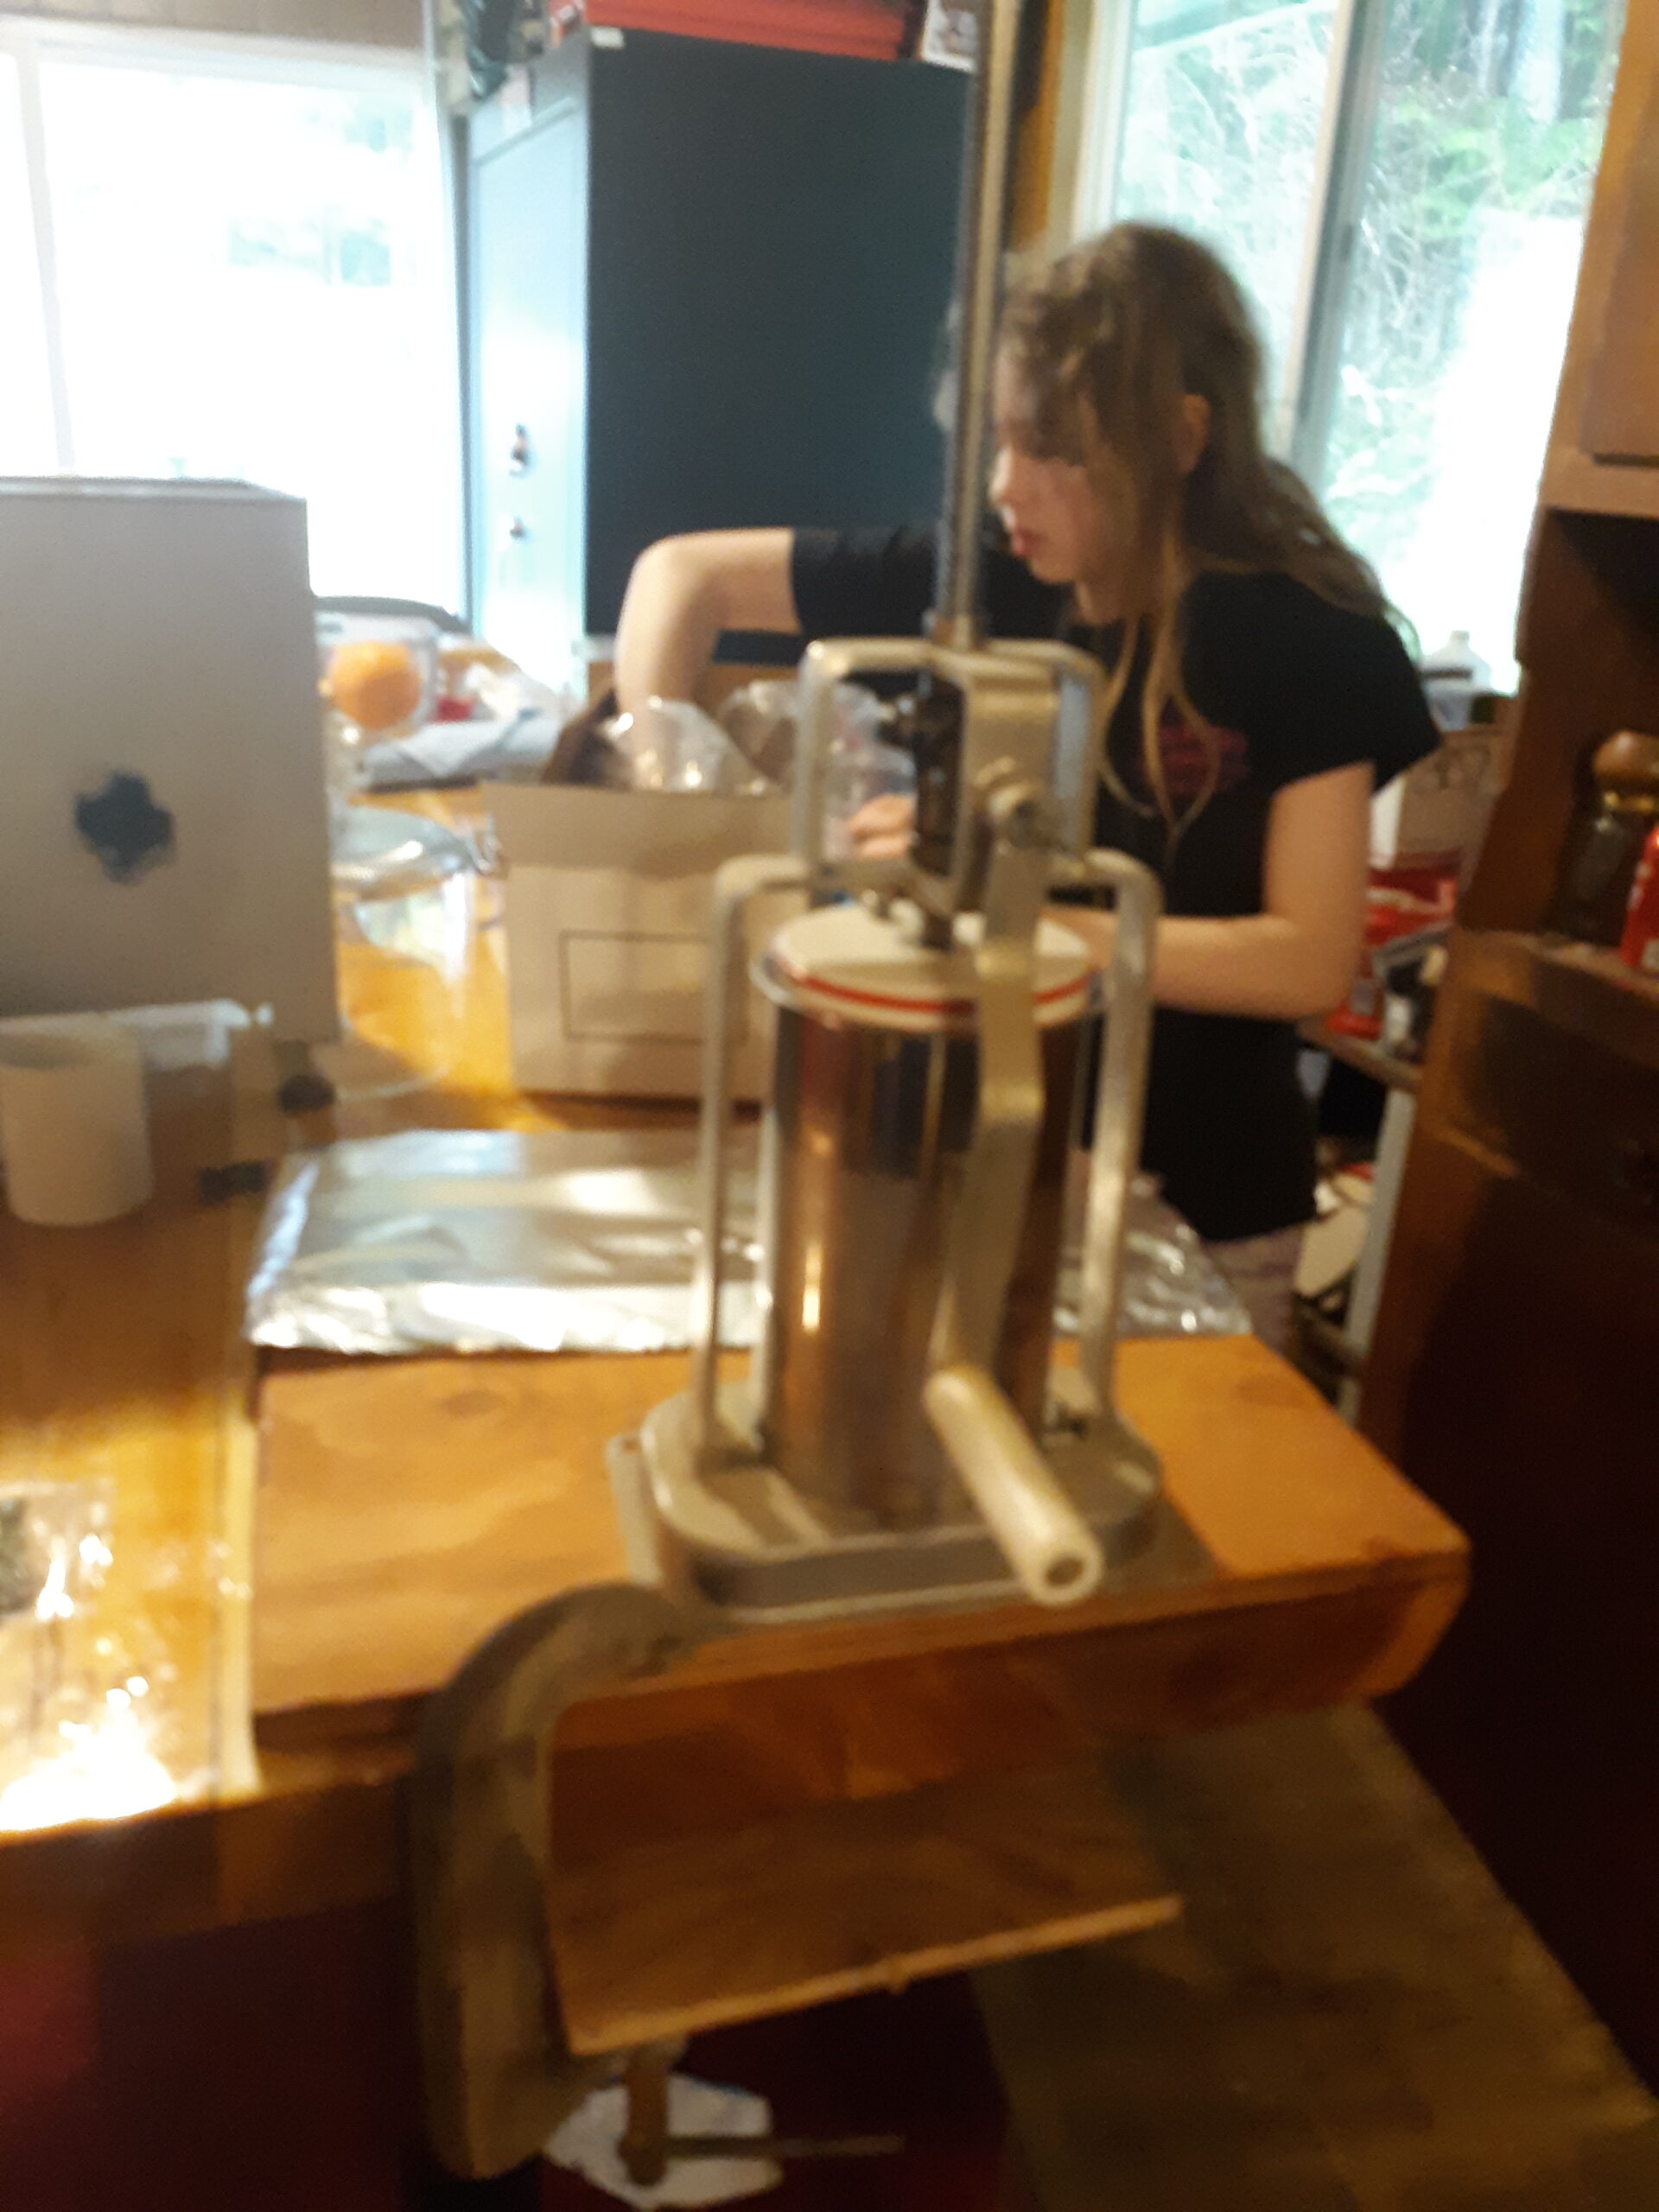

The stuffer
The next step is smoking the sausages after they have sat overnight. Wood choice for smoking is a personal preference and it also depends on what type of meat you are smoking. I use hickory for beef and pork to get more smoke flavor while wild game tastes better using alder, maple, or vine maple to get a sweeter smoke flavor. You can use an oven if you want to, but we much prefer the traditional smoked flavor. The internal temperature requirements also change depending on what type of meat is used. We used beef in this video so it has to be cooked to an internal temperature of 165°. Preheat your smoker to 185° – 190° and place the sausages into it. I lay mine on the racks and other people hang them, but I haven’t noticed a taste difference between those methods. I have a remote thermometer that monitors both the smoker and food temperatures just to save a lot of trips outside to check the smoker. Keeping the smoker temperatures down is very important for a couple reasons, one the cases will split if the temperature is too high and two, high temperatures can cause the outer edges of the sausage to get cooked and dried out while leaving the centers raw.
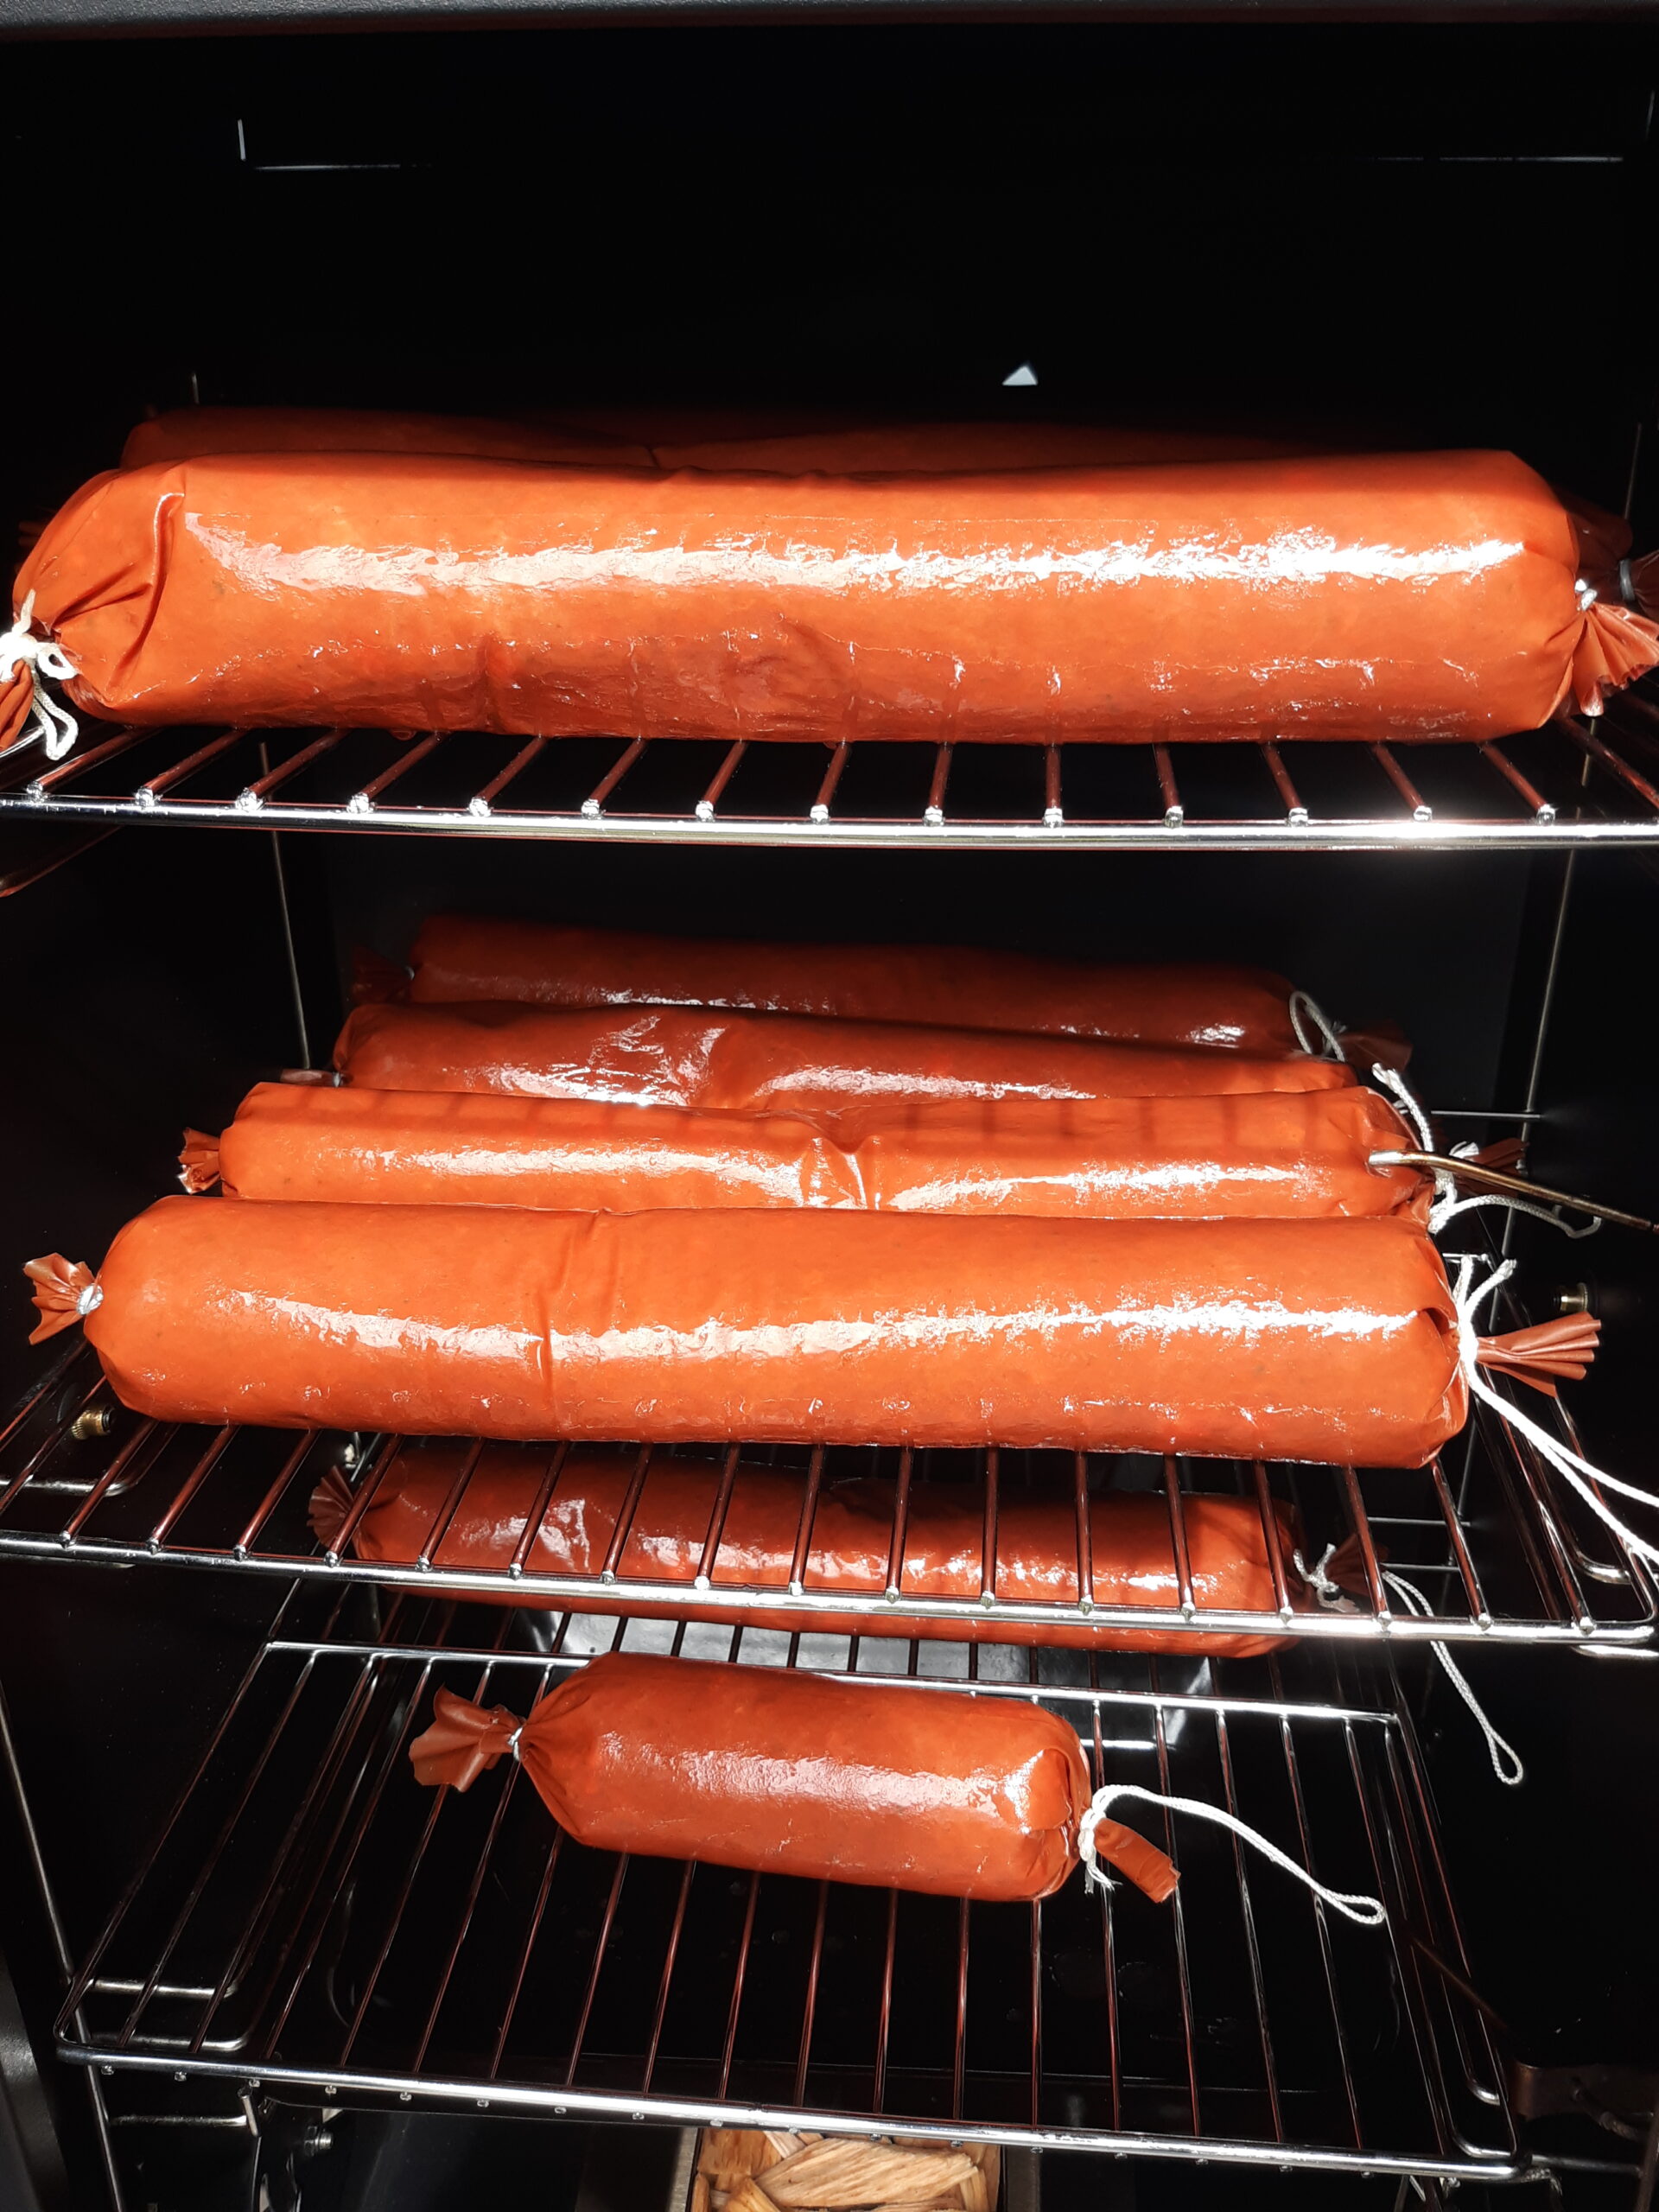
Sausages loaded into the smoker 
The propane smoker
Once the internal temperature is reached remove the sausages from the smoker and place them on a cooling rack to rest. We always try one as soon as it’s cool enough to touch and you will never ever have a summer sausage that tastes better than one that is fresh from the smoker. Place them in the refrigerator after they have cooled down as they are not shelf stable if you didn’t use that cure so they need to be refrigerated. For the longer term we will vacuum pack the sausage logs and freeze them for up to six-months. Occasionally we will make smaller sausage logs for some of our friends and family for Christmas gifts too. Making sausage is a learning curve and does require some startup money, but you will recoup that after only a few animals and saving about $4 a pound by not having a butcher do it. Once you get a recipe perfected to your taste you will never truly like a store-bought summer sausage again.
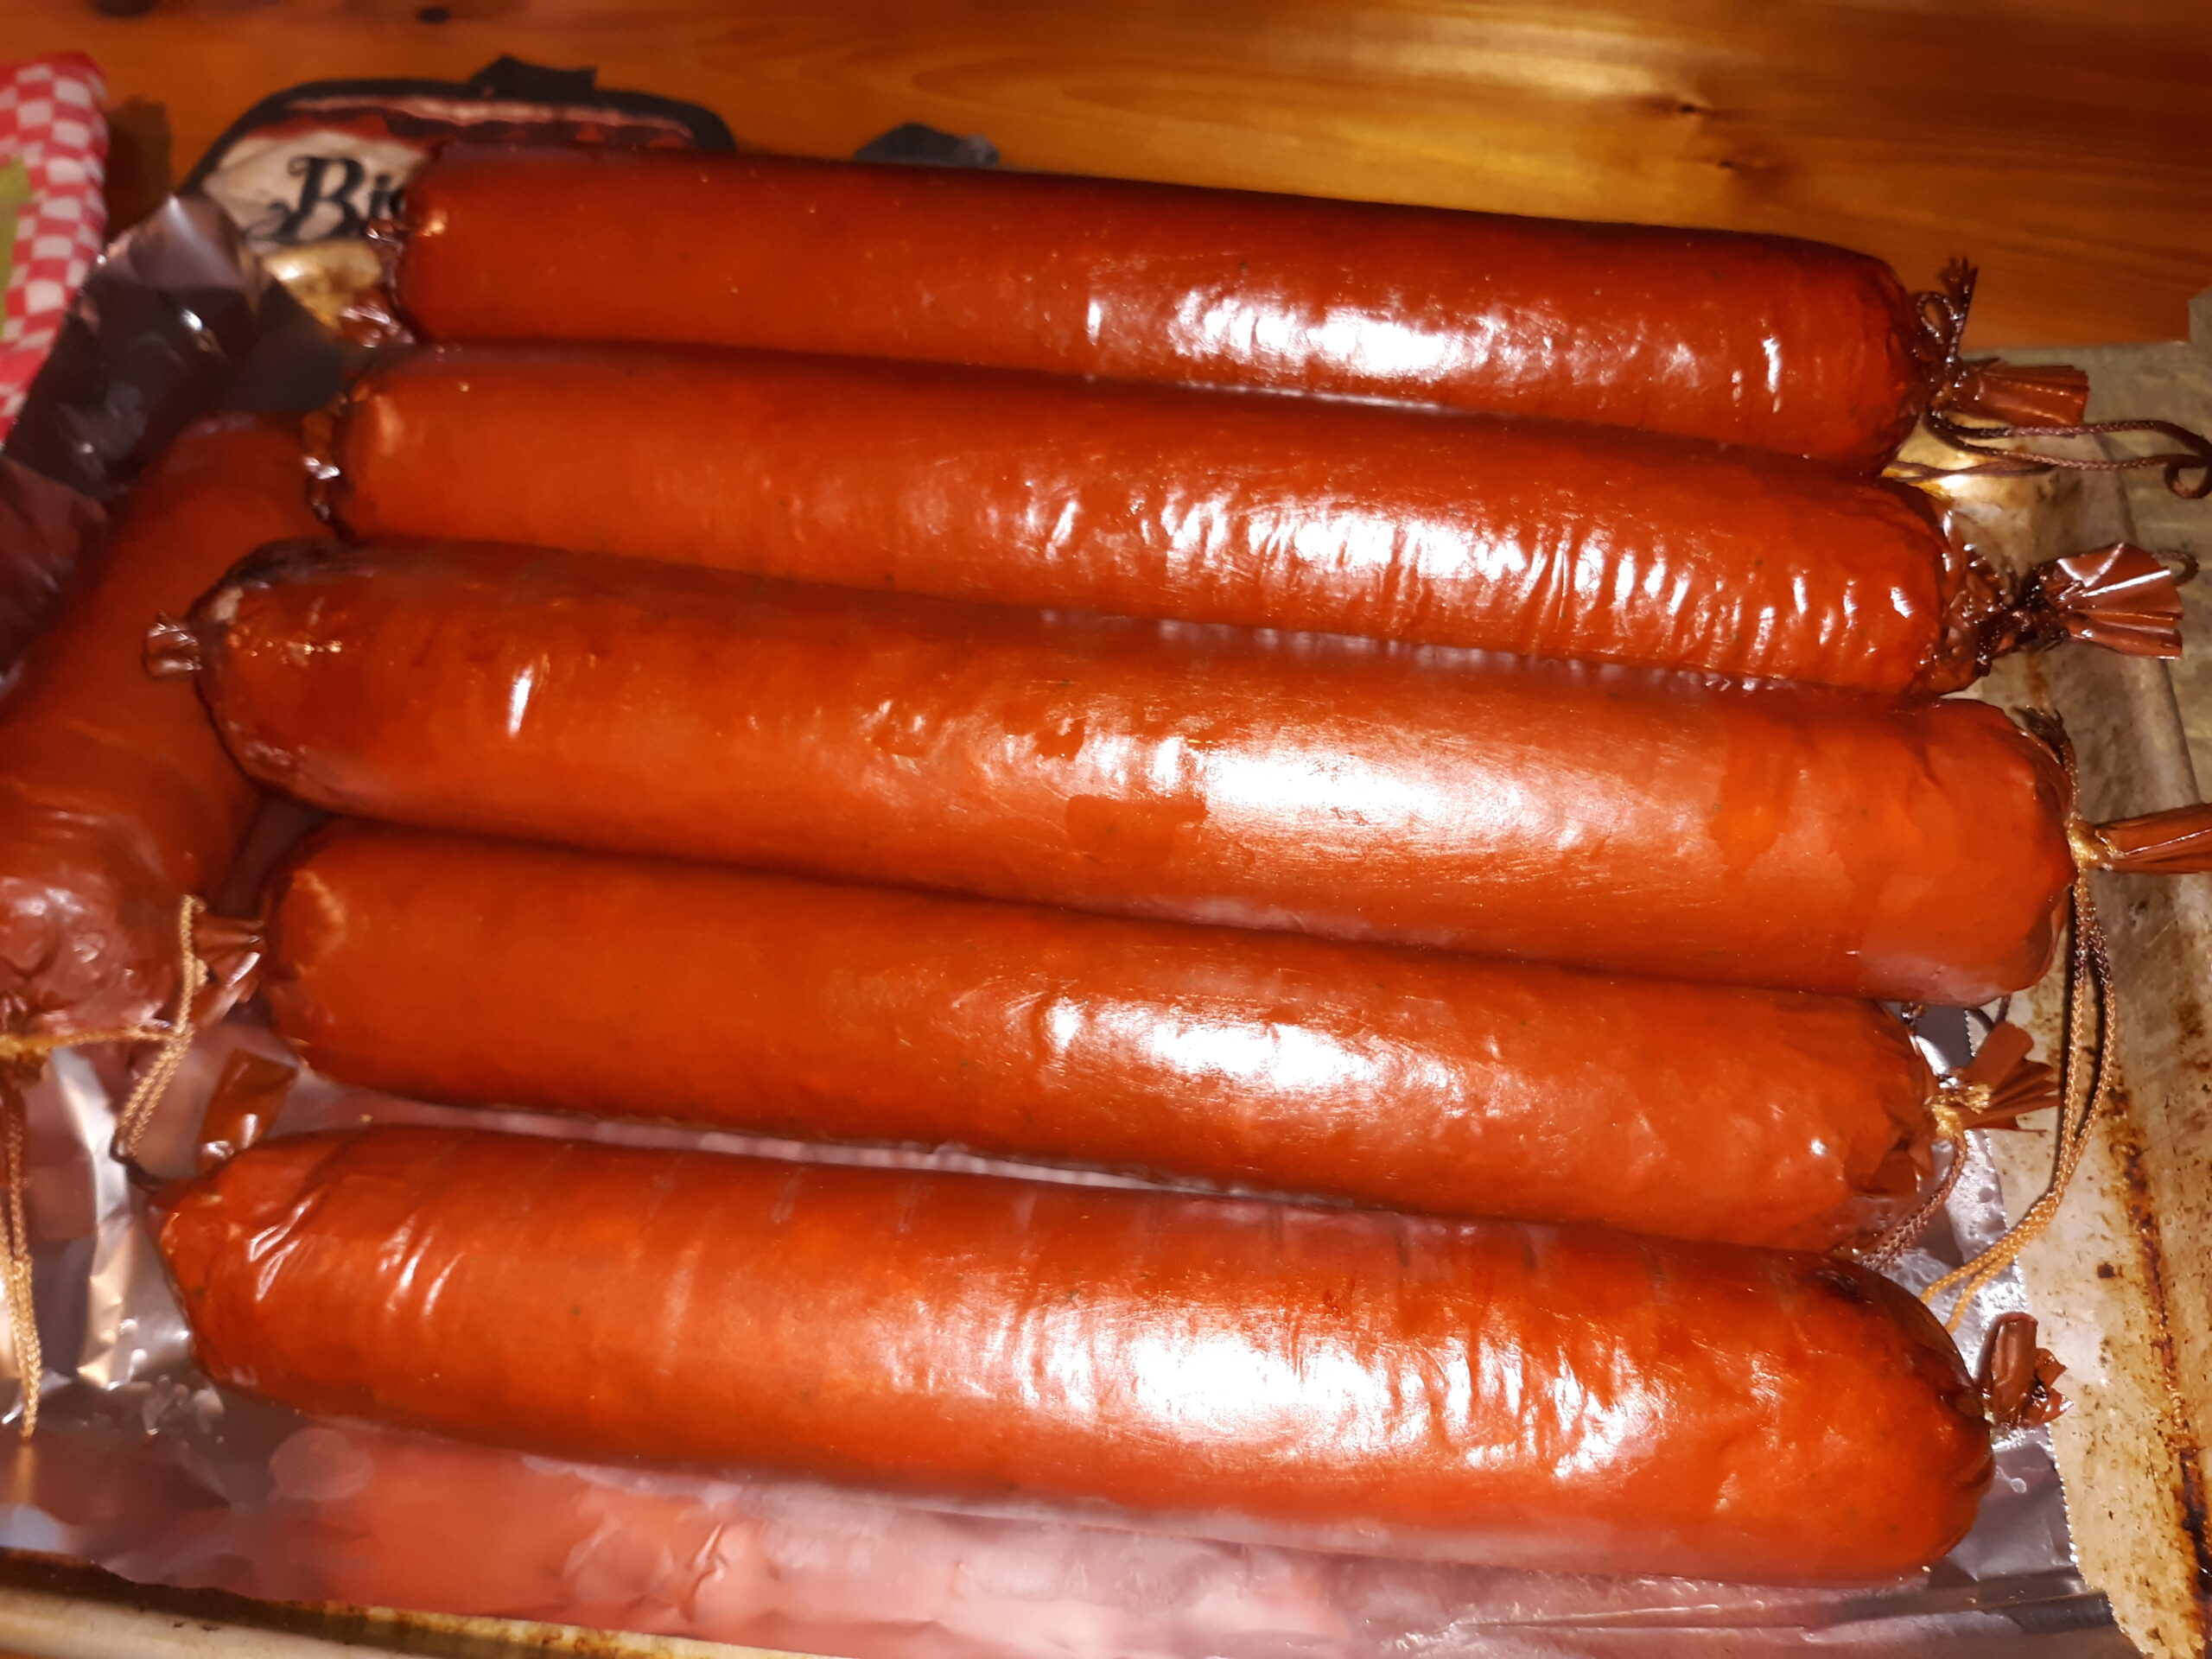
Finished Smoked Summer Sausage 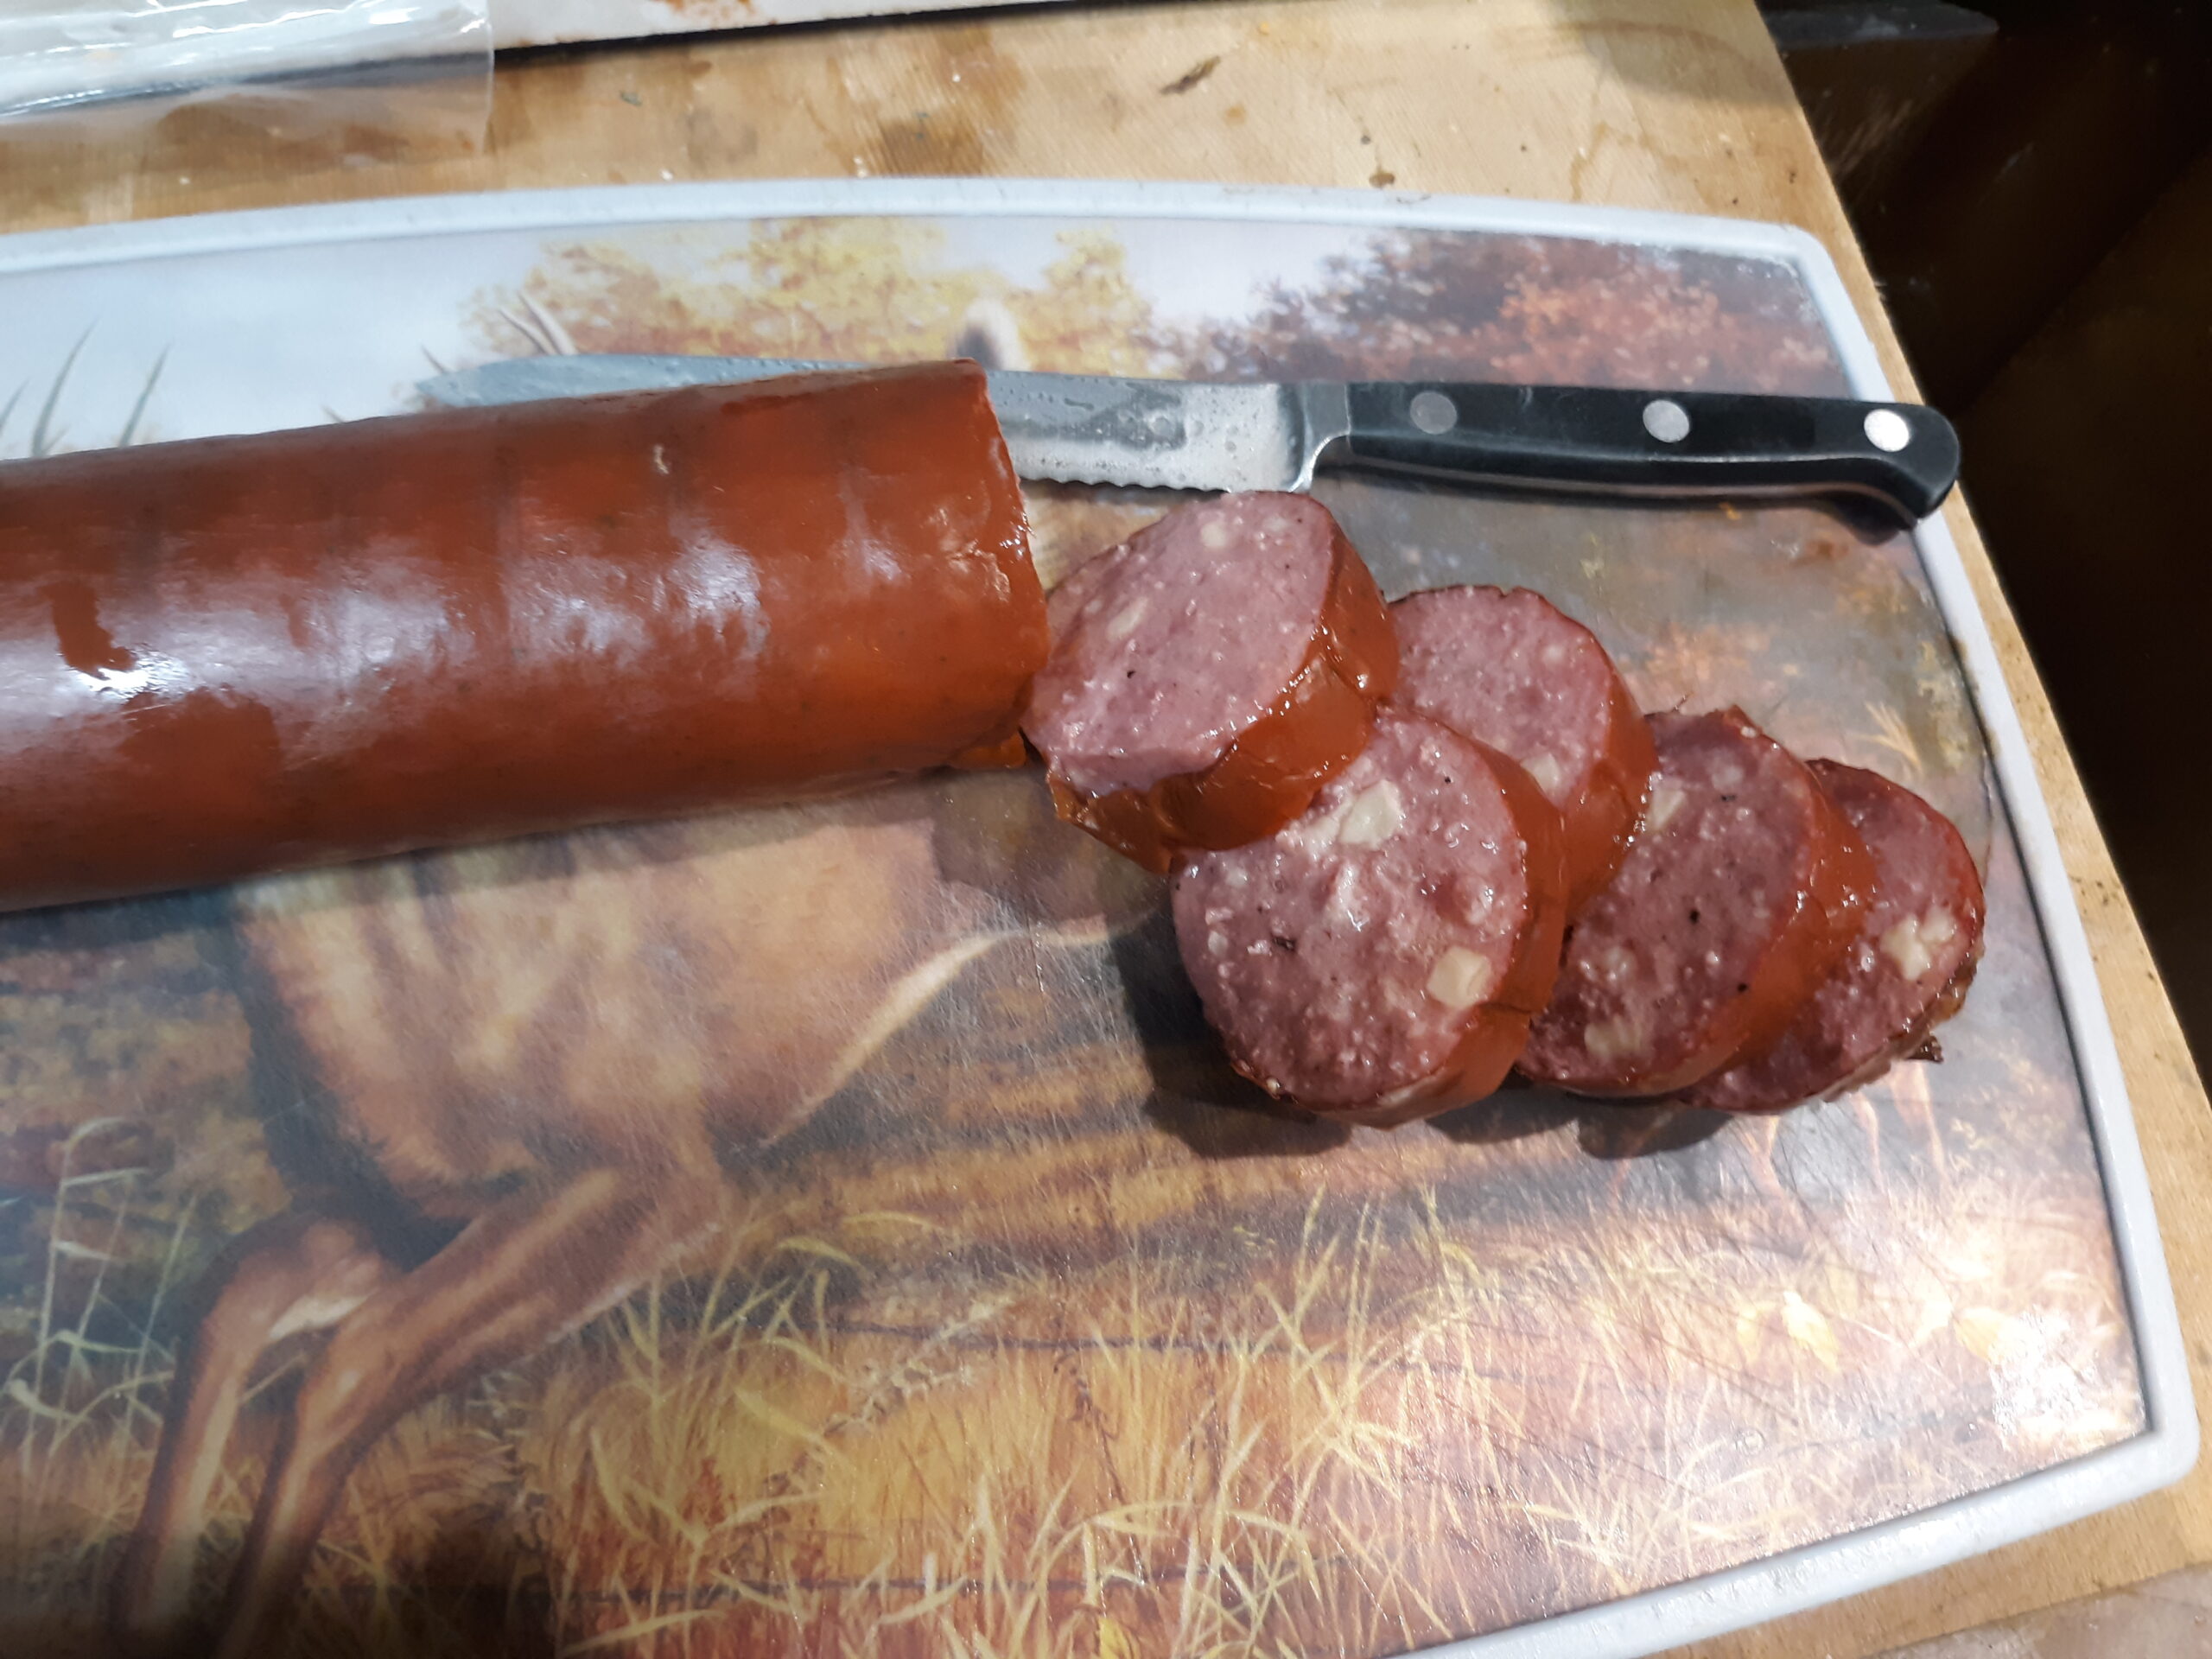
Slices of freshly smoked sausage