Jessica’s Quad
Jessica started out on a 50cc quad when she was five years old and has been hooked on riding quads ever since then. She finally outgrew it and we bought her a new Yamaha Kodiak 450 4X4 when she was ten. Her little 50cc quad had problems getting high-centered on the trails so it was time. The Kodiak was the “Special Edition” model meaning that it had several factory upgrades already such as power steering, upgraded aluminum wheels, special colors, and several other features so it was fancy to start with. We got a discounted price on it as it was off-season and sales were slow at that time of the year so we were happy, but not as happy as Jessica was.
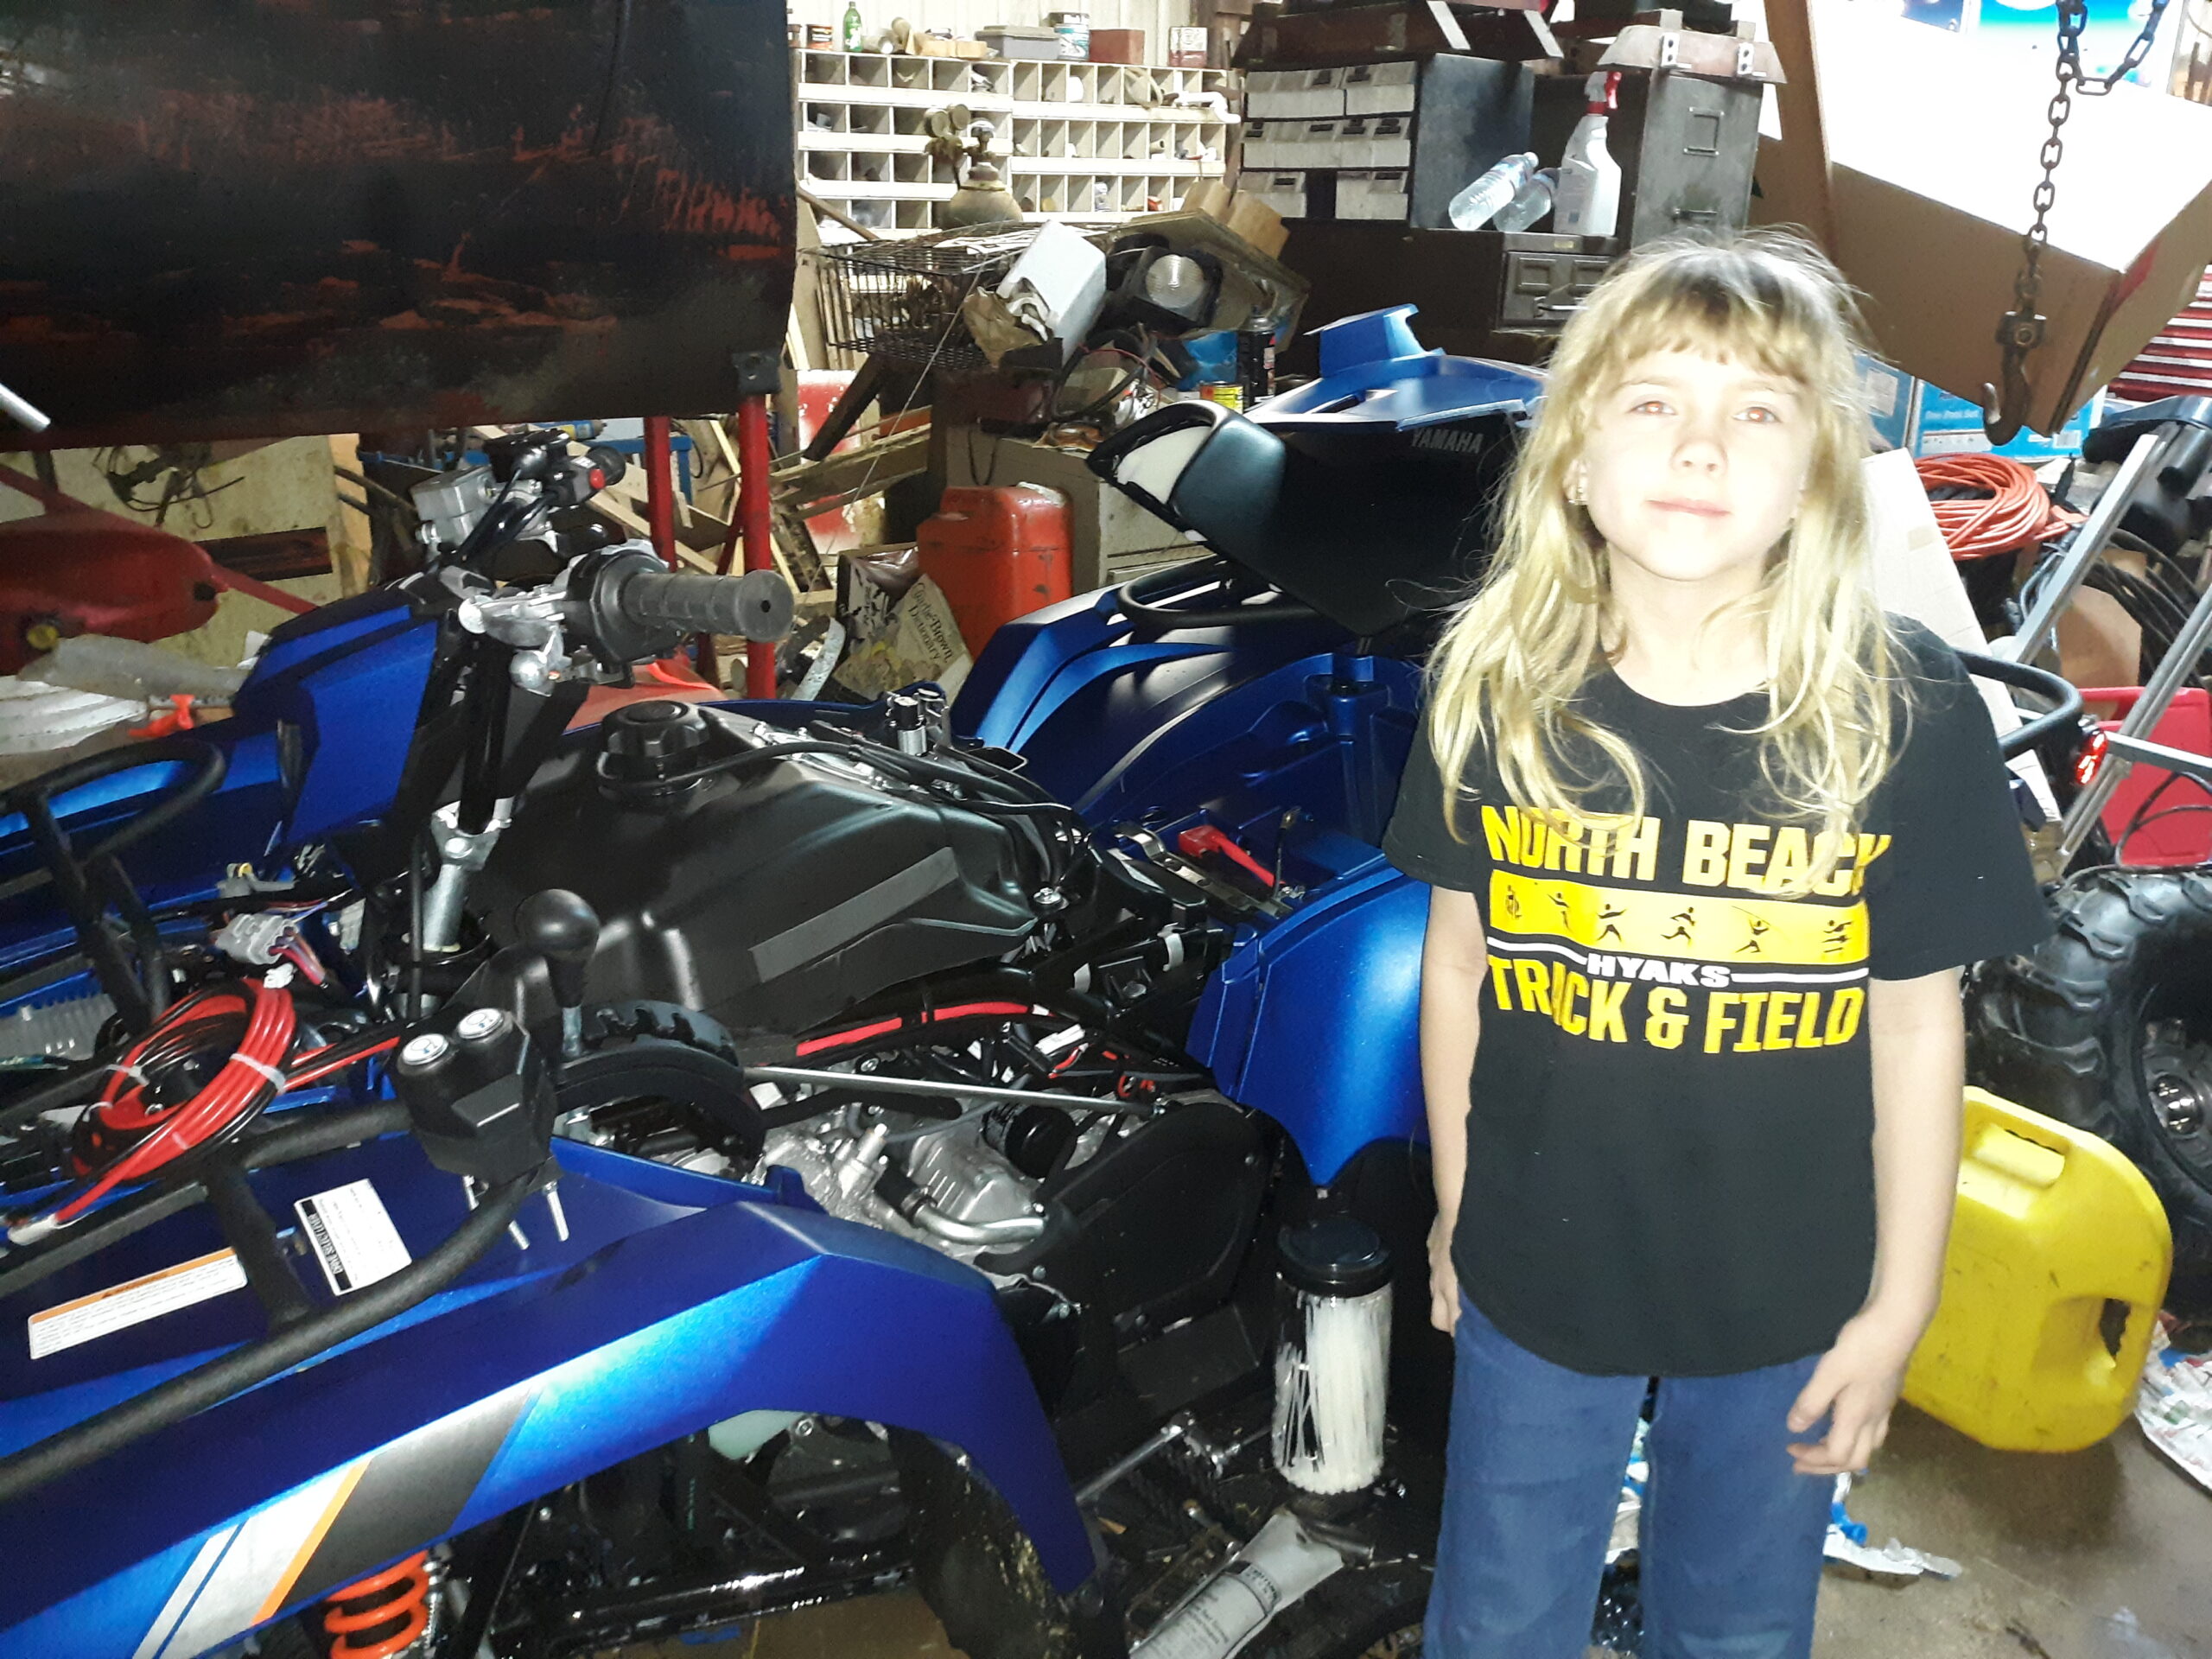
We brought it home and we let Jessica ride it around the block a couple times before putting it in the shop for some upgrades. We knew that eventually this quad would be doing some serious trail and cross-country travelling so it had to be “Bulletproofed” so that we wouldn’t have to worry as much about breakdowns on the trails. I took off most of the plastic body panels so that I could repaint the frame to slow down future rusting problems. I figured that now is the time to do that because it was brand new and clean so the prep work was very minimal. The factory paint looks pretty for a while, but starts rusting after a few years so I used two coats of primer and two finish coats of an oil-based enamel paint to help stop future rust.
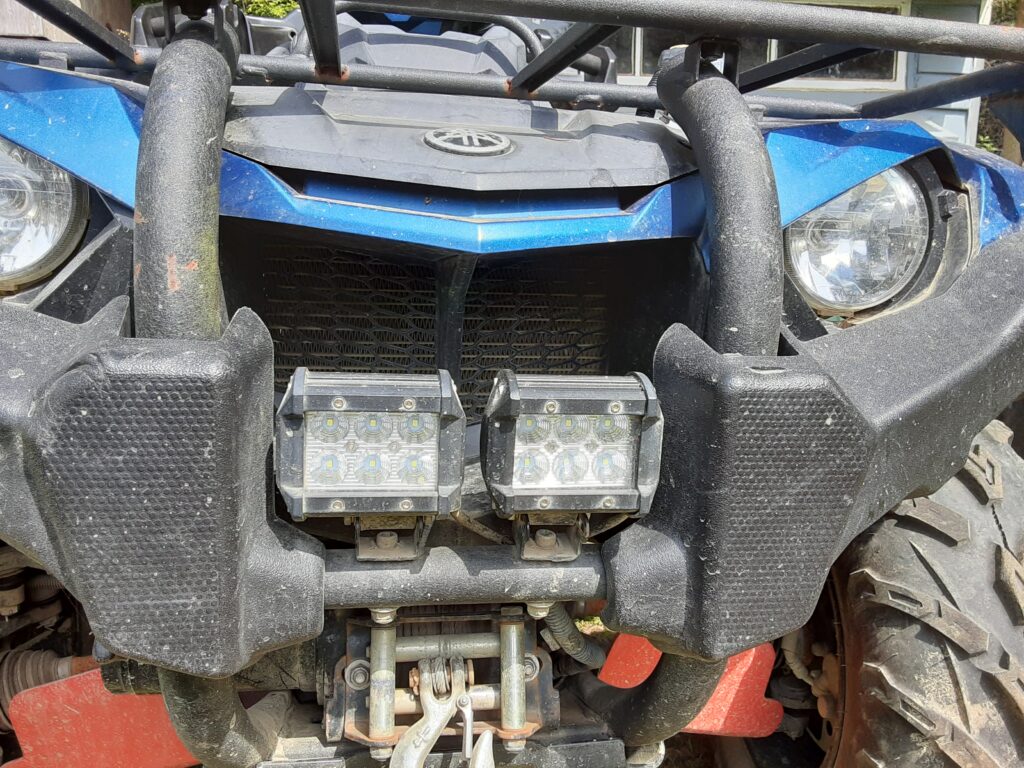
Since the body was off, I wired in an ignition-controlled circuit for a set of LED spotlights that were independent from the headlight circuit so they would also act as redundant lights should the headlights quit working. We do lots of nighttime riding in the dark so auxiliary lights really help illuminate the trail too besides being a backup. I made a switch mount out of aluminum for the waterproof toggle switch and mounted it on the handlebars. All the connections were soldered and shrink-tubed to keep them waterproof and reliable. I used a two-pole connector at the lights themselves so that the grill guard could be easily taken off later without cutting wires if ever needed.
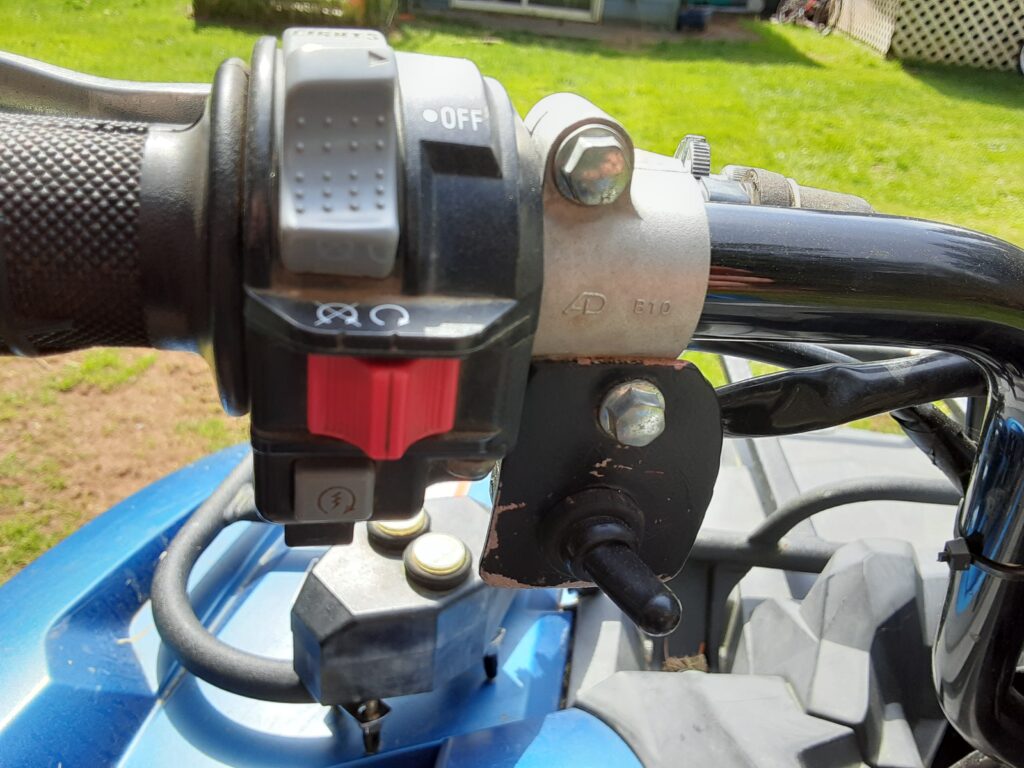
Toggle switch for LED lights
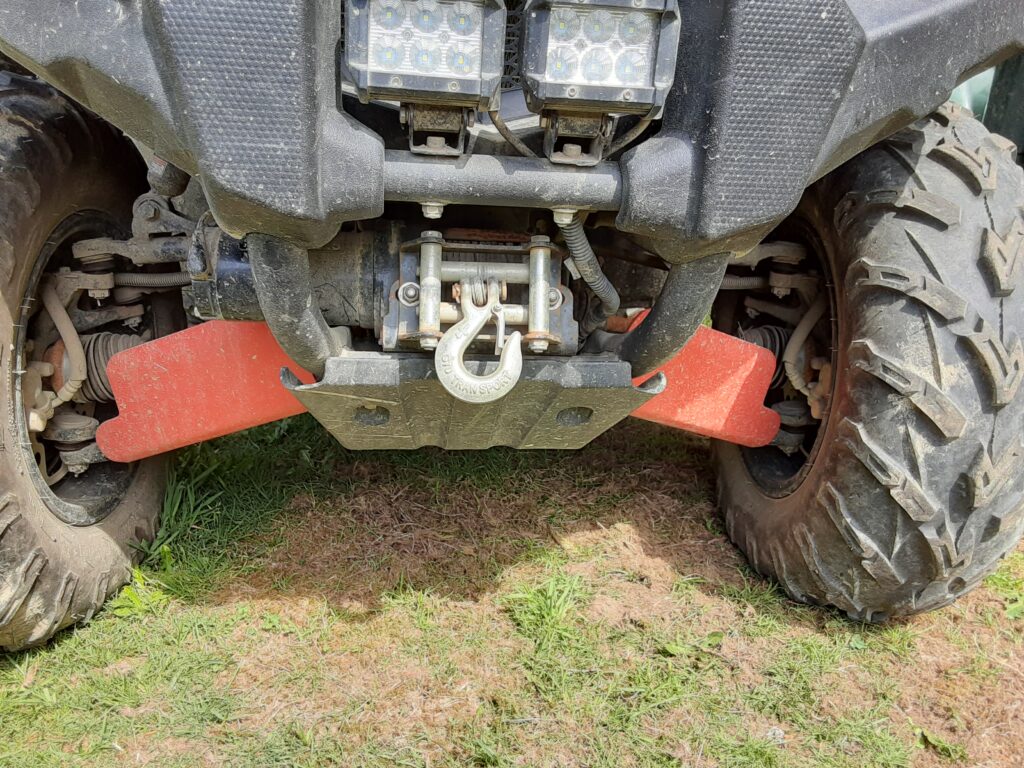
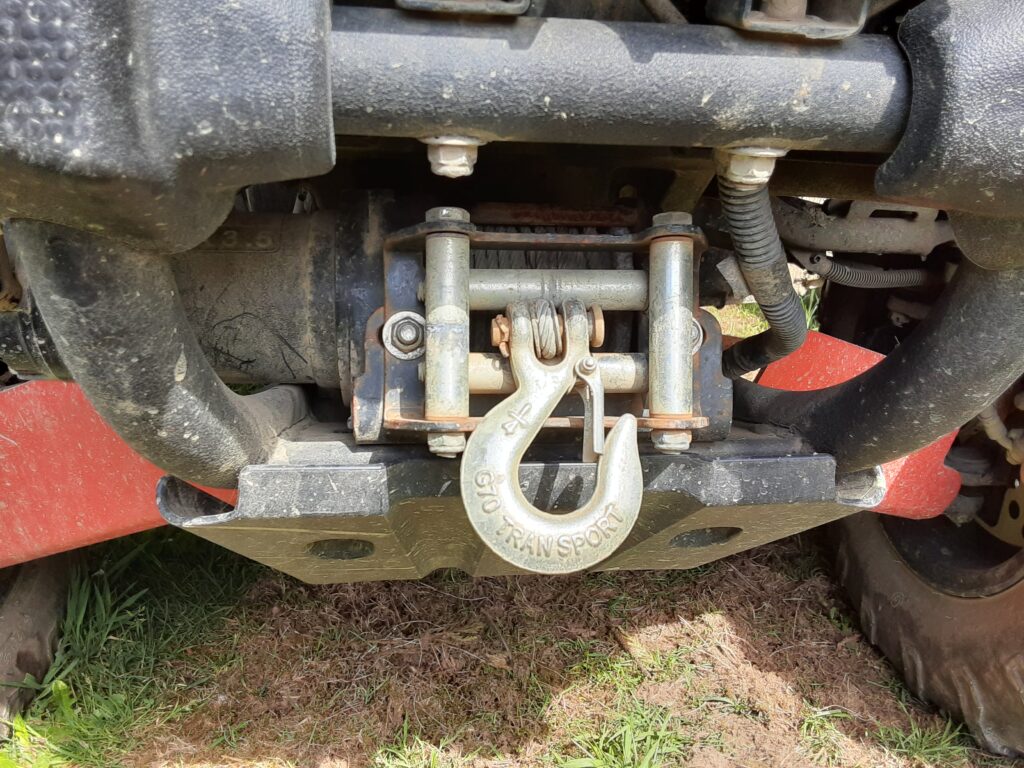
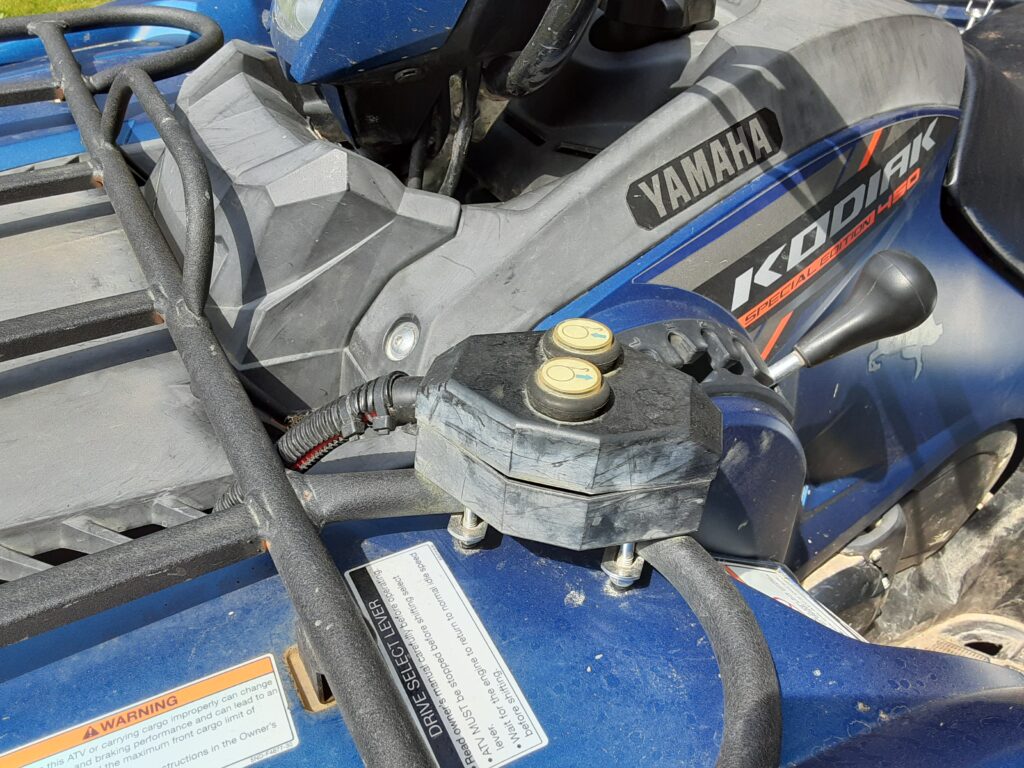
A winch was essential for self-recovery, pulling other stuck quads out, retrieving big game, and lots of other uses so I added a 3,500# winch. Wiring it in was simple while the body panels were off and I used a roller fairlead to help extend the cable life. I have used the synthetic rope winches in the past and they broke the rope almost every time so I opted for the real steel galvanized cable instead because we may be relying on it to get back home someday. I used the manual turn style winch control instead of the solenoid style just for reliability. I’ve had winch solenoids fail at various times over the years and a solenoid pack would be very difficult to get to on this quad once the panels were reinstalled. I switched out the factory tail/stop bulb with a LED to reduce power consumption so the charging system could keep up with the added LED spotlights.
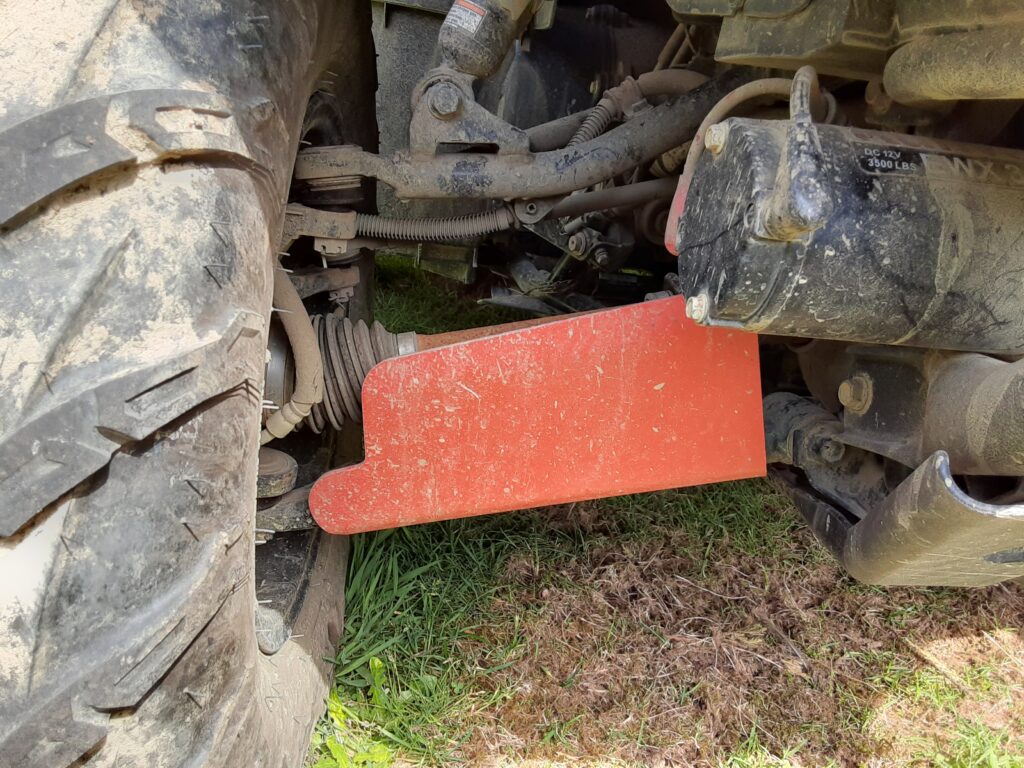
Constant Velocity or “CV” joint boot covers are another problem to consider as they rip easily in the brush which leads to CV joint failure down the road. We had this problem with the other quad and it was a full day’s work to replace them so spend the extra time and money upfront to save you lots of headaches later. We bought the aluminum Ricochet Off-road 1/8” aluminum CV boot protectors and painted them orange to match the accent colors on her quad and shocks. They were definitely heavy-duty and provided very good protection to all four CV joints and were easy to install. I highly recommend these if you drive through any brush.
We found a rear storage organizer that doubled as a second seat so we added that which also gave a place for Kimber to sit when she goes along on rides. It was a plastic heavy-duty one that has lots of weatherproof storage so it’s great for keeping all the camping, hunting, and survival supplies in. We also installed a ham radio in it long with an auxiliary cigarette lighter so she can charge thing while keeping them dry and from falling off the quad. The ham radio allows her to call us when needed so she can check-in or just in case she had a problem as cell phones are not reliable or don’t work in many places here.
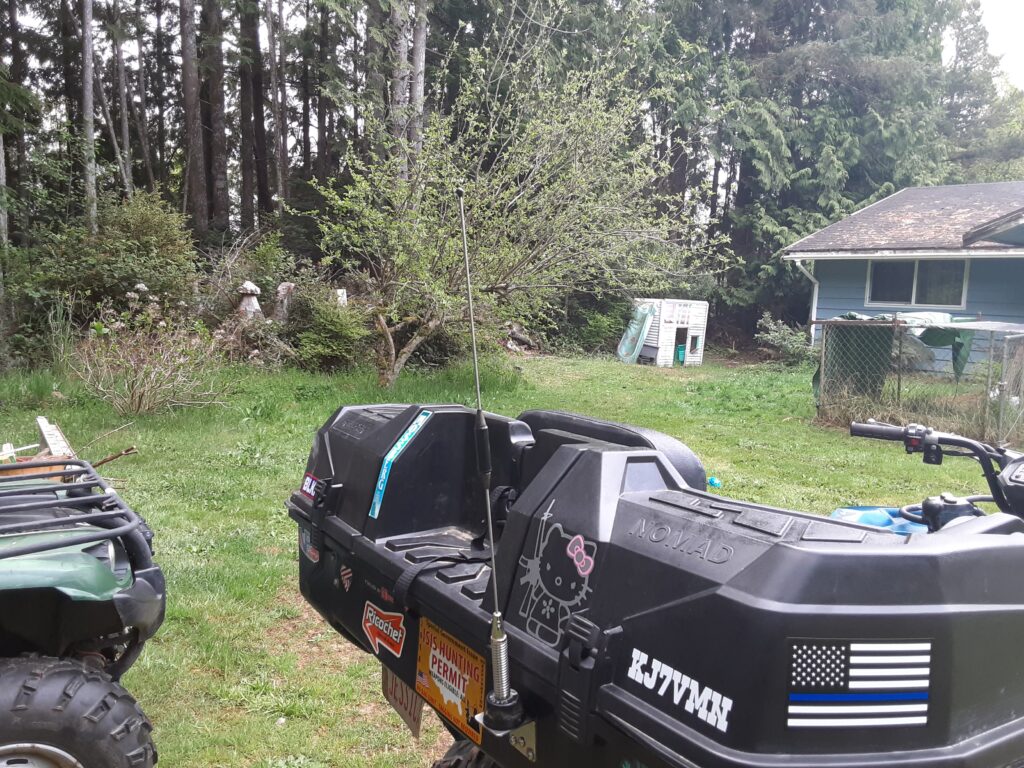
The Larsen 2M/70cm dual band antenna 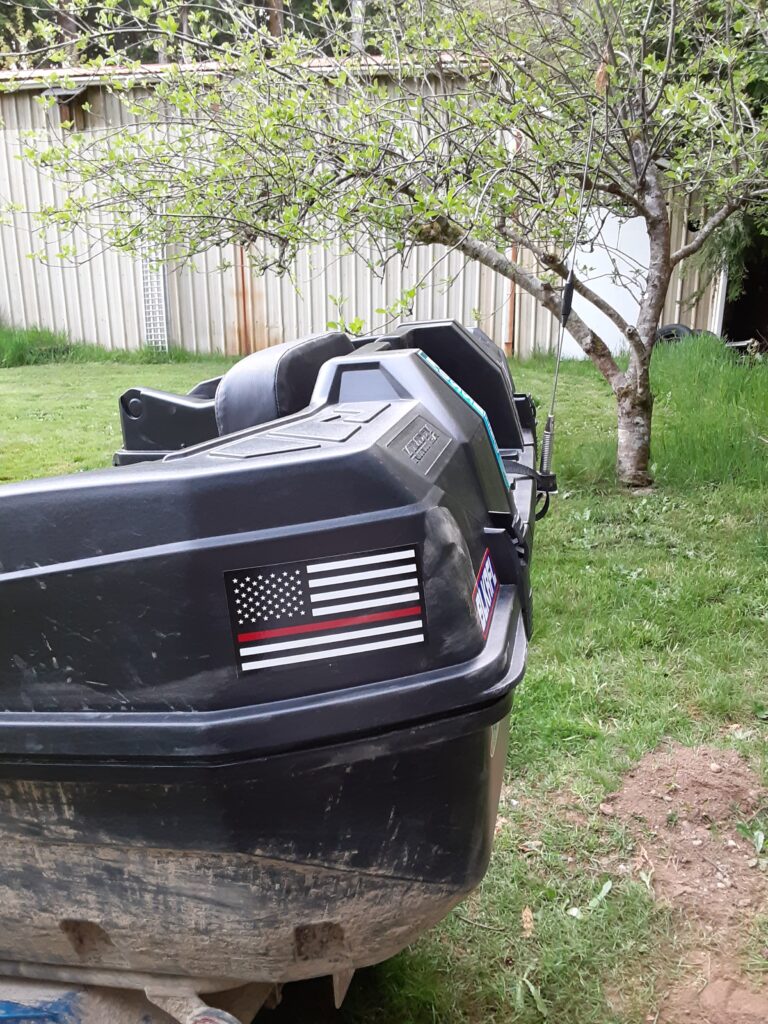
Antenna location 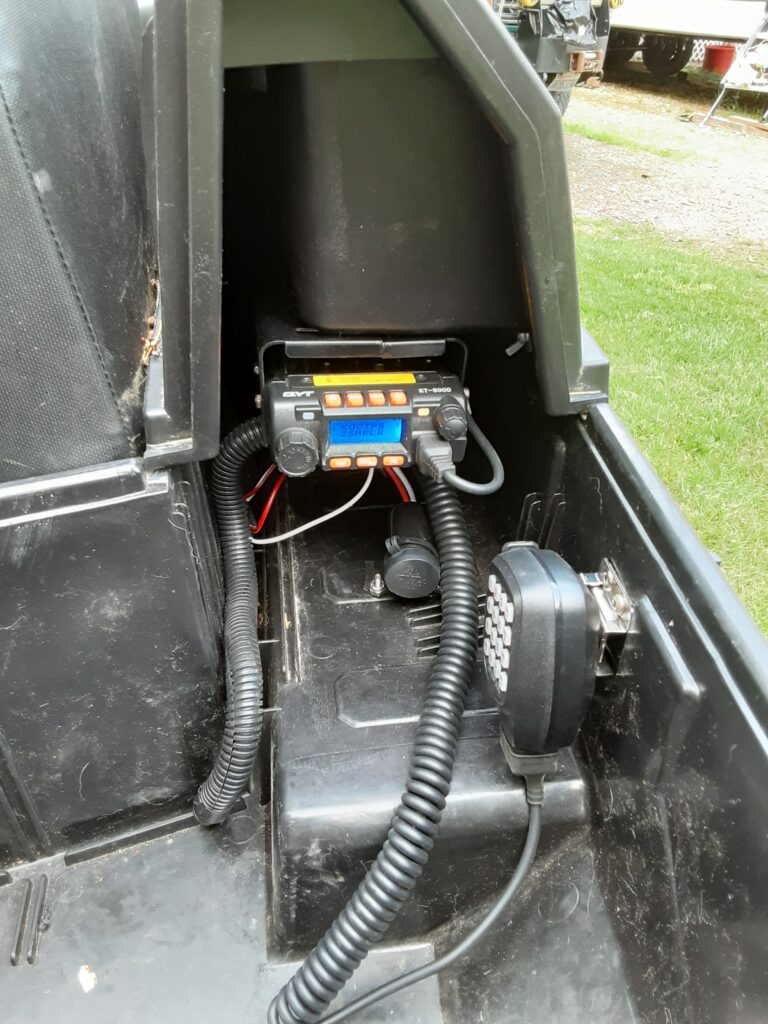
QYT KT8900 Mounting Location 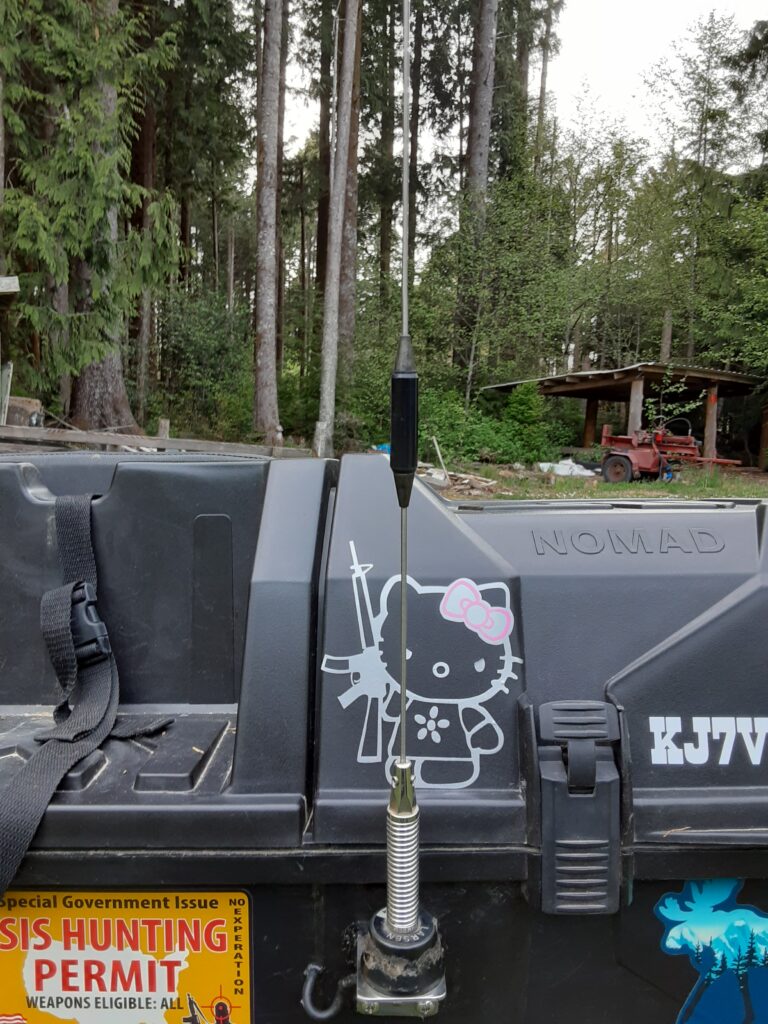
Larsen NMO antenna 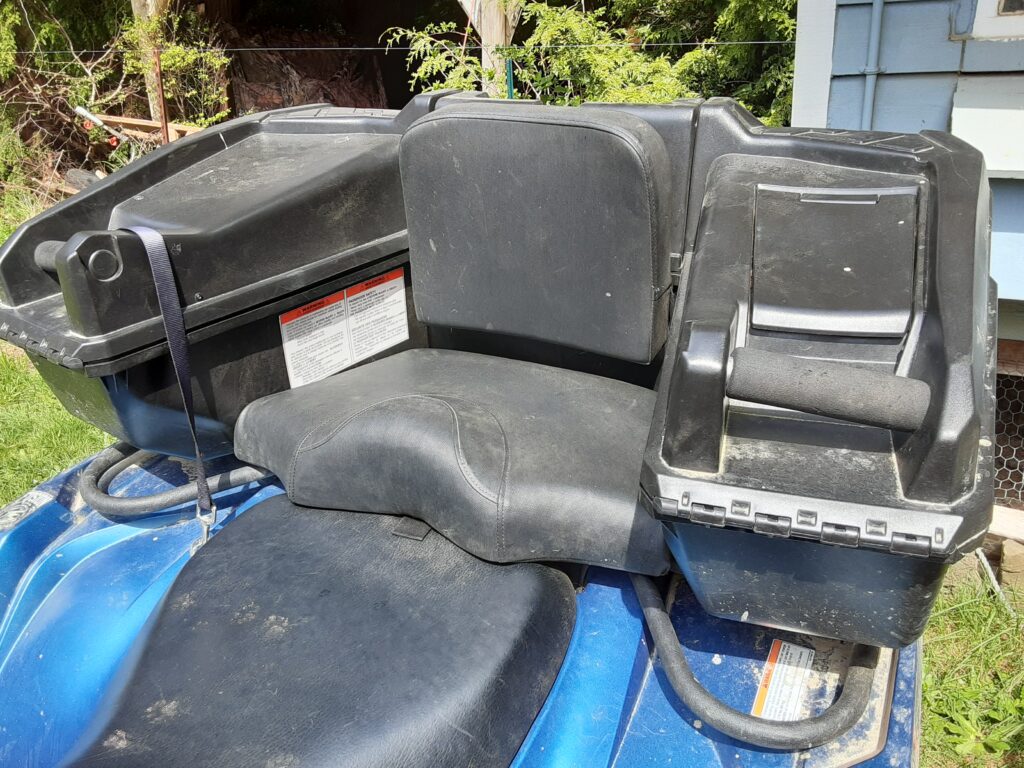
The next addition to the quad will be a Ram mount to hold a GPS along with heated handle bars and/or hand guards so her hands stay warmer in the winter when she’s riding. So far, she has been using it a lot and has learned how to do all of her own maintenance on it so all I have to do is provide the oil, filter, grease gun, and tools so I can stand back out of her way and let her work.
