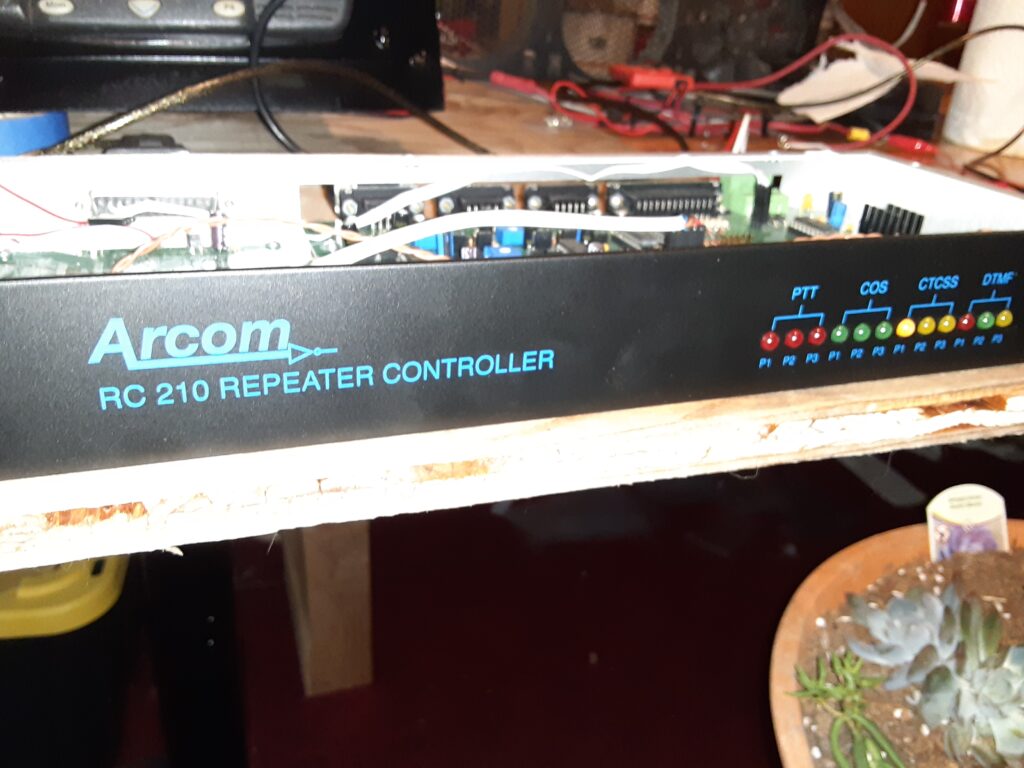
Overview of Arcom Repeater Controller
I will apologize in advance because this is a more technical article than we usually write so I tried simplifying it where I could. The nature of this system doesn’t allow for as much simplification as I would like, but this is the more complicated side of a ham radio repeater system instead of the turn the channel and press the mic button side. Most people never see this side of the radio infrastructure and have no idea of what is included in it so this a small behind the scenes look at one part of that. There are many other parts too, which will be included in later stories. Hopefully this will help out anyone wishing to build their own repeater or repeater system as I have not found many articles or videos covering most of the behind the scene parts of these systems. Many licensed amateur radio users talk on these systems without ever knowing how much work is involved in getting them on the air. This is our own privately owned system that is not affiliated with any clubs or entities whatsoever.
A few years ago, I realized that this area was woefully unprepared for an actual disaster when I participated in a disaster communications exercise that simulated most technologies going down. This meant that ham radios essentially became the only long-range option at which point. I decided to fix this problem, which would also provide a radio system that we could use all the time to talk to each other. My wife, some friends, and I started a radio club to create a system to fill this need from the ground up. Unfortunately, a year or two later a reorganization at my work meant that I had to resign from my job so my wife and I no longer had a means to bridge the financial shortfall so the club was disbanded. That equipment was transferred to a local club for their use. The coverage went from nonexistent to mostly covered and back to nonexistent in a couple years so now I’m only concentrating on providing coverage that fits our family’s needs, not about emergencies anymore. So, I am building a system that just does that using knowledge from the prior build. I am also lucky enough to have friends who are radio technicians that have offered lots of help along the way.
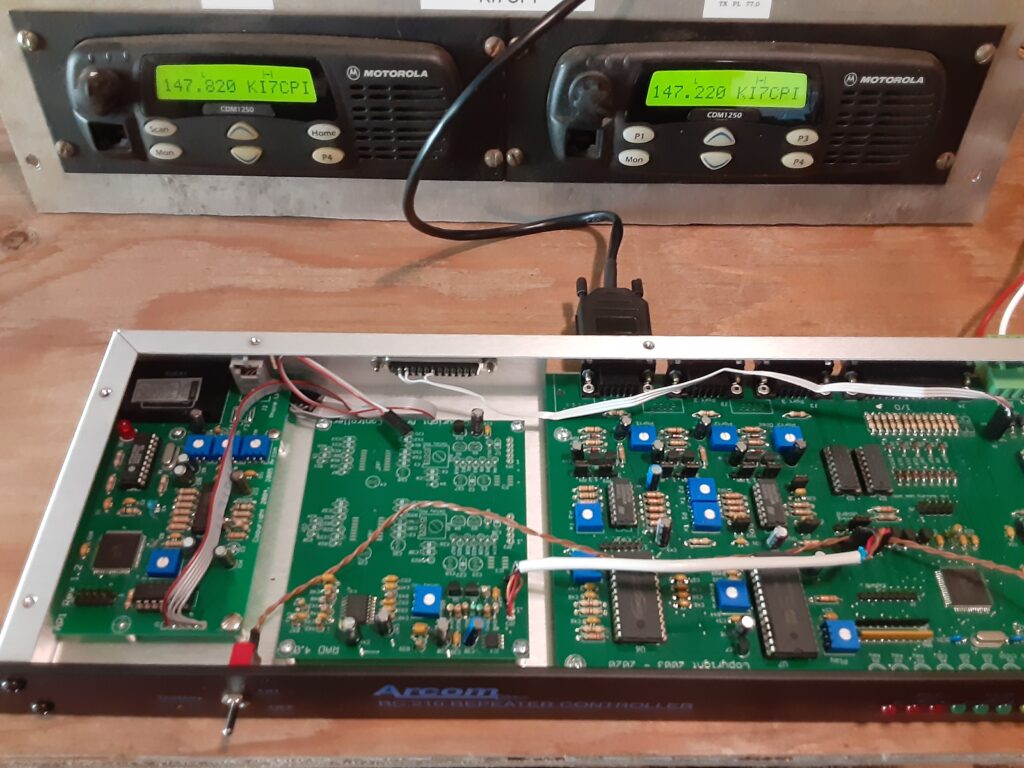
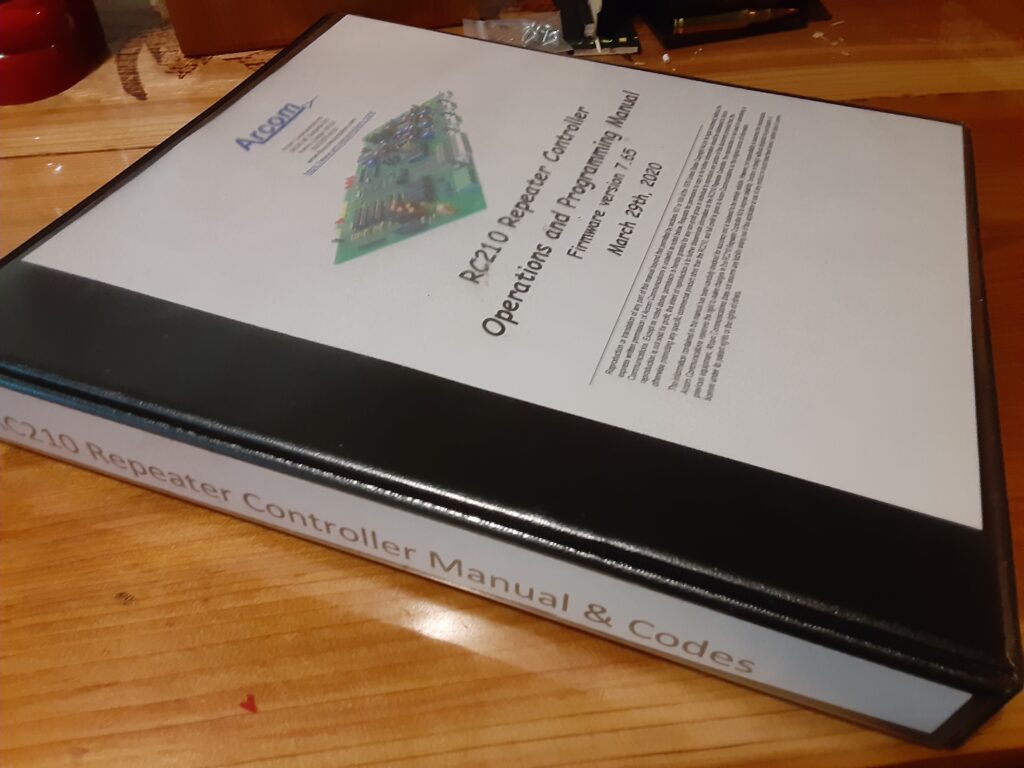
Since I was only concerned with ham radio coverage for the areas that our family recreates in, without cell service, I decided to use the Arcom RC210 repeater controller that has three radio ports plus a port that controls or monitors many other functions such as weather stations, NOAA weather alerts, building or system tampering alarms, relay controls for cooling fans, and many other things. There are other controllers out there, but I was already familiar with this one and thus far they have been very solid reliable units. One port is for the two-meter repeater, one for an Echolink or UHF link radio, and one future expansion port to add a NOAA weather radio to so that only selected emergency alerts get broadcasted across our repeater for our area. We don’t want to spend lots of money to put the system together all at once so many components will be purchased and added later. The main goal for now is to have a reliable analog only system with a reliable controller.
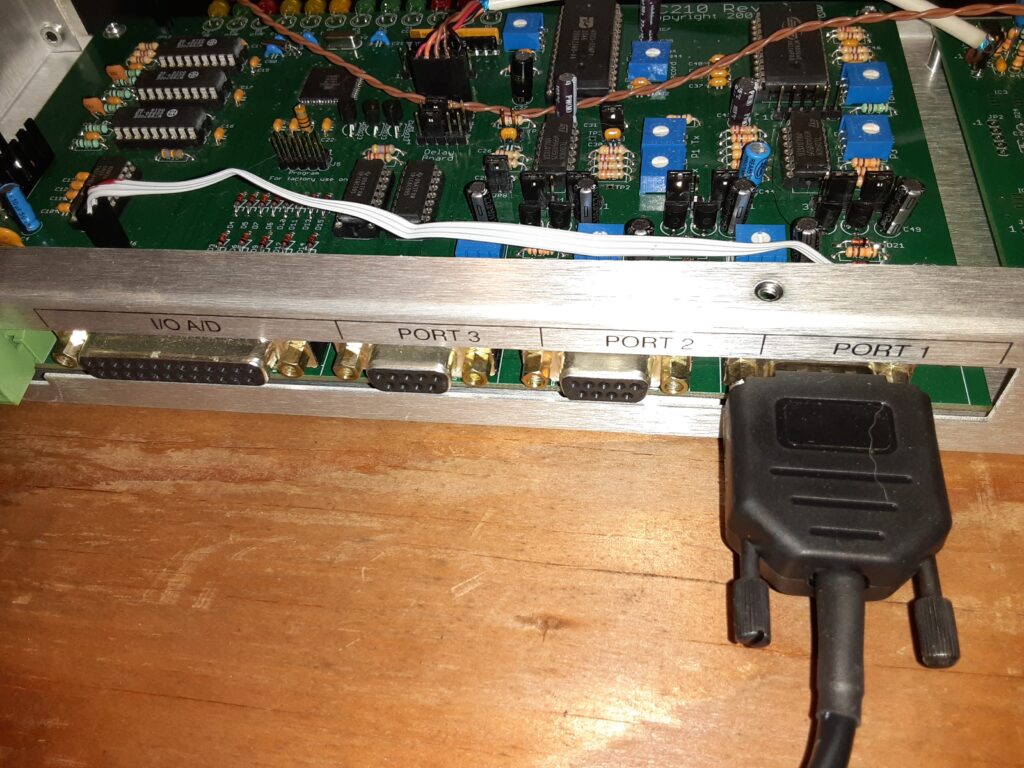
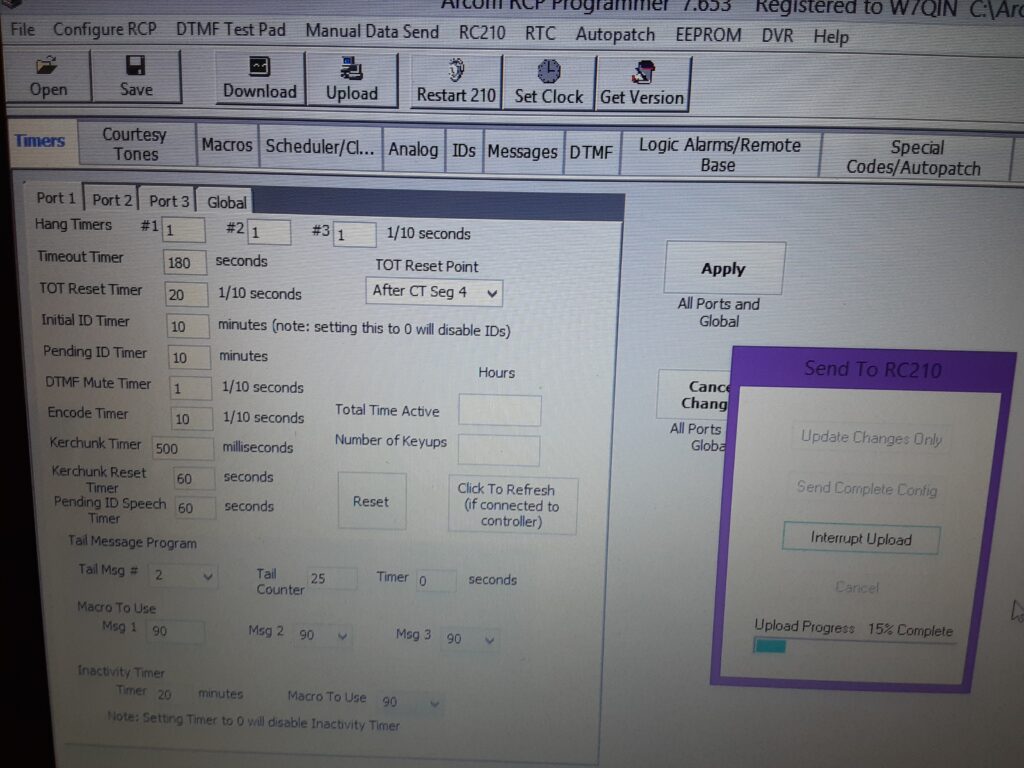
The controller has a learning curve to program it so reading through the manual to understand the process and correct order to program it with a computer really helps. I did not find any YouTube videos covering this so you have to rely on the various forums, manuals, and Arcom will help you too if you get completely stumped. You can program the controller remotely using a radio and entering the commands, but it is way to do the programming on a computer. The controller uses Macros to carry out most functions so there are tons of those to search through until you find what you are looking for. Many do require extra steps to execute so you may have to enter several codes to achieve one function. One tip is that the system reads these codes from left to right like a book so make sure you add them in proper order following the steps. Macro One is a boot up command so that is where you want to make sure all the port linking, voice ID’s, timers, and other automatic functions are listed so that they come on automatically when it boots up. Just remember to add them in the proper sequence so they work right. My daughter got licensed a few months ago and she has figured out the programming basics of it too just in case she ever needs to change or fix the codes if I’m not available so it is relatively easy to do once you figure out how the macros need to be added. Definitely expect doing many changes and reboots as you figure out the programming language.
The other thing that made me choose the Arcom was the flexibility it has. You can remotely control it via the DTMF (Number Pad) on your radio to unlink ports, make a recording to test your audio, disable the transmits and/or receives on the link radios or the repeater, make a preprogrammed Echolink connection to another user or repeater, create information messages that play after a certain number or transmits, test your DTMF keypad to make sure it works correctly, and many other things. You can make short easy to remember codes to use over the radio to access these features. Be sure to keep a list of all these commands and access codes as you go so you don’t have to dig through the program later to remember what they are. Each port has its own independent processor and hardware so it one ever does fail for some reason the others will keep working.
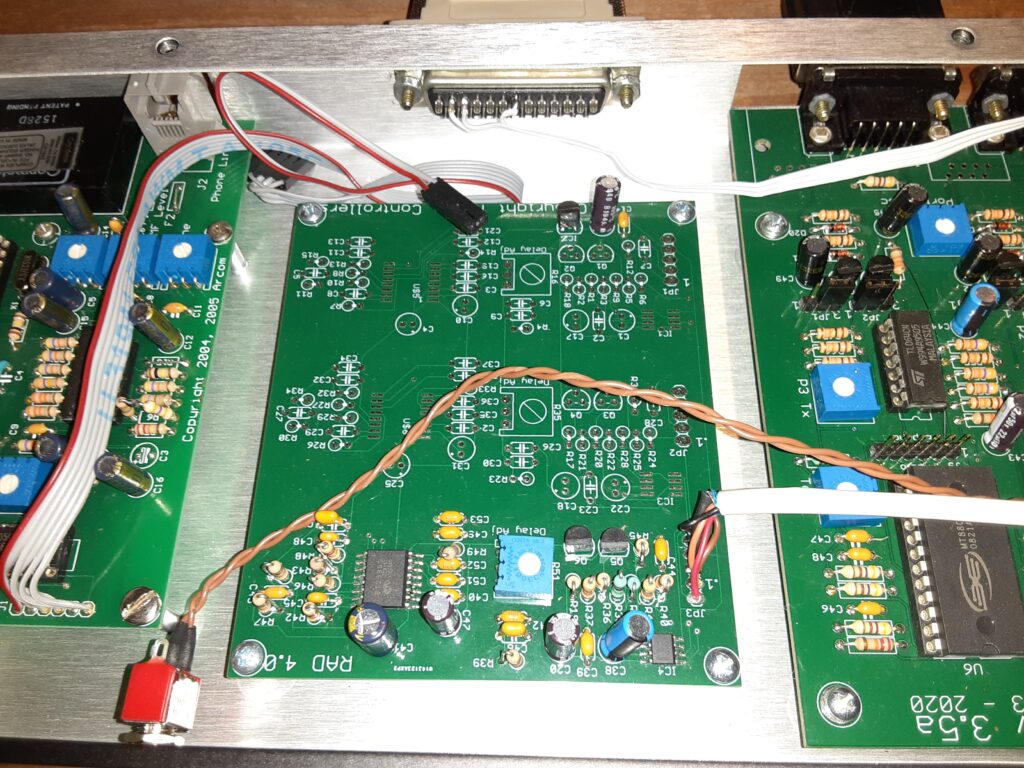
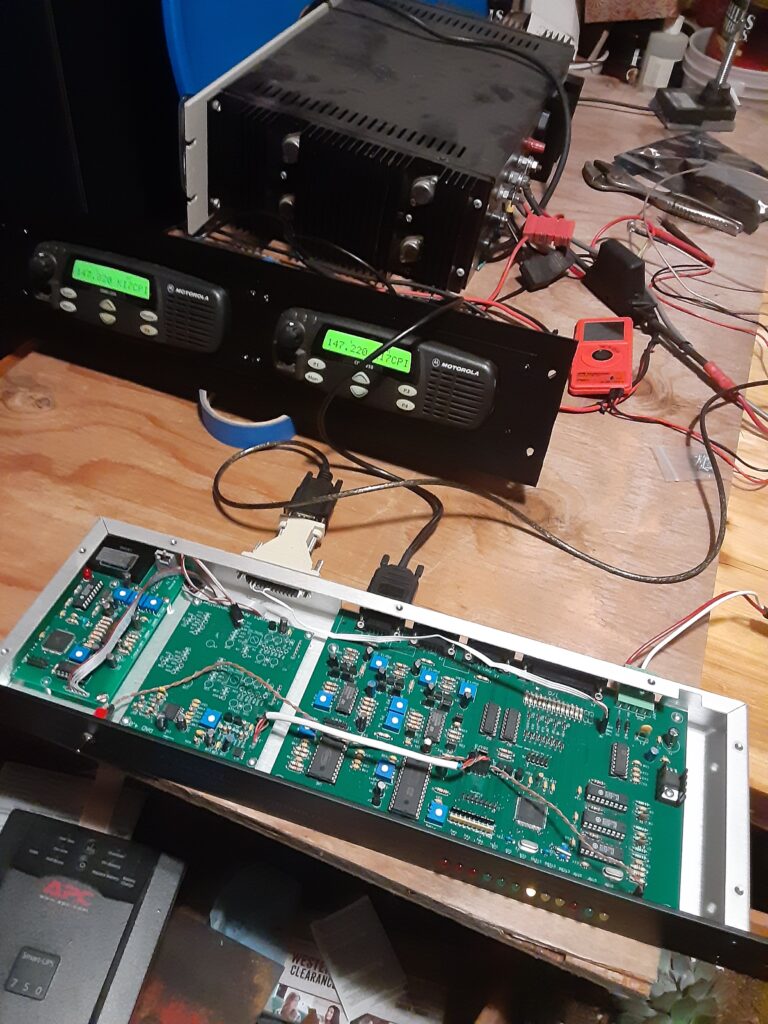
There are jumper connections and other manual settings inside of the controller that you will need to manually adjust as well. These jumpers and their settings are listed in the hardware manual that comes with the unit. If your repeater or link radio uses a PL or CTCSS tone (A sub-audible tone that tells the radio it is a valid signal) to let the radio traffic through you will have to adjust that jumper over from carrier squelch. We are in a remote area, but radio interference does occur once in a while when conditions are right so we changed ours to require the tone. We also put a tone on our repeater output so our mobile and portable radios stay quiet with zero interference from other sources. The other jumper that you will probably need to adjust is the emphasis/de-emphasis on each port depending on what brand or repeater or radios you are using. This greatly affects the audio quality and volume so it is easy to well when it is wrong or doubled up.
Remember there are settings for each port along with jumpers so make sure to adjust them one port at a time and test each device separately so you can tell which one needs adjustment. This is a quick overview and was only intended to give you a quick look at a controller option and to give everyone an idea of how much work goes into building a radio system as it is not just plug and play like many other things are. No local people or clubs had an Arcom controller yet so I had to learn this portion of it through trial and error along with reading the manual. My best advice is to be patient and expect to make several mistakes plus the changes needed to fix them. One thing that was not mentioned in the manual is that the DVR recording slots most likely give you an error message initially even when it’s new out of the box as the system wants you to delete the current recording slot before recording a new one. I hope this helps you with your decision if you were thinking of building a system or if you were just curious about the inner workings of one. It can be challenging finding a frequency pair in many areas, but we were fortunate in that mountains block the radio pathway into the populated areas so it wasn’t a problem for us.
This is a new from the ground up build so we’ll post more stories on the build as we go.