Cheese Smoking
Smoked cheese is a delicious treat that you can do yourself and save money from buying it at the store. Oftentimes home smoked cheese tastes way better than many of the smoked cheeses you find at the stores at a fraction of the price. It sounds tricky and it can be if the smoking conditions and temperatures are nor right. Cold smoking is definitely the name of the game when it comes to cheese as obviously you will end up with a melted blob at the bottom of the smoker quickly if the temperatures get too high.
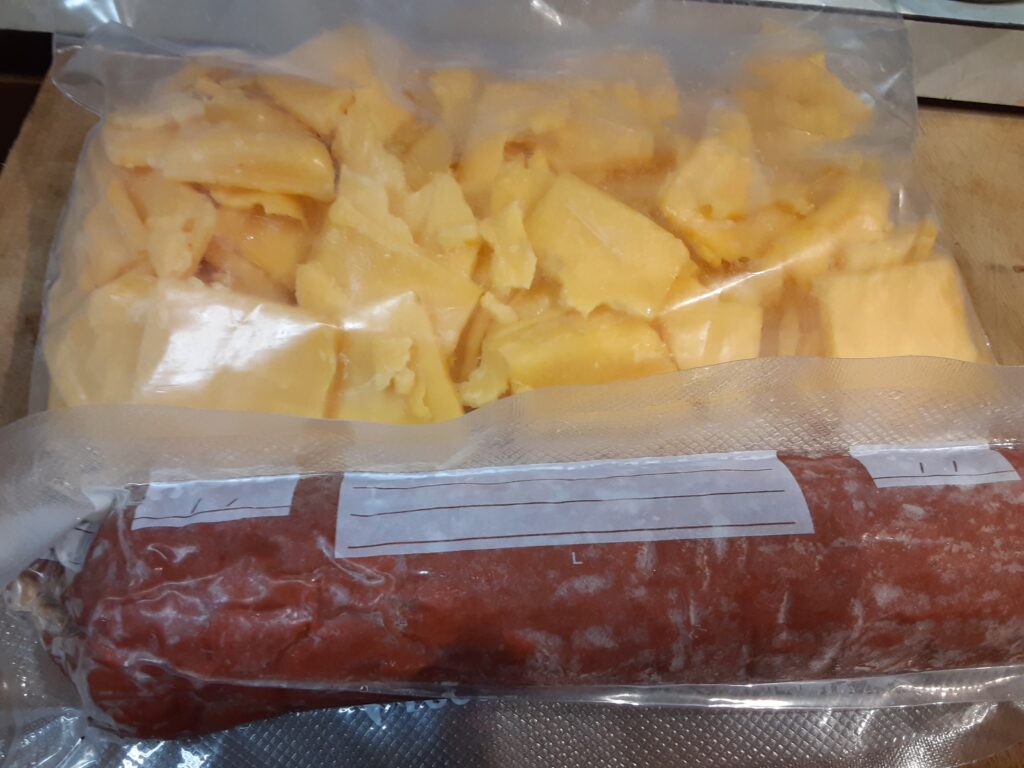
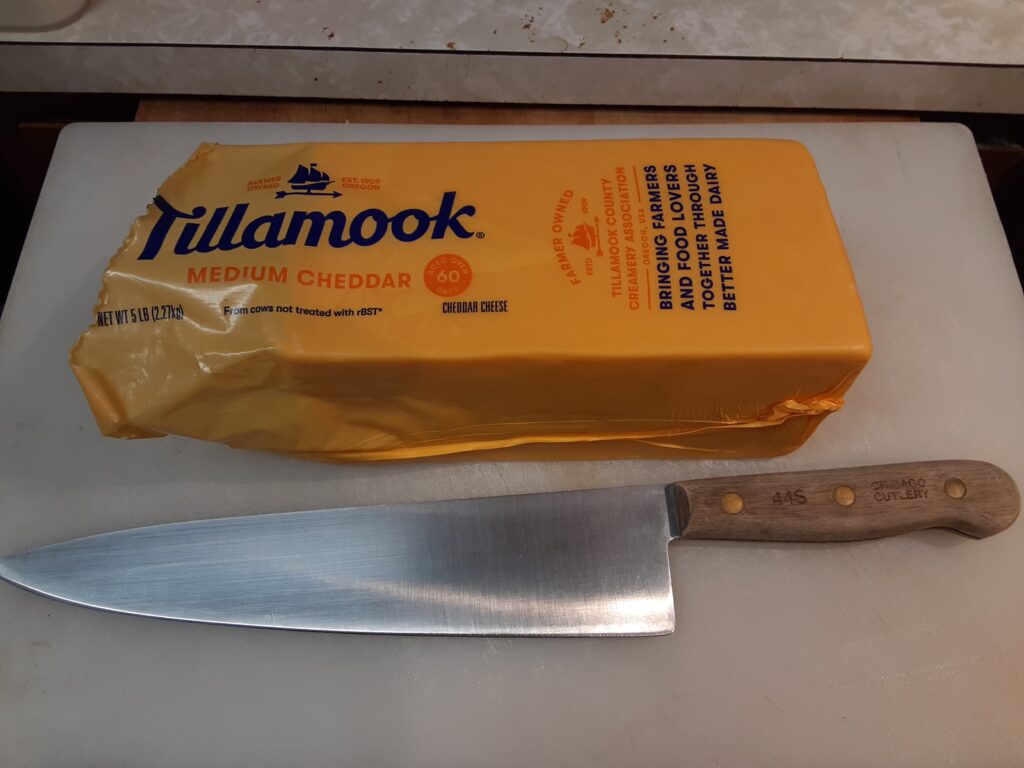
I start with a good quality cheese and I only use Tillamook Cheese for smoking although other quality cheeses work great too. Tillamook is available at Costco so we will stock up on it before Thanksgiving and Christmas come as it is the cheapest place we found to buy it. We have tried store brand and cheaper cheeses with zero luck as it melts at a lower point and does not get a good smoked flavor even if it does survive the smoking process. We primarily use cheddar cheese, but many other cheeses work great for smoking. We slice up some of our homemade summer sausage to add to our smoked cheese and cracker trays to make great holiday snack platters for our family and friends. Smoking cheese in cold weather really helps to keep the temperatures down so I reserve it for days when it is under forty degrees outside.
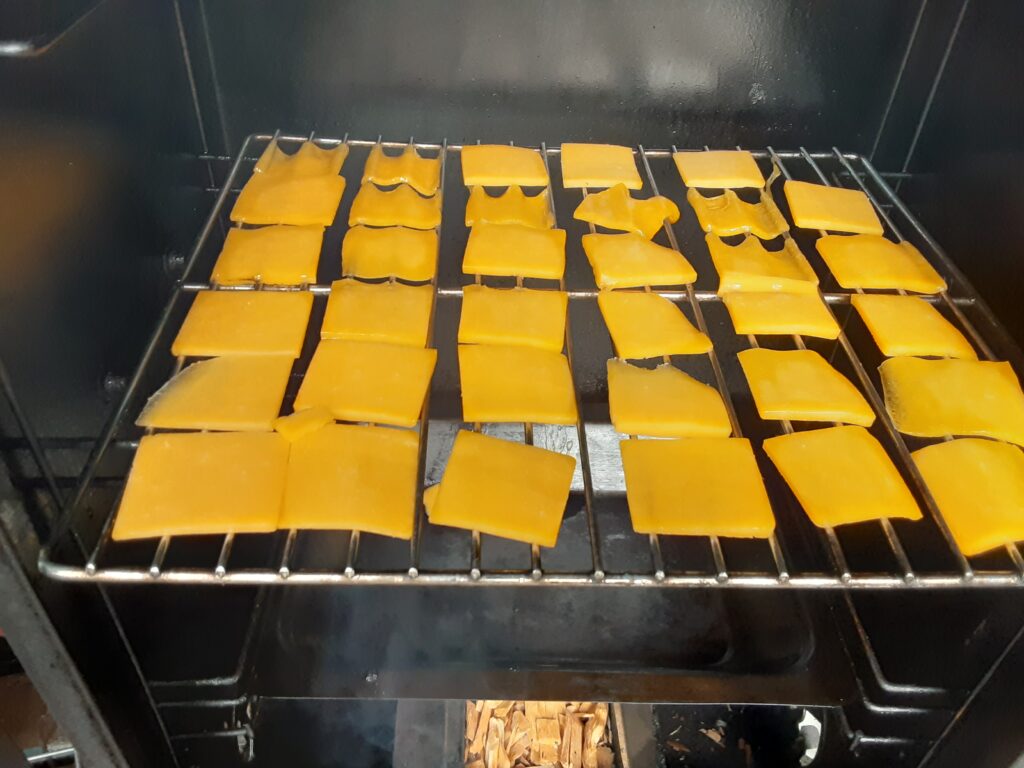
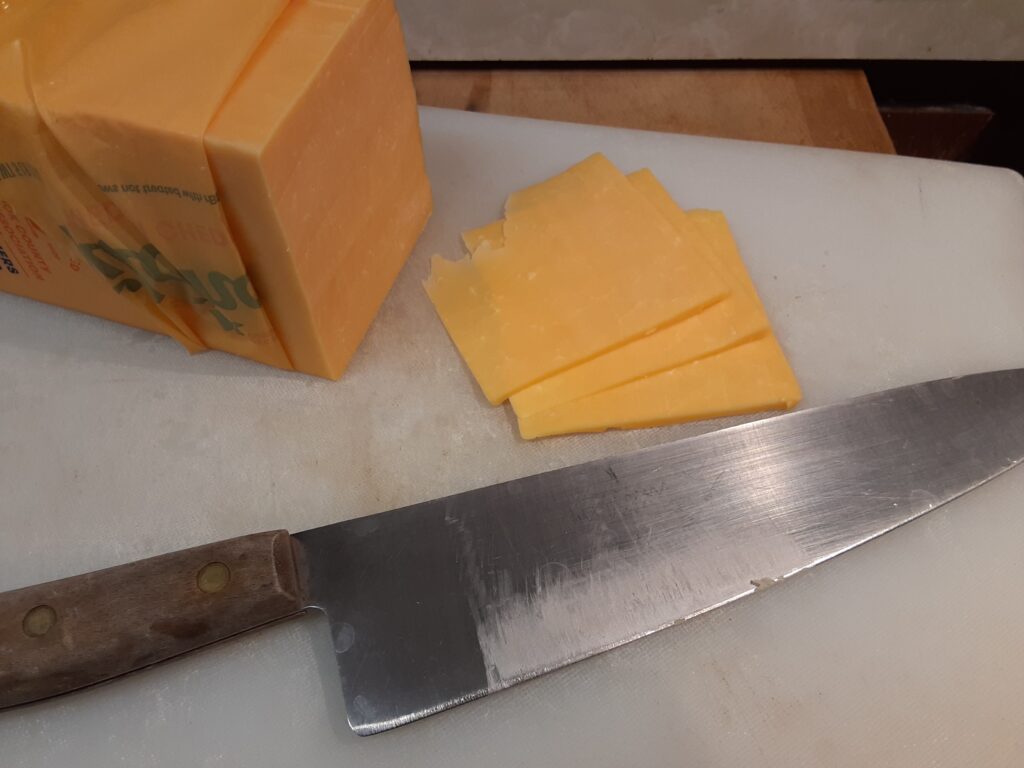
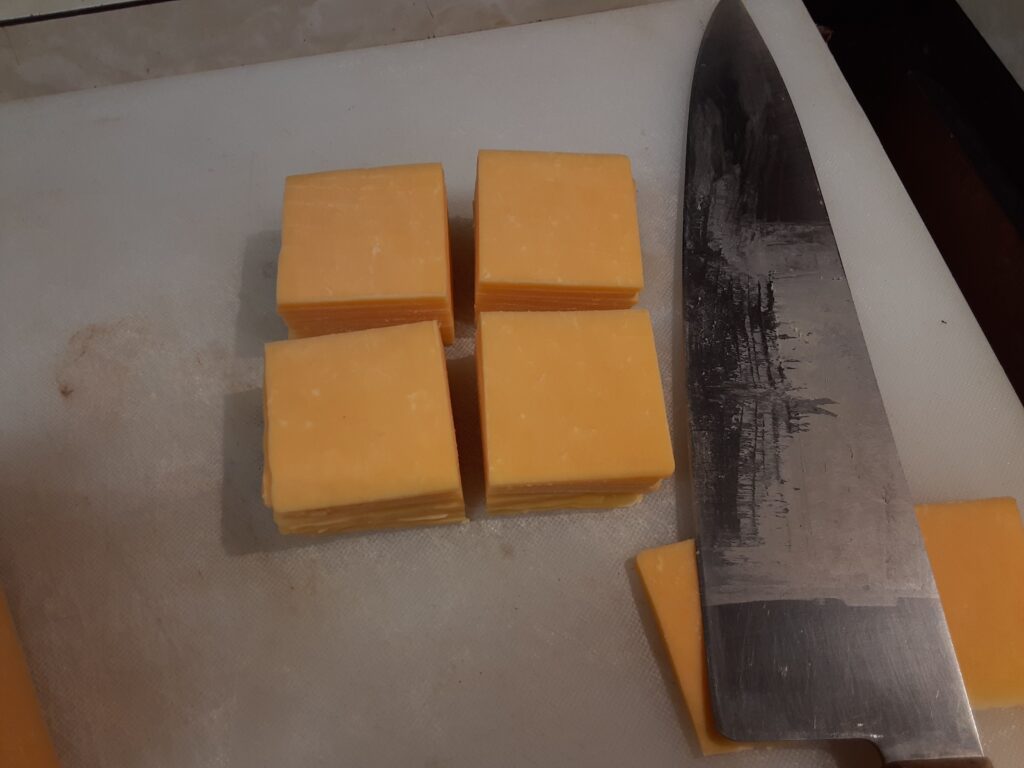
You can smoke either cheese blocks or slices depending on your preference and how much time you have to watch it. I prefer smoking slices instead as it reduces the smoking time and an even, thorough smoke flavor is easier to achieve. The slices may or may not develop the distinctive smoked color that you may be used to, but they taste just as good. It takes a lot more preparation time to cut all the slices and place them on the smoker racks than it does just doing blocks or small blocks of cheese as the slicing has to be done by hand unless you have a commercial grade meat slicer. We had the cheap meat slicer and burned it up after only doing a small part of the cheese block so using a good quality sharp knife will save any cheaper slicers for your future pastrami projects instead.
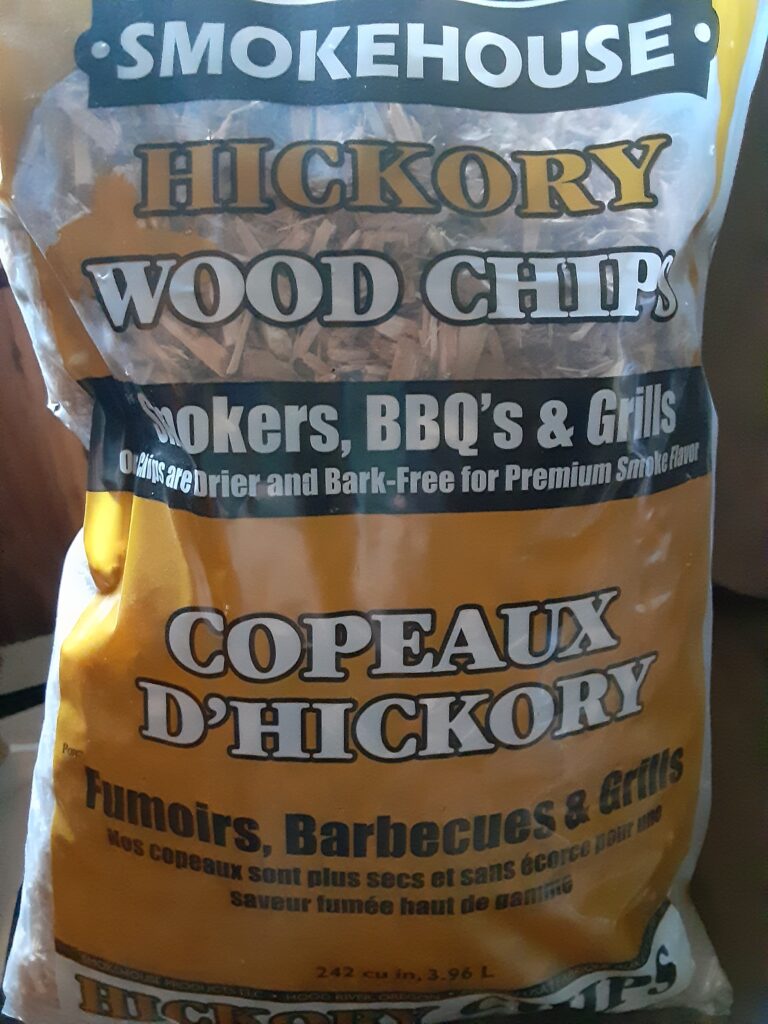
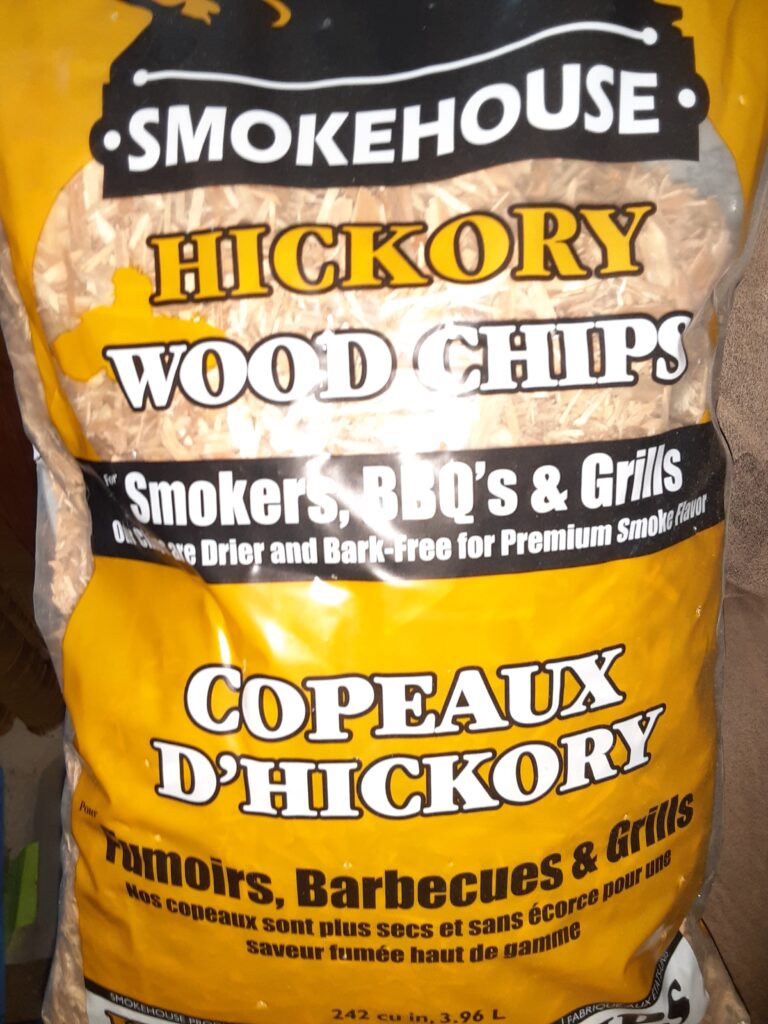
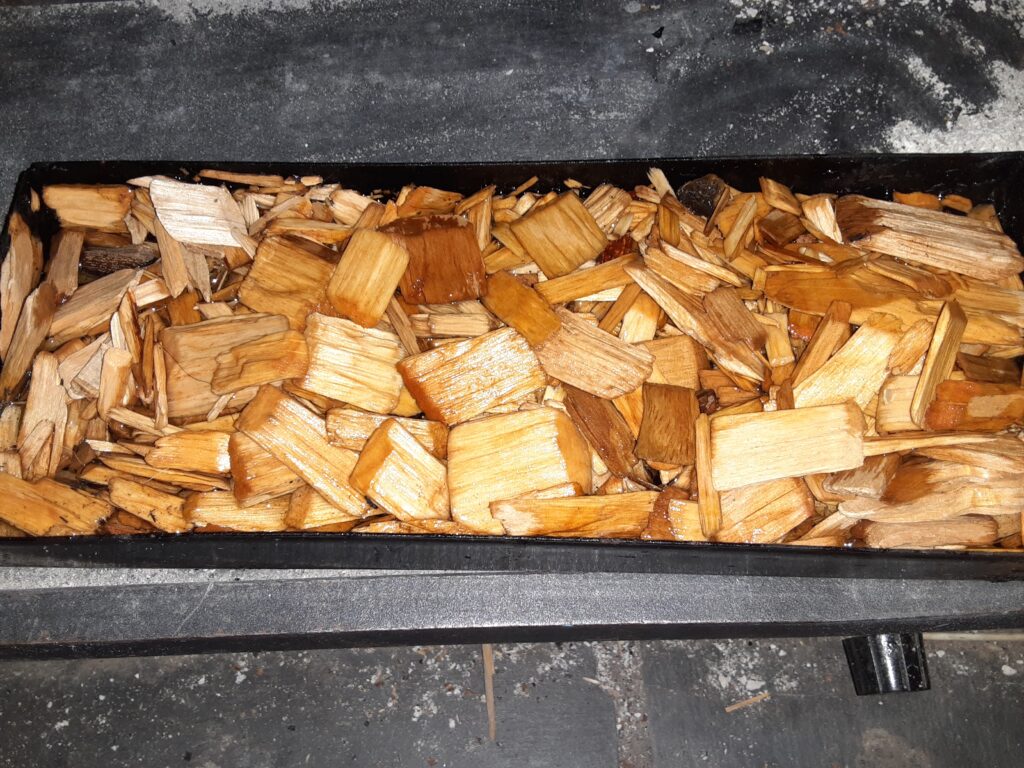
Wood selection is a personal choice and varies by your tastes and by the type of cheese being smoked. Apple, Pecan, and Mesquite have a milder flavor, but we prefer hickory for the deep smoked flavor it imparts in the cheese. The heavier strong flavor also reduces the smoking time since you get a string smoke flavor without all the extra smoking time. It will take you some experimentation to see what cheeses and woods you like best. Definitely try small test batches to find what suits you so you don’t end up wasting a lot of time and effort making a batch of smoked cheese that just doesn’t meet your expectations. I haven’t had any batches that were bad enough not to eat at all, but they definitely weren’t ones that I would rush to make again.
Cold smoking is a must do process for cheese because it melts if you’re not careful. Some electric smokers allow you to turn off the heating element and other smokers can use a smoke tube offset to keep the heat down. I have a propane smoker where neither is an option so using it was a learning curve for me as well. I ended up with a couple of meltdowns so I figured out a few ways of how not to do it before figuring how to actually do it. The process I ended up successfully using seems counterintuitive at first, but it worked for me so you can try the same experiments if you have a propane smoker that won’t drop the temperature down far enough. I ended up turning the burner on high to produce a super heavy smoke and left the door open a couple inches and placed the racks a couple inches out of the door opening so that they were still in the heavy smoke and yet it would allow excessive heat to escape. I had a Bradley smoker that used wooden disks prior to this, but it gave up the ghost so I decided to use propane instead. Where there is a will, you will find a way with some trials and errors. Keep track of your successful method for each cheese and smoking time once you find one so you can use it next time.
I spray the smoker racks with a non-stick cooking spray prior to smoking cheese or anything else to help make cleanup easier later. Place the cheese onto the racks leaving a spacing for the smoke to reach all side of the blocks or slices. Avoid placing cheese onto the racks in any where there are hot spots in the smoker. Don’t worry if you don’t know for sure if your smoker has any hotspots as the cheese will cause you to find them very soon and you can avoid them the next time. Don’t feel bad if some of your cheese melts and you lose it during the learning process as you will have to relearn everything when you get a new smoker later and do it all over again. Once your racks are loaded put them back in the refrigerator for a while to get good and chilled while you fire up the smoker, without a heating element on if possible.
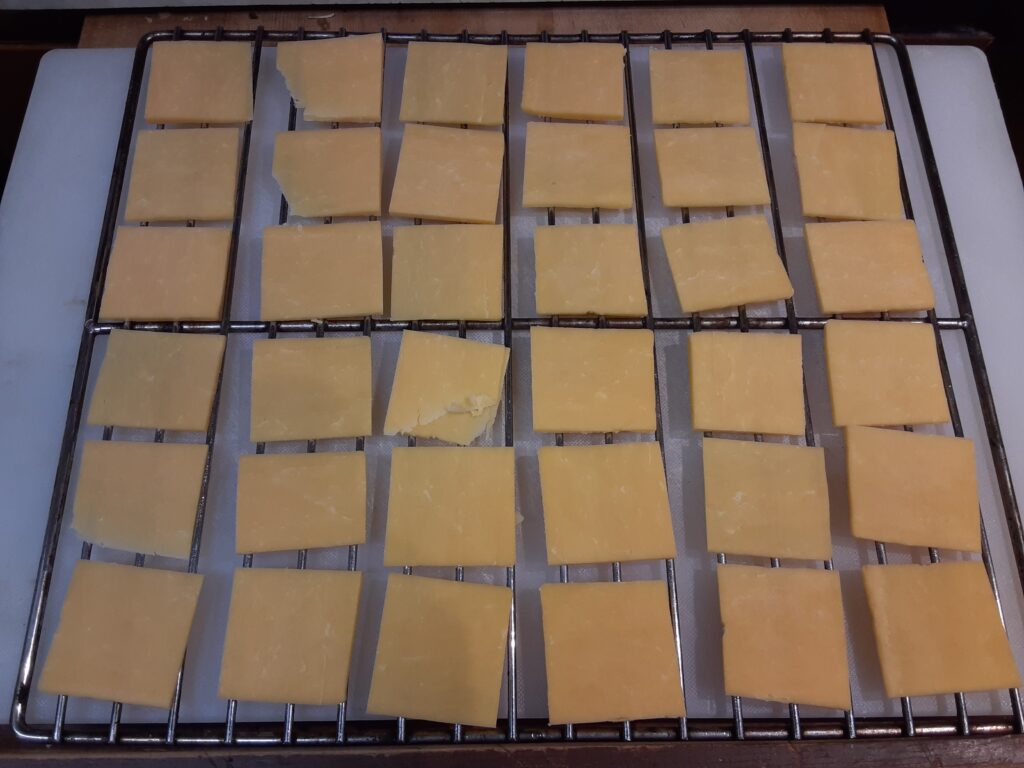

Once you start seeing smoke coming out you can take the racks out of the refrigerator and place them in the smoker. Unlike meats or fish, you will have to keep a close eye on the smoker temperature every few seconds to make sure it doesn’t overheat as it happens extremely quick, especially if you are not watching it like a hawk the whole time. Slices take about twenty-minutes to smoke and blocks can take an hour or more so be patient and constantly watch the temperature. Blocks will develop that distinctive smoked color while slices may or may not develop it when they are done. I smoked mine until the slices slightly darken and then I do a taste test to see if they are done. The oils will also start coming to the surface a little right when it is done so that is another indicator I use before traying a taste test on slices.
As soon as the cheese has been smoked to your liking you want to chill it quickly so place the racks back into the refrigerator as soon as you take them out of the smoker. The cooled cheese flavor will have a slightly less smoky flavor than the warm cheese did so take that into account as you make experimental batches. Once the cheese has cooled you can take it off of the racks and bag or vacuum pack it for later. It sounds difficult at first and it can be frustrating when you see your cheese melt through a rack, but the final results are worth it once you perfect your own process.

There aren’t too many snacks in the world that are better than home smoked cheese and homemade summer sausage snacks.