ATV Oil Change
Changing oil in an all-terrain vehicle (ATV) may seem like a daunting task, but in reality, it is very simple and it will save you some money by not paying shop time for a mechanic, this will also give you a good opportunity to inspect the machine and make any needed repairs and do other preventative maintenance. You do not need a lot of fancy or expensive tools to accomplish this on your own with just a few basic tools and a couple blocks of wood. The tools and process does vary among ATV manufactures although the basics are the same once you figure out the process. A Yamaha Grizzly 450 is shown here and I have found that almost all Yamaha utility ATVs are virtually the same as this.
The first steps are ensuring that you have a place to work on it, the proper amount and grade of oil, oil filter (Please do not use the cheapest one as generally you get what you pay for), blocks if you want better access underneath, and the required tools. It helps if the ATV is reasonably clean when you start, but if you’re like us your ATV will never again be showroom clean once you get it. The goal is to keep the engine oil as clean as possible so any falling mud or dirt debris will defeat the purpose of changing oil if it gets inside the crankcase.
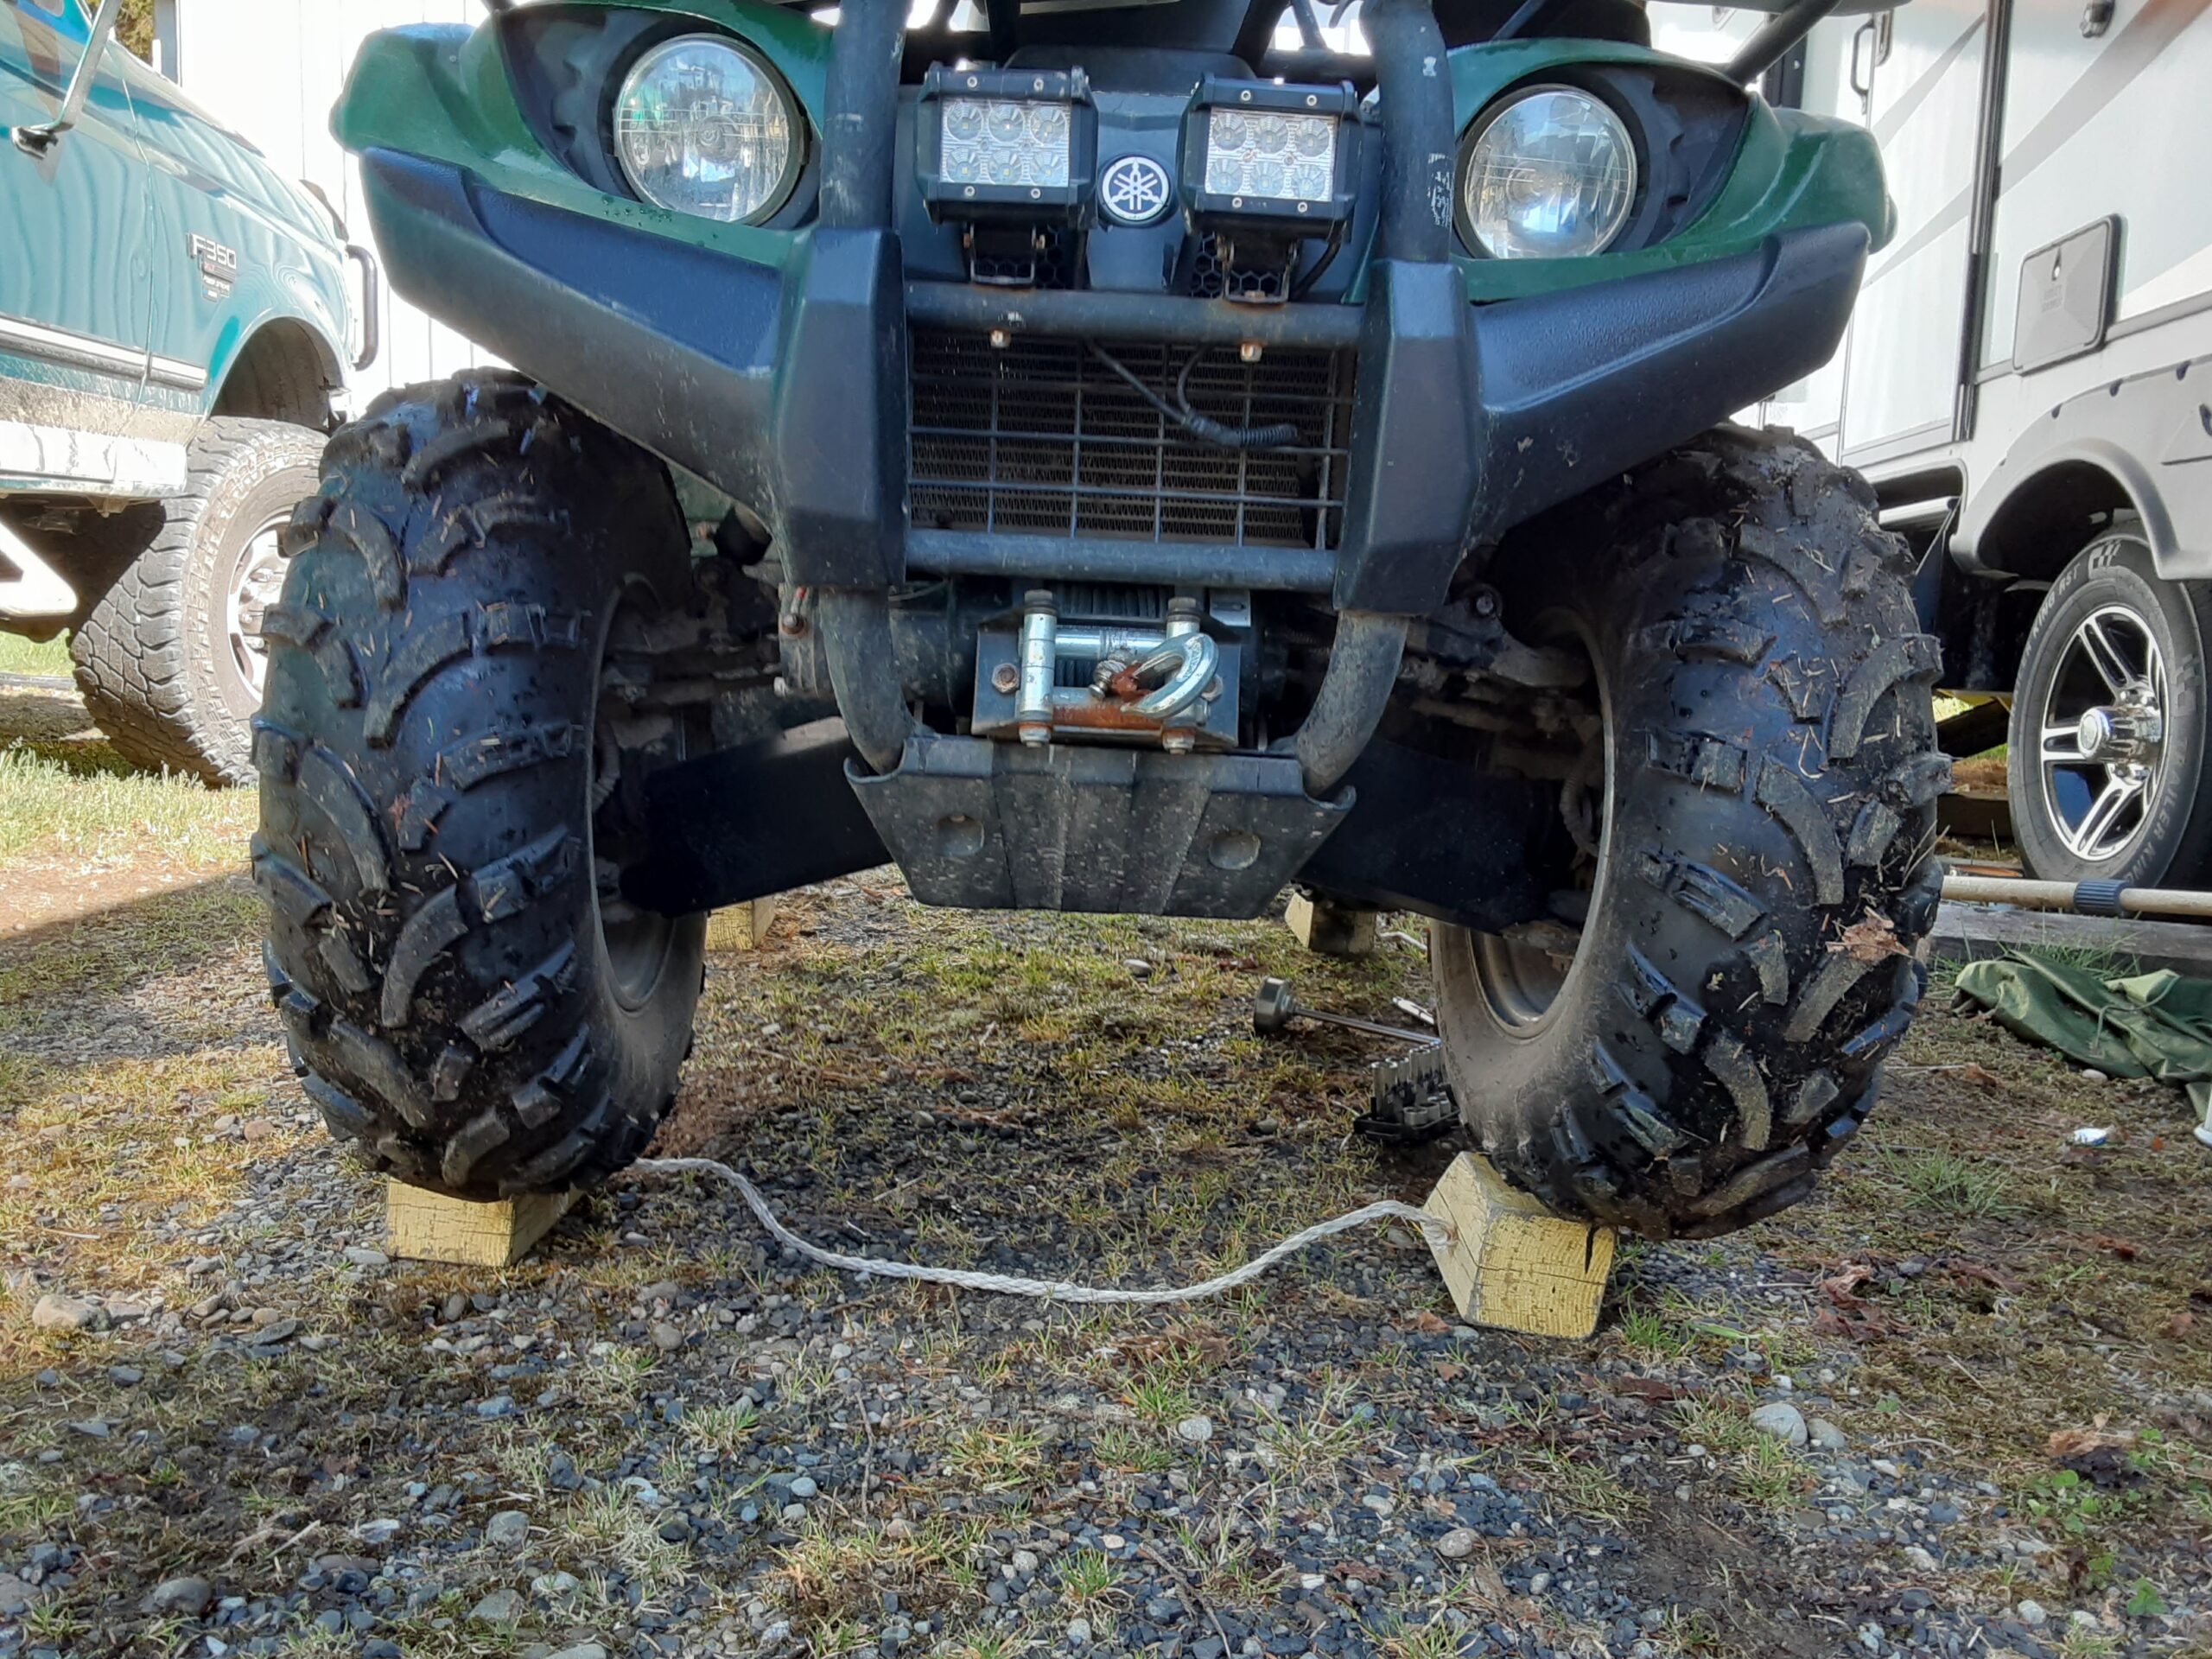
After finding a good place to do this work I warmed up the ATV and drove it up on blocks so I could easily reach the drain plug on the bottom of the engine and also to better inspect the underside. I only used 4X4 boards as blocks as I did not plan on actually crawling underneath or placing my head underneath it so a falling ATV was not a concern because there is plenty of room for my arms between the ground and the ATV should it slip off the blocks. I would use ramps if I needed to stick my head or body under it for some reason, but ATVs are generally narrow enough to see everything by looking from the sides.
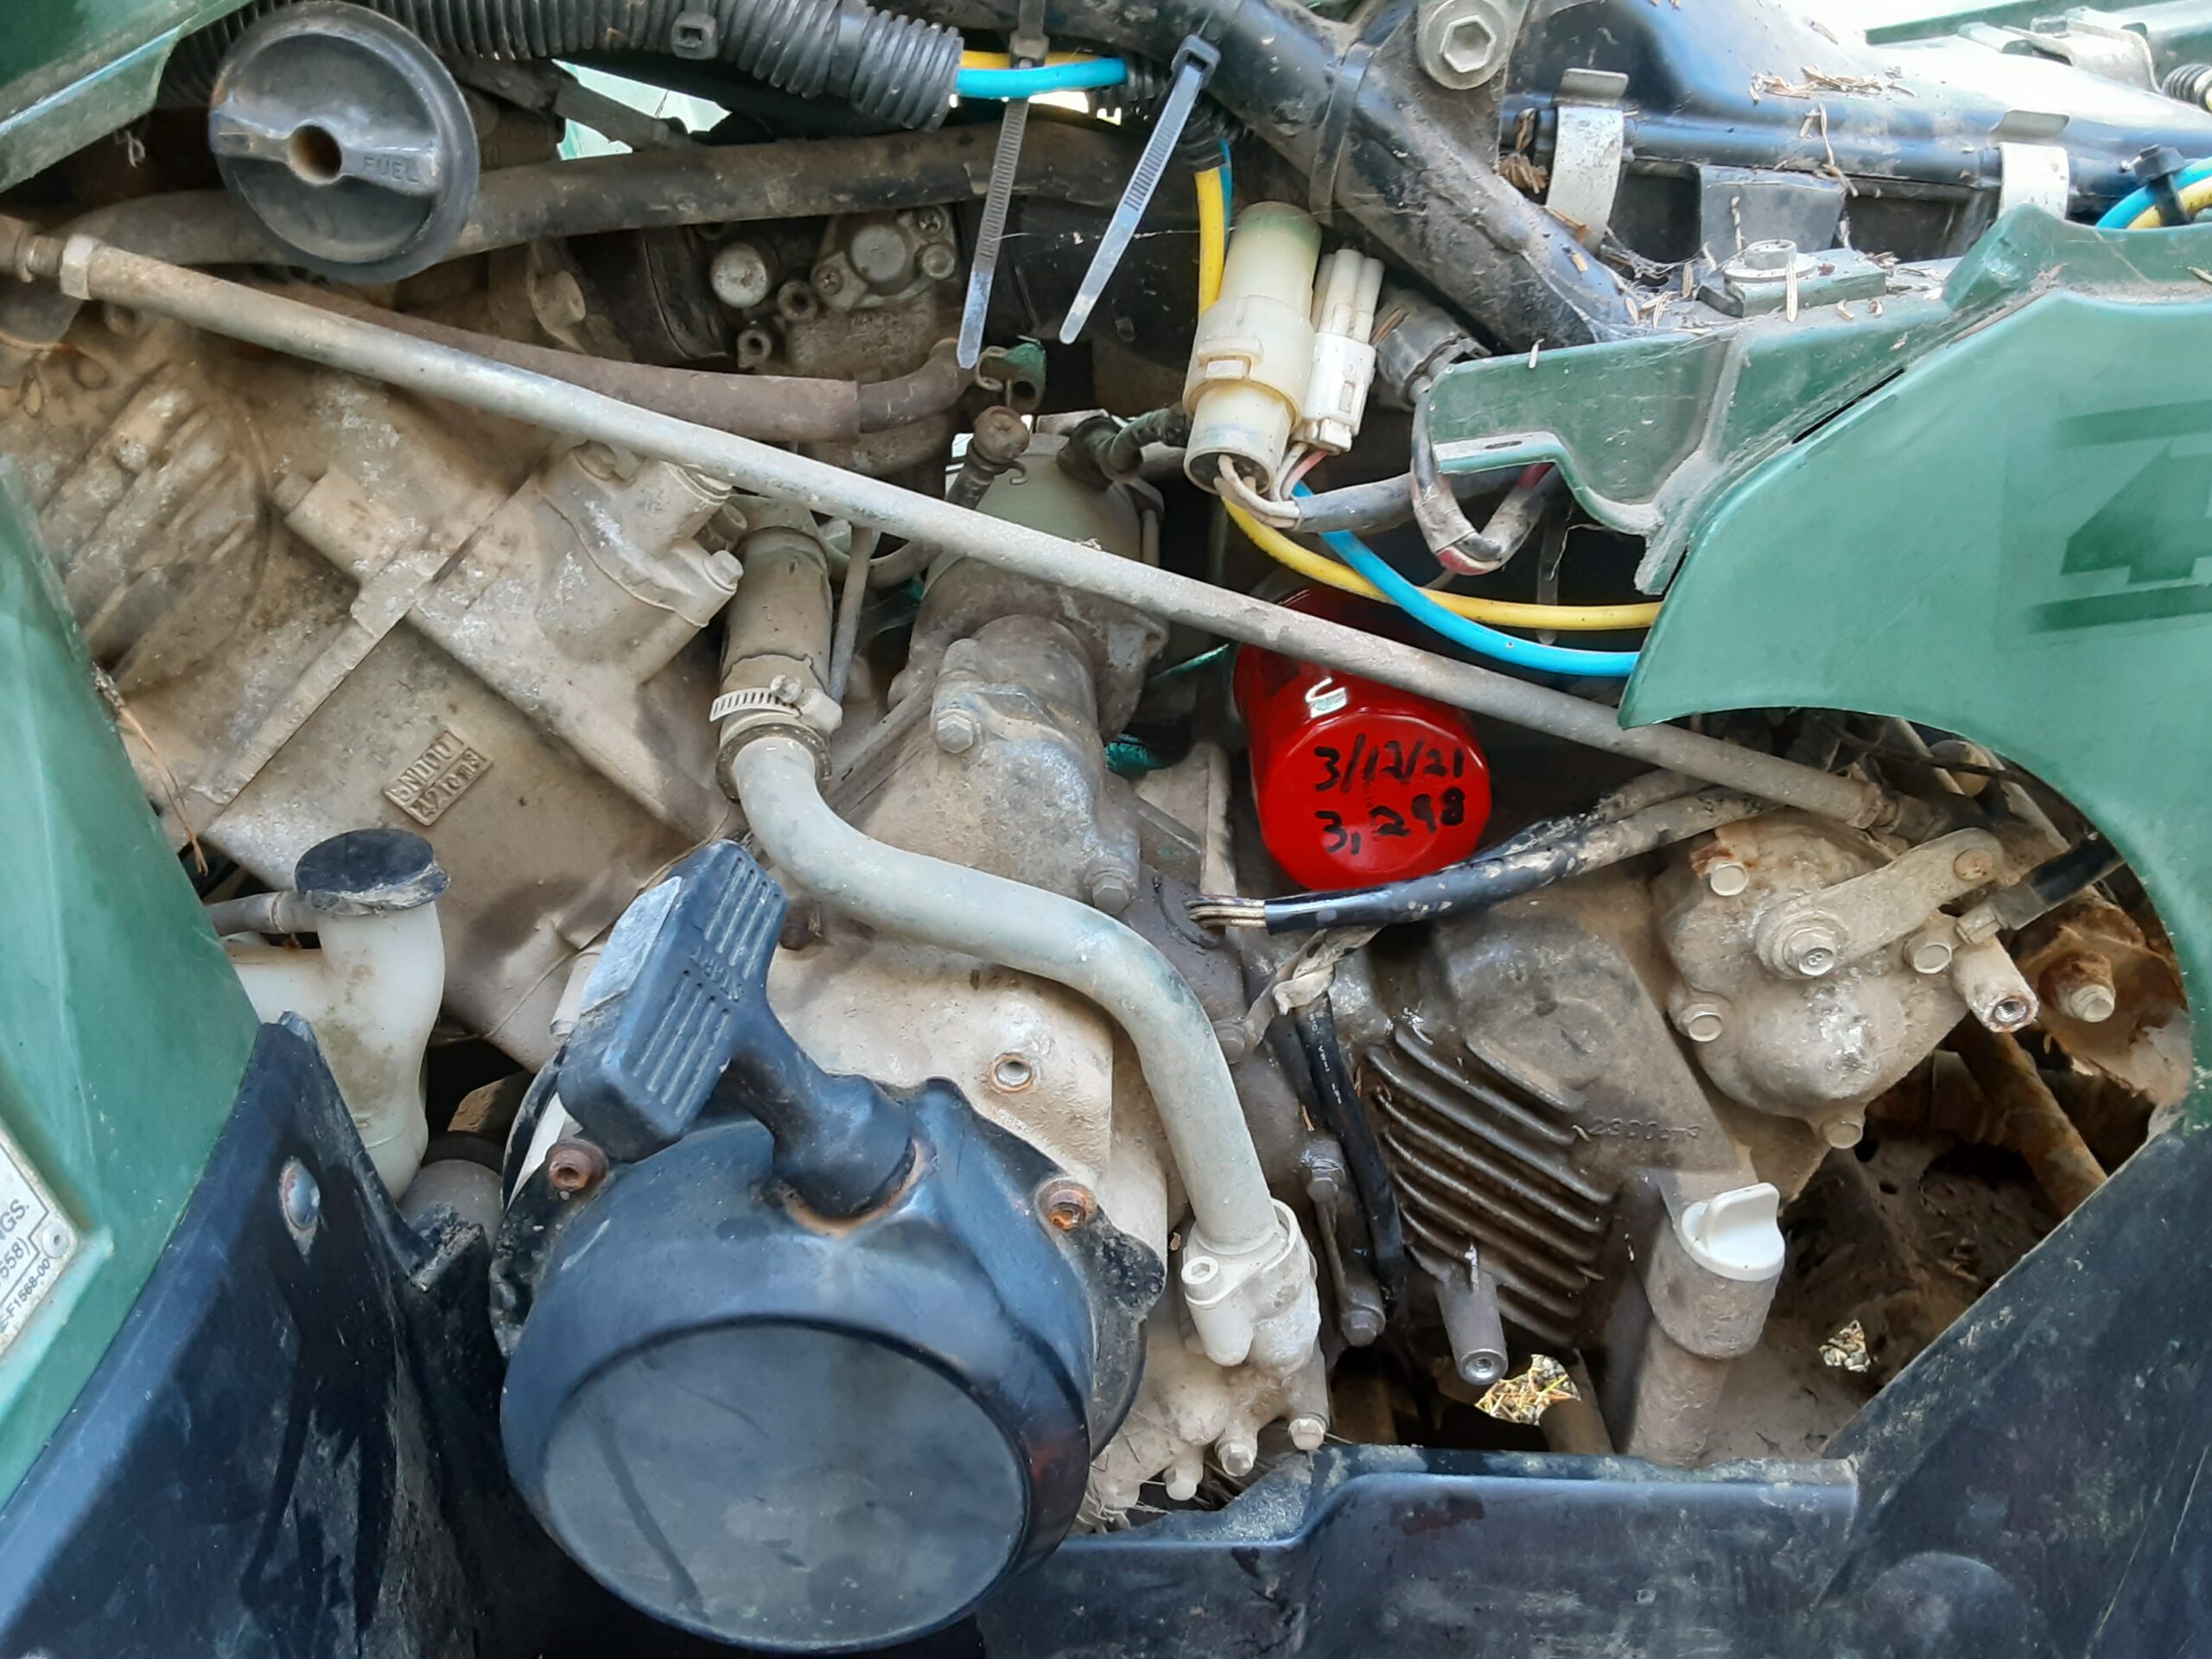
I begin by removing the body panels (Some panels need to be unscrewed) and giving it a visual inspection where I look for bad seals, cracks, rust, broken parts, and other damage. In this case I found that the O-Ring for the throttle cable and the air intake hose also needed to be fixed so those are covered here too. Most ATV fixes are very simple in principle and the only challenge is that there is not much room to do the work in those small spaces. You may have to get creative with socket extensions, socket U-joints, and finding a helper with small hands.
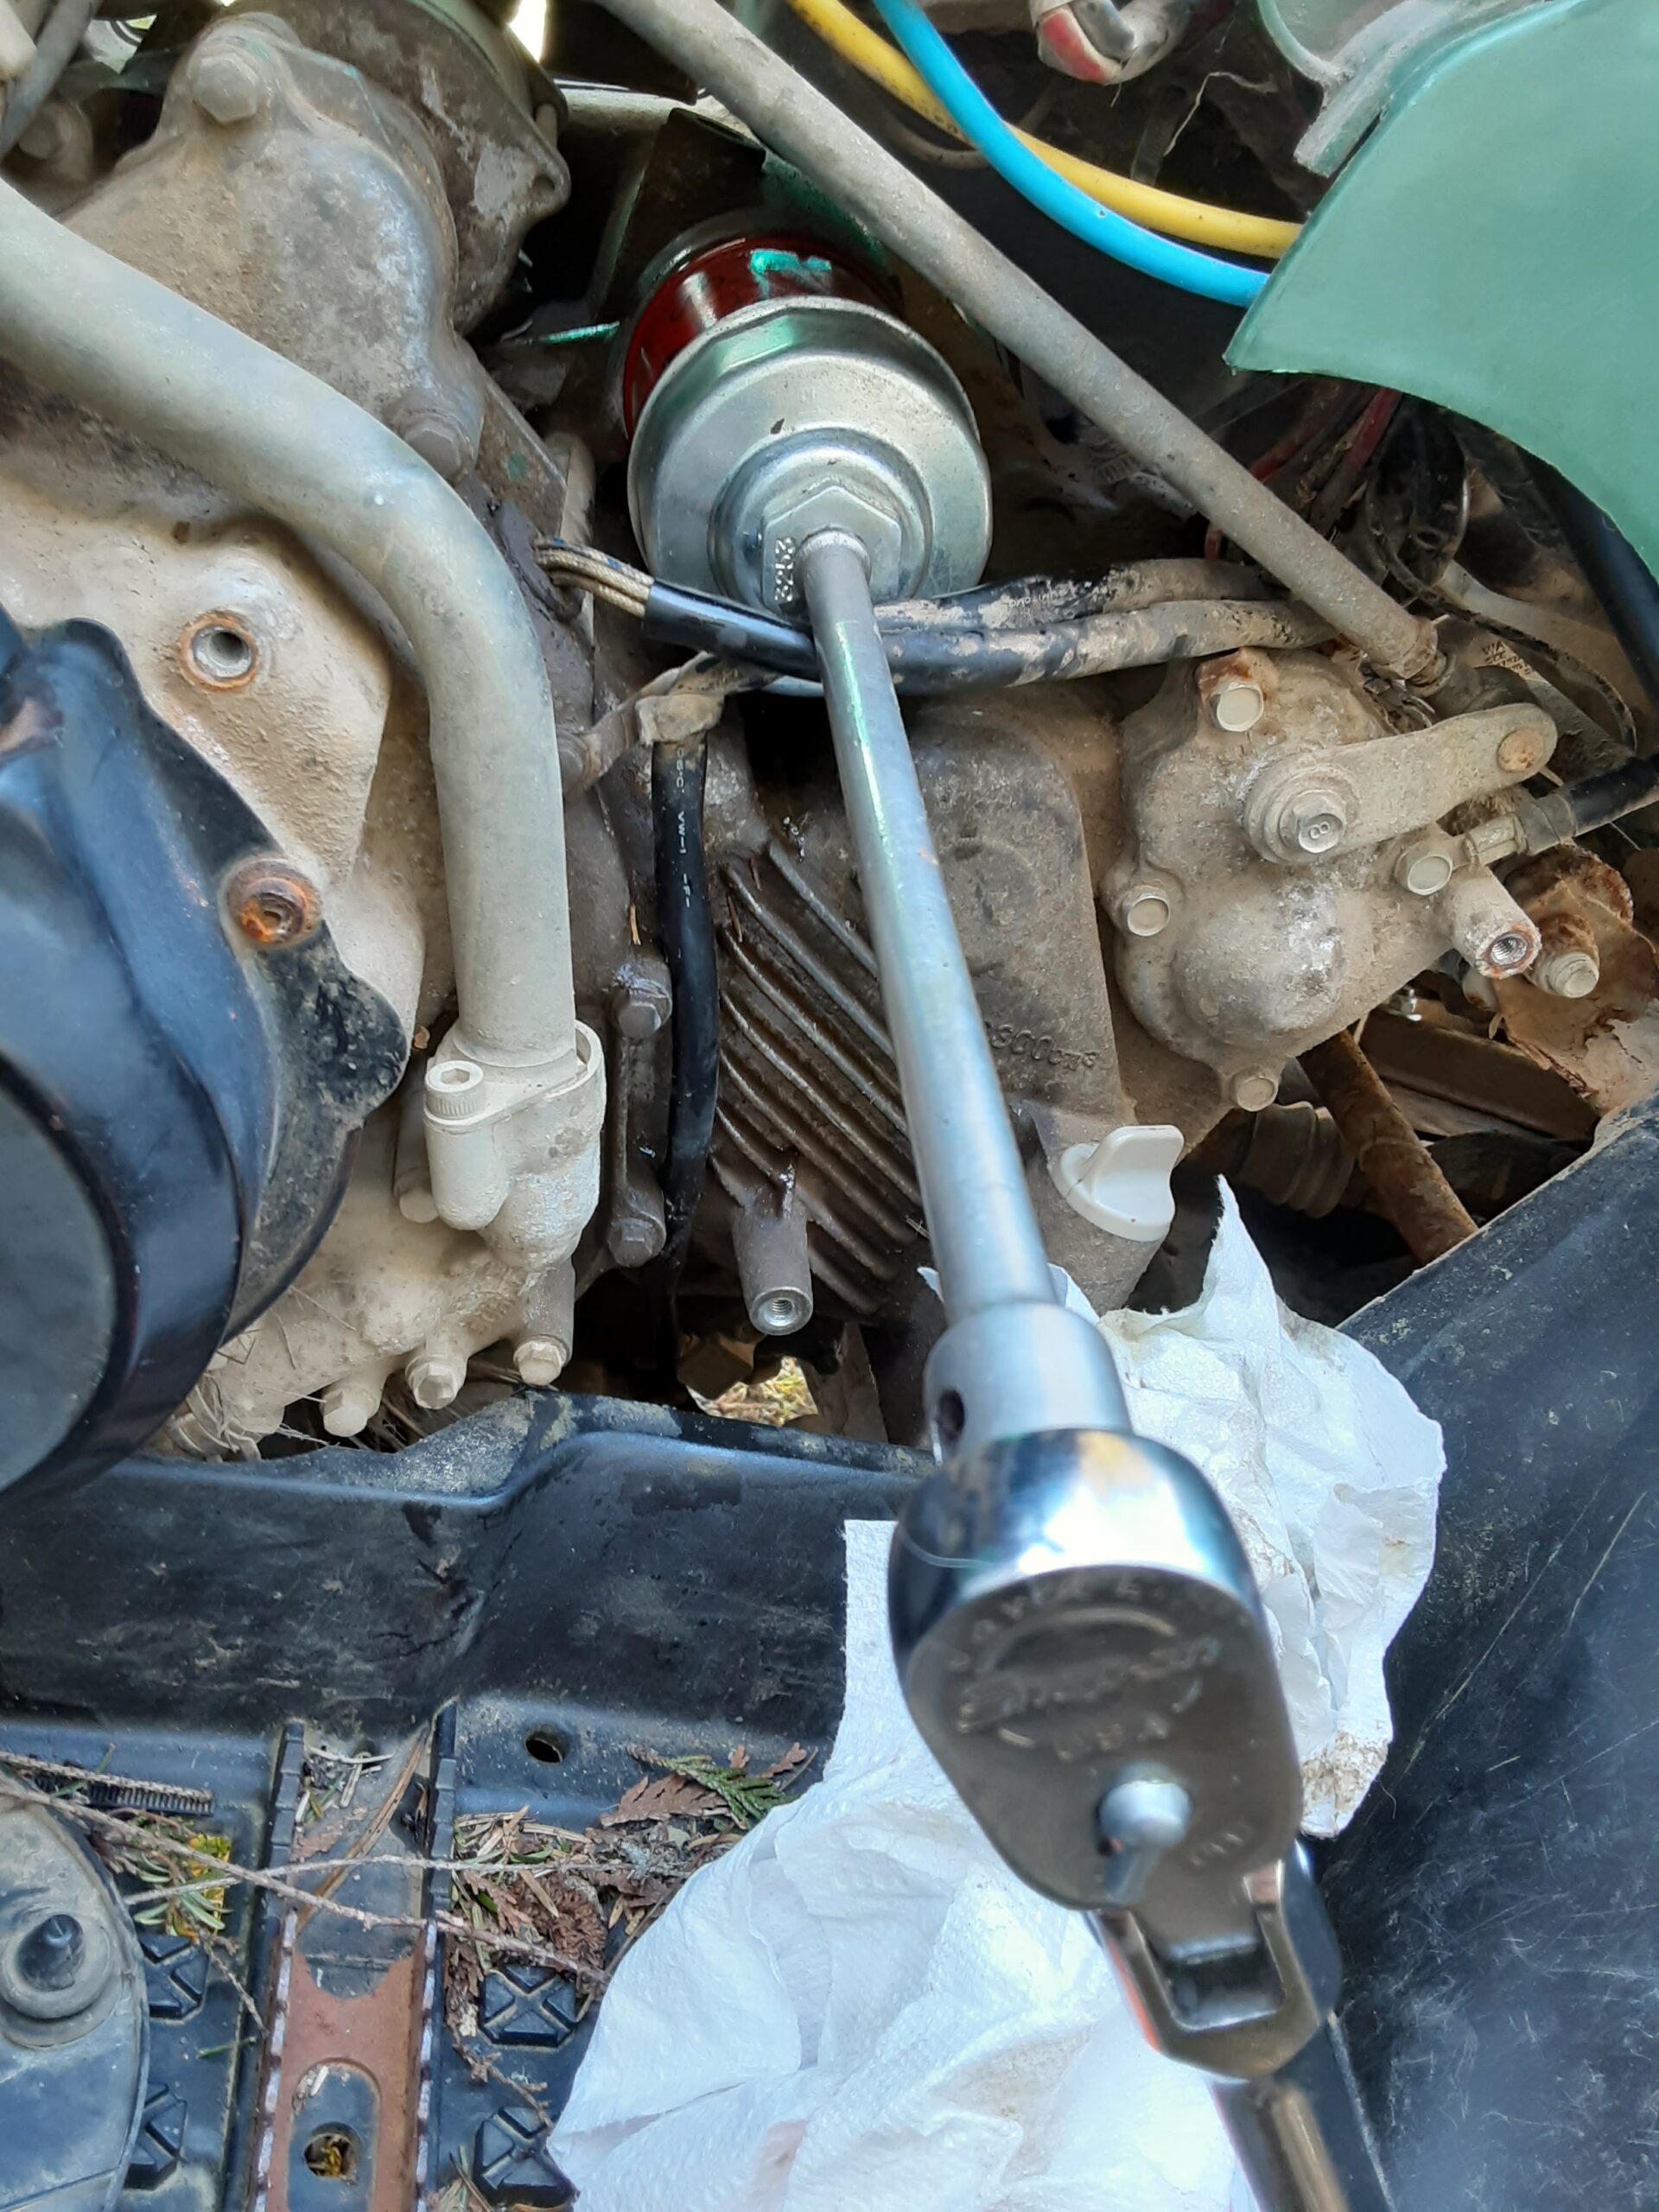

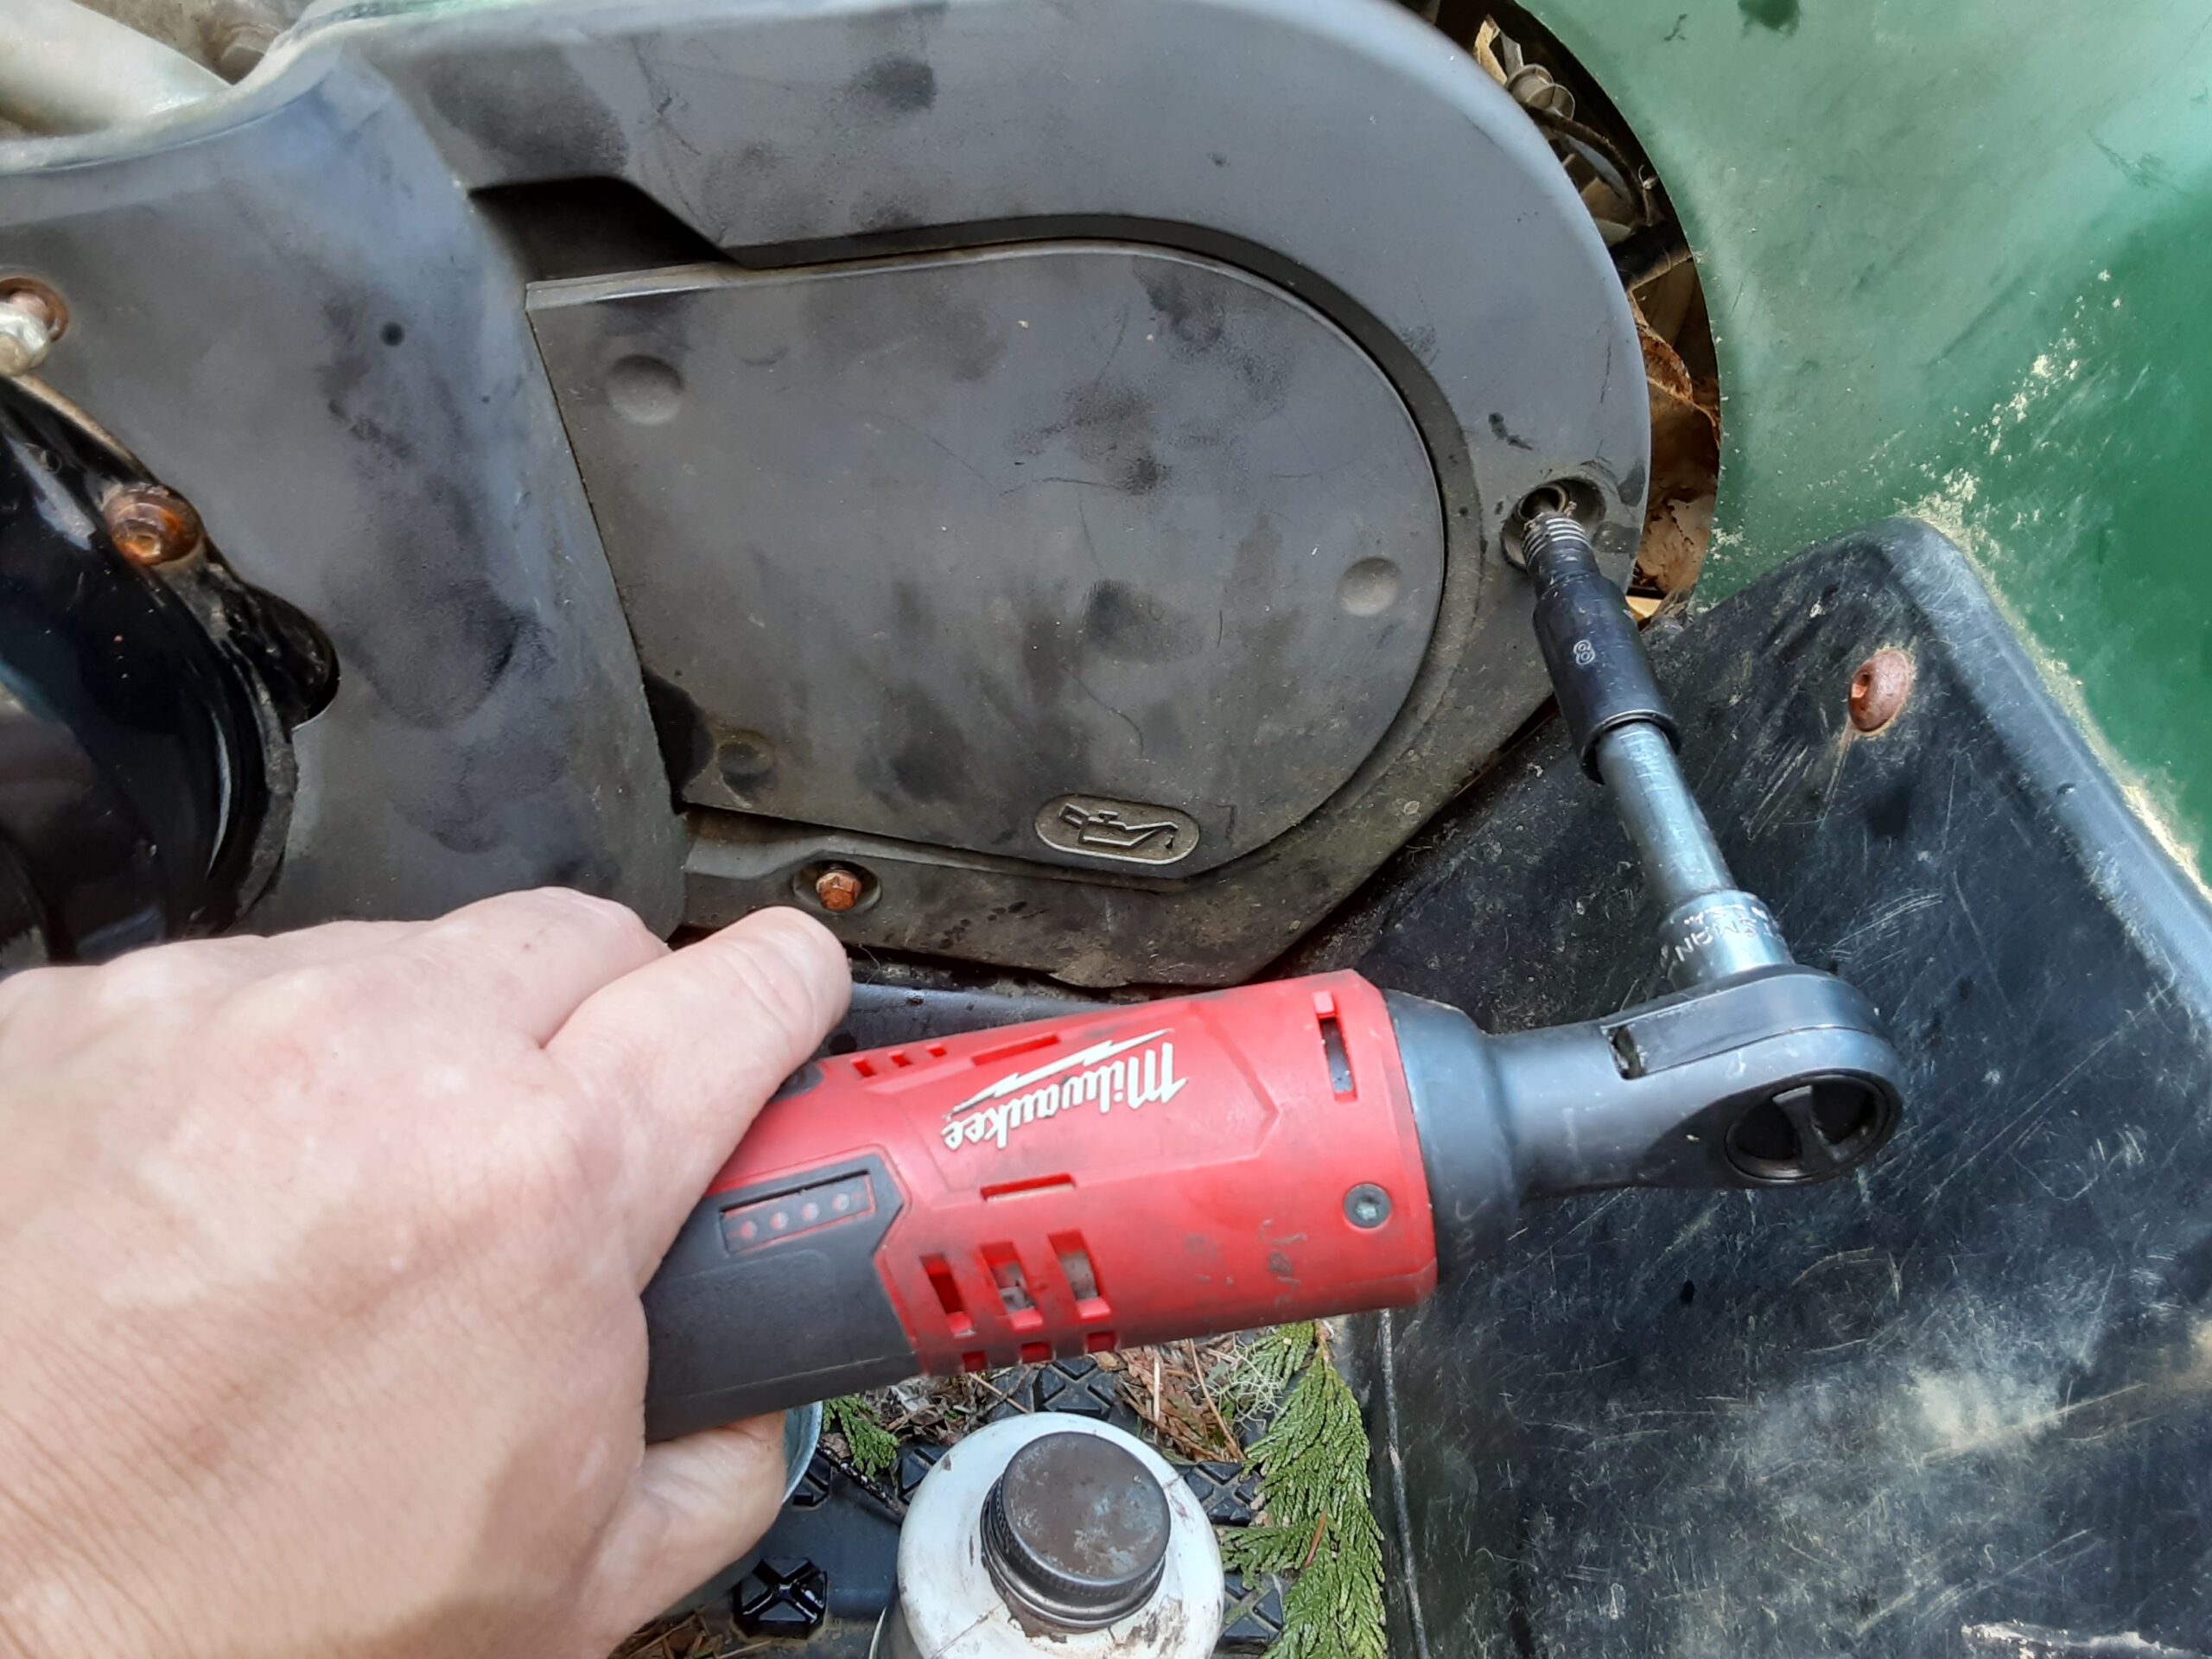
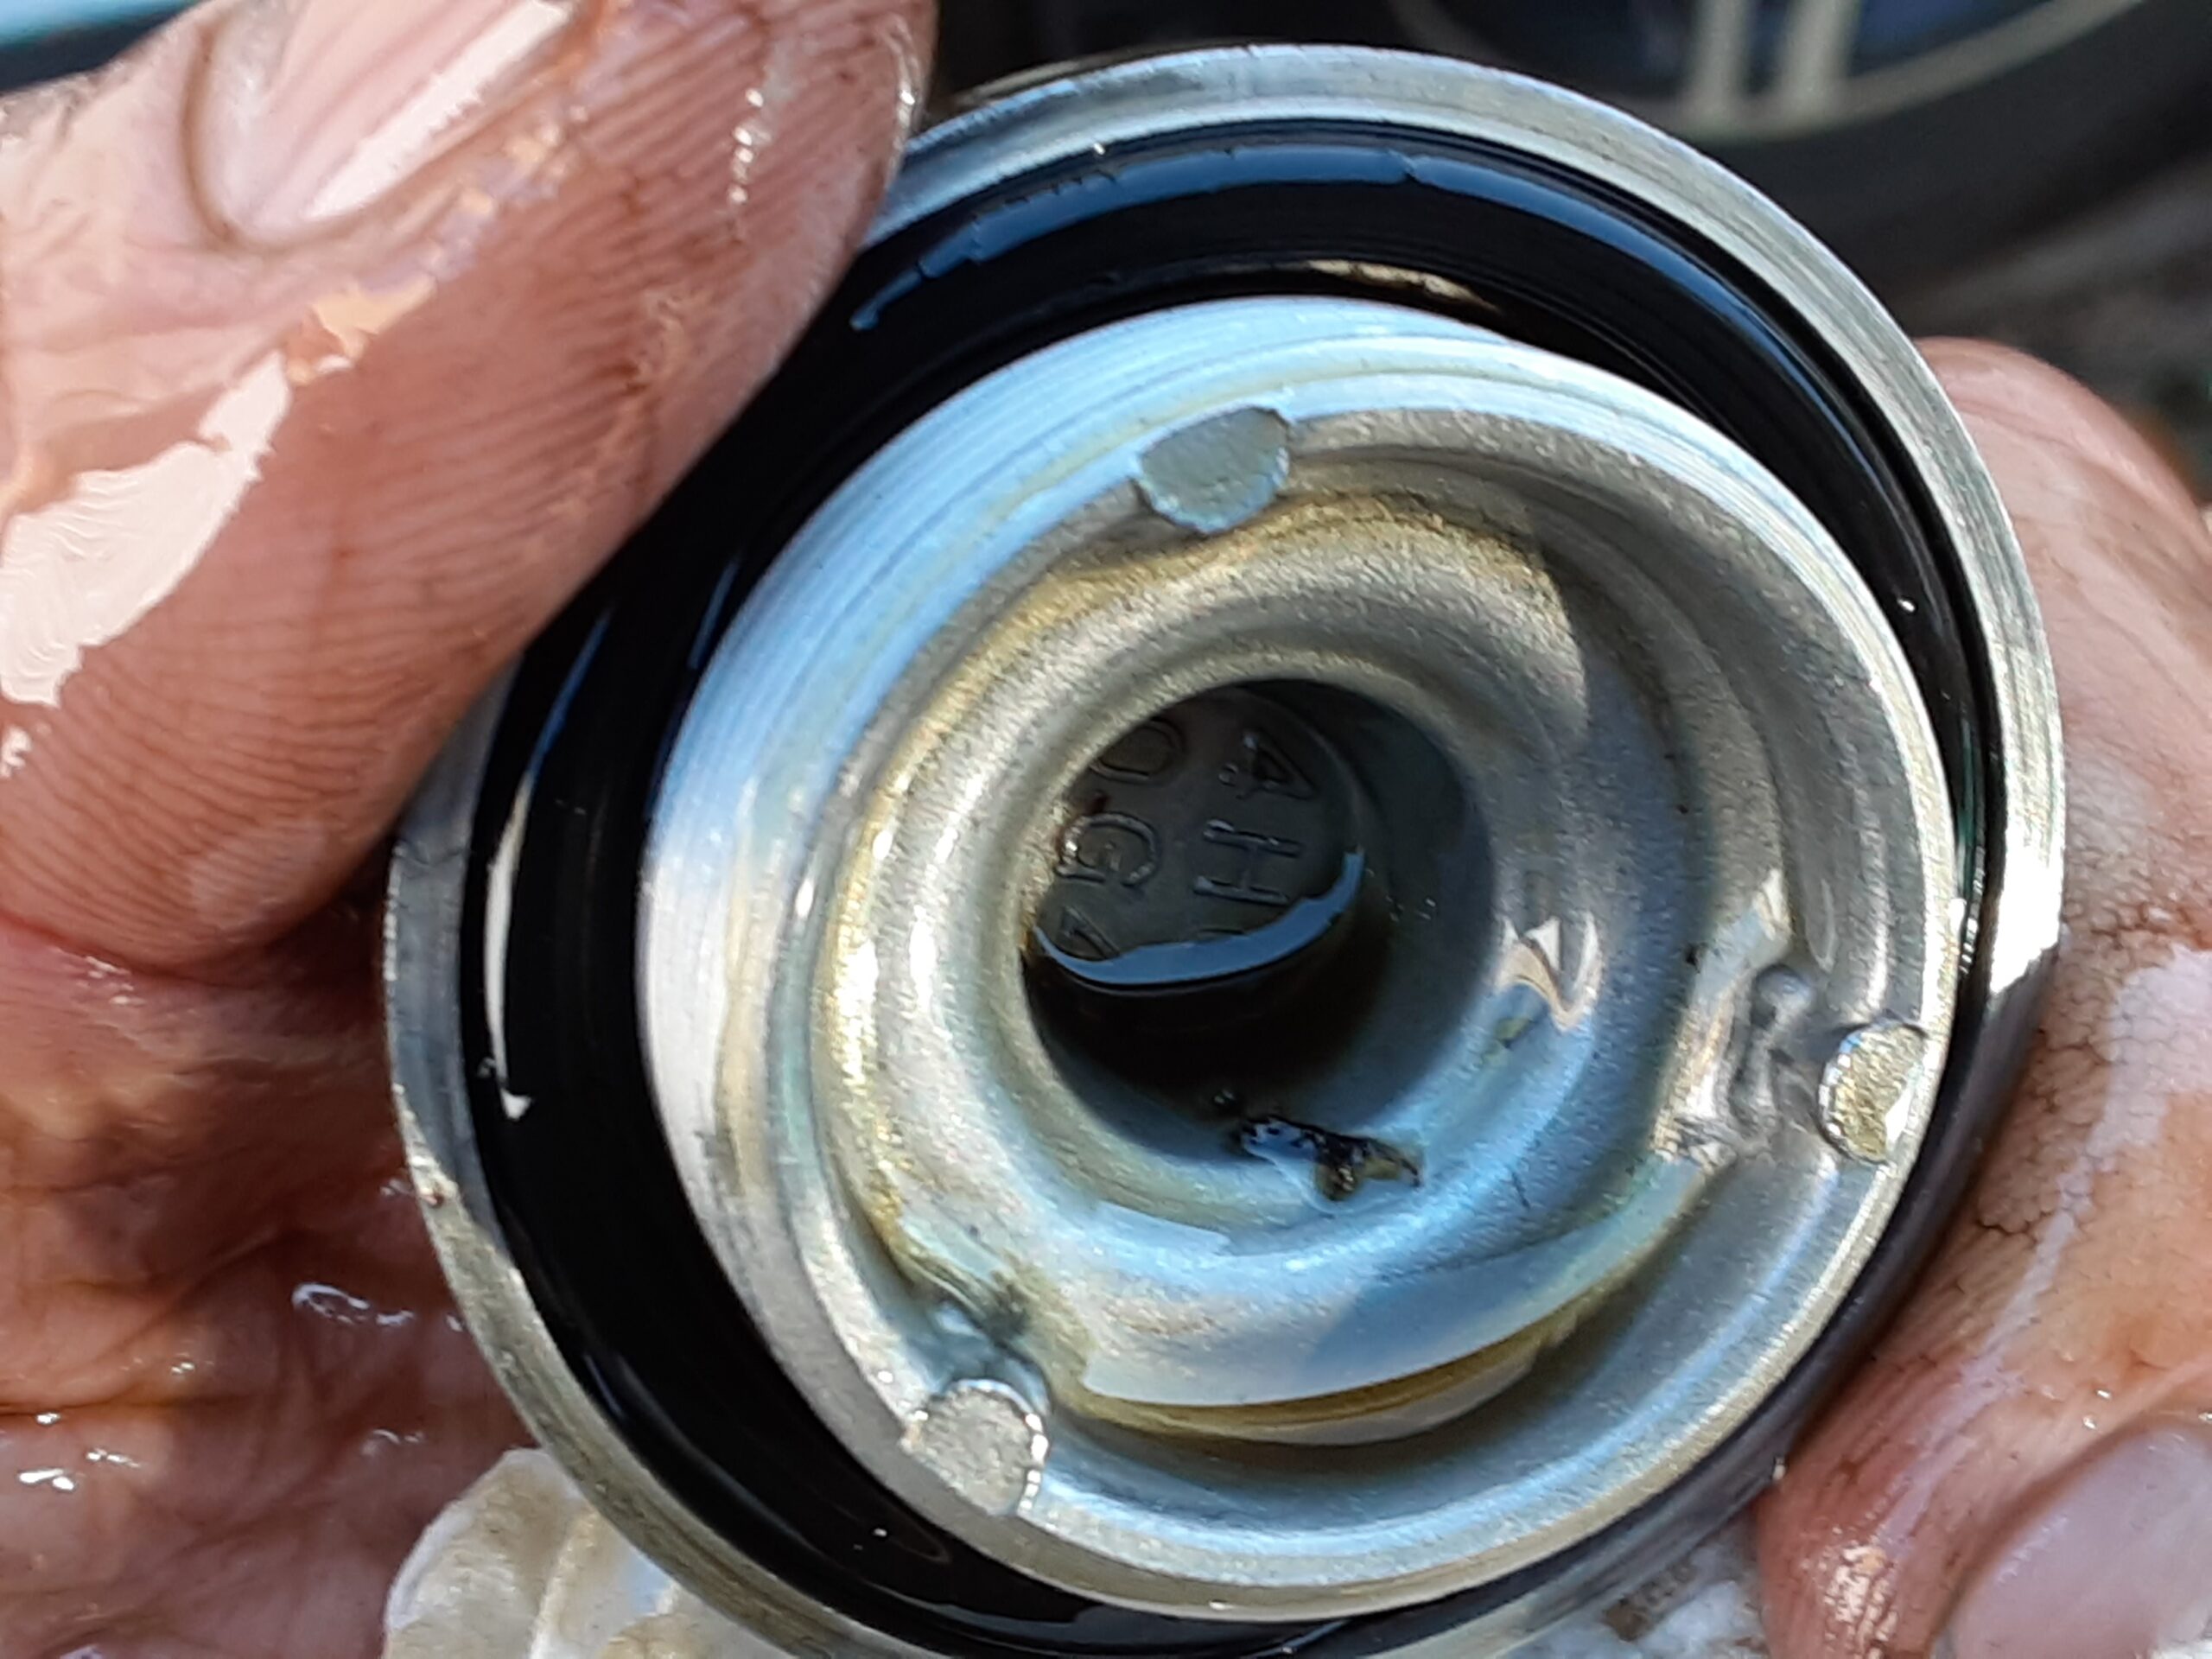
Select the proper oil filter wrench and remove the oil filter after placing a pan underneath as best as you can plus rags in any spots where the oil may run into. Generally, any filter that is mounted sideways is going to make a mess regardless of how careful you are and do expect a burning oil smell to linger for a while after an oil change. There are several styles of oil filters wrenches and which one you will need is really dictated by the oil filter mounting location and your ability to reach it. For the Yamahas I use a good quality oil filter socket as there is a definite difference in those. The cheaper ones have slippage tendencies if the filter is too tight making life very frustrating. Once the filter is removed thoroughly inspect the filter mounting surface for residual gasket material, rust pits, or any other signs of damage.
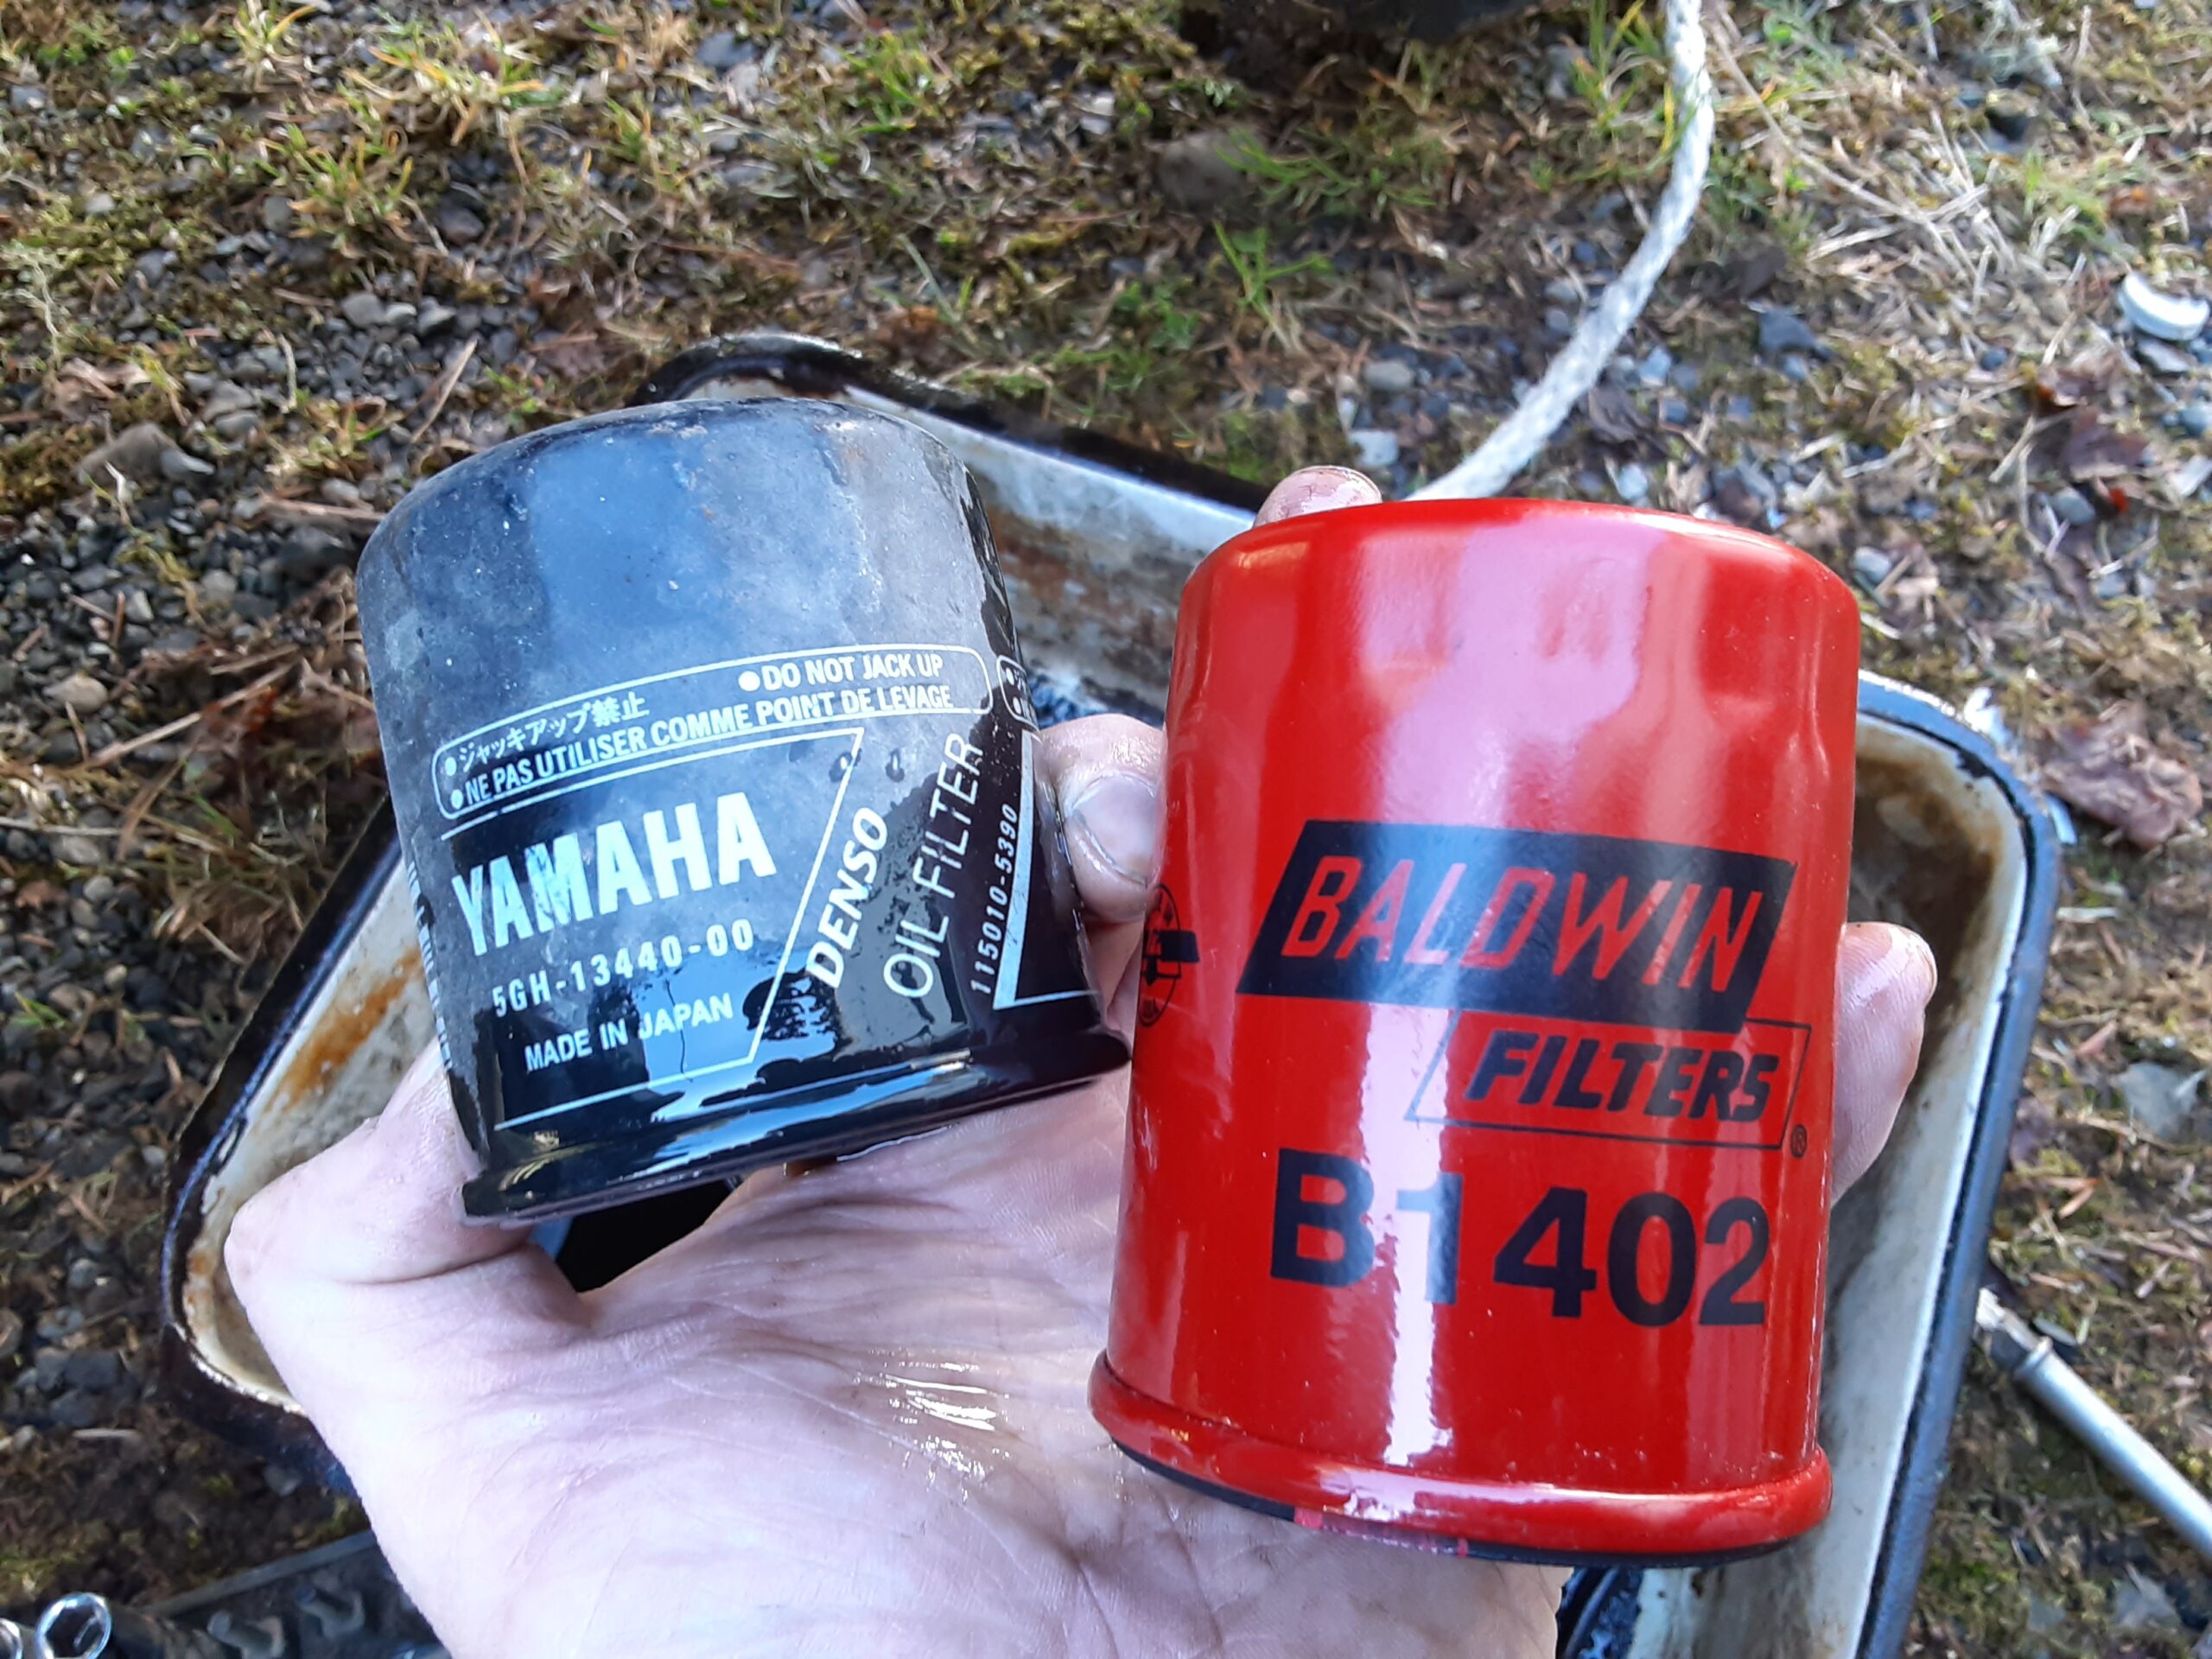
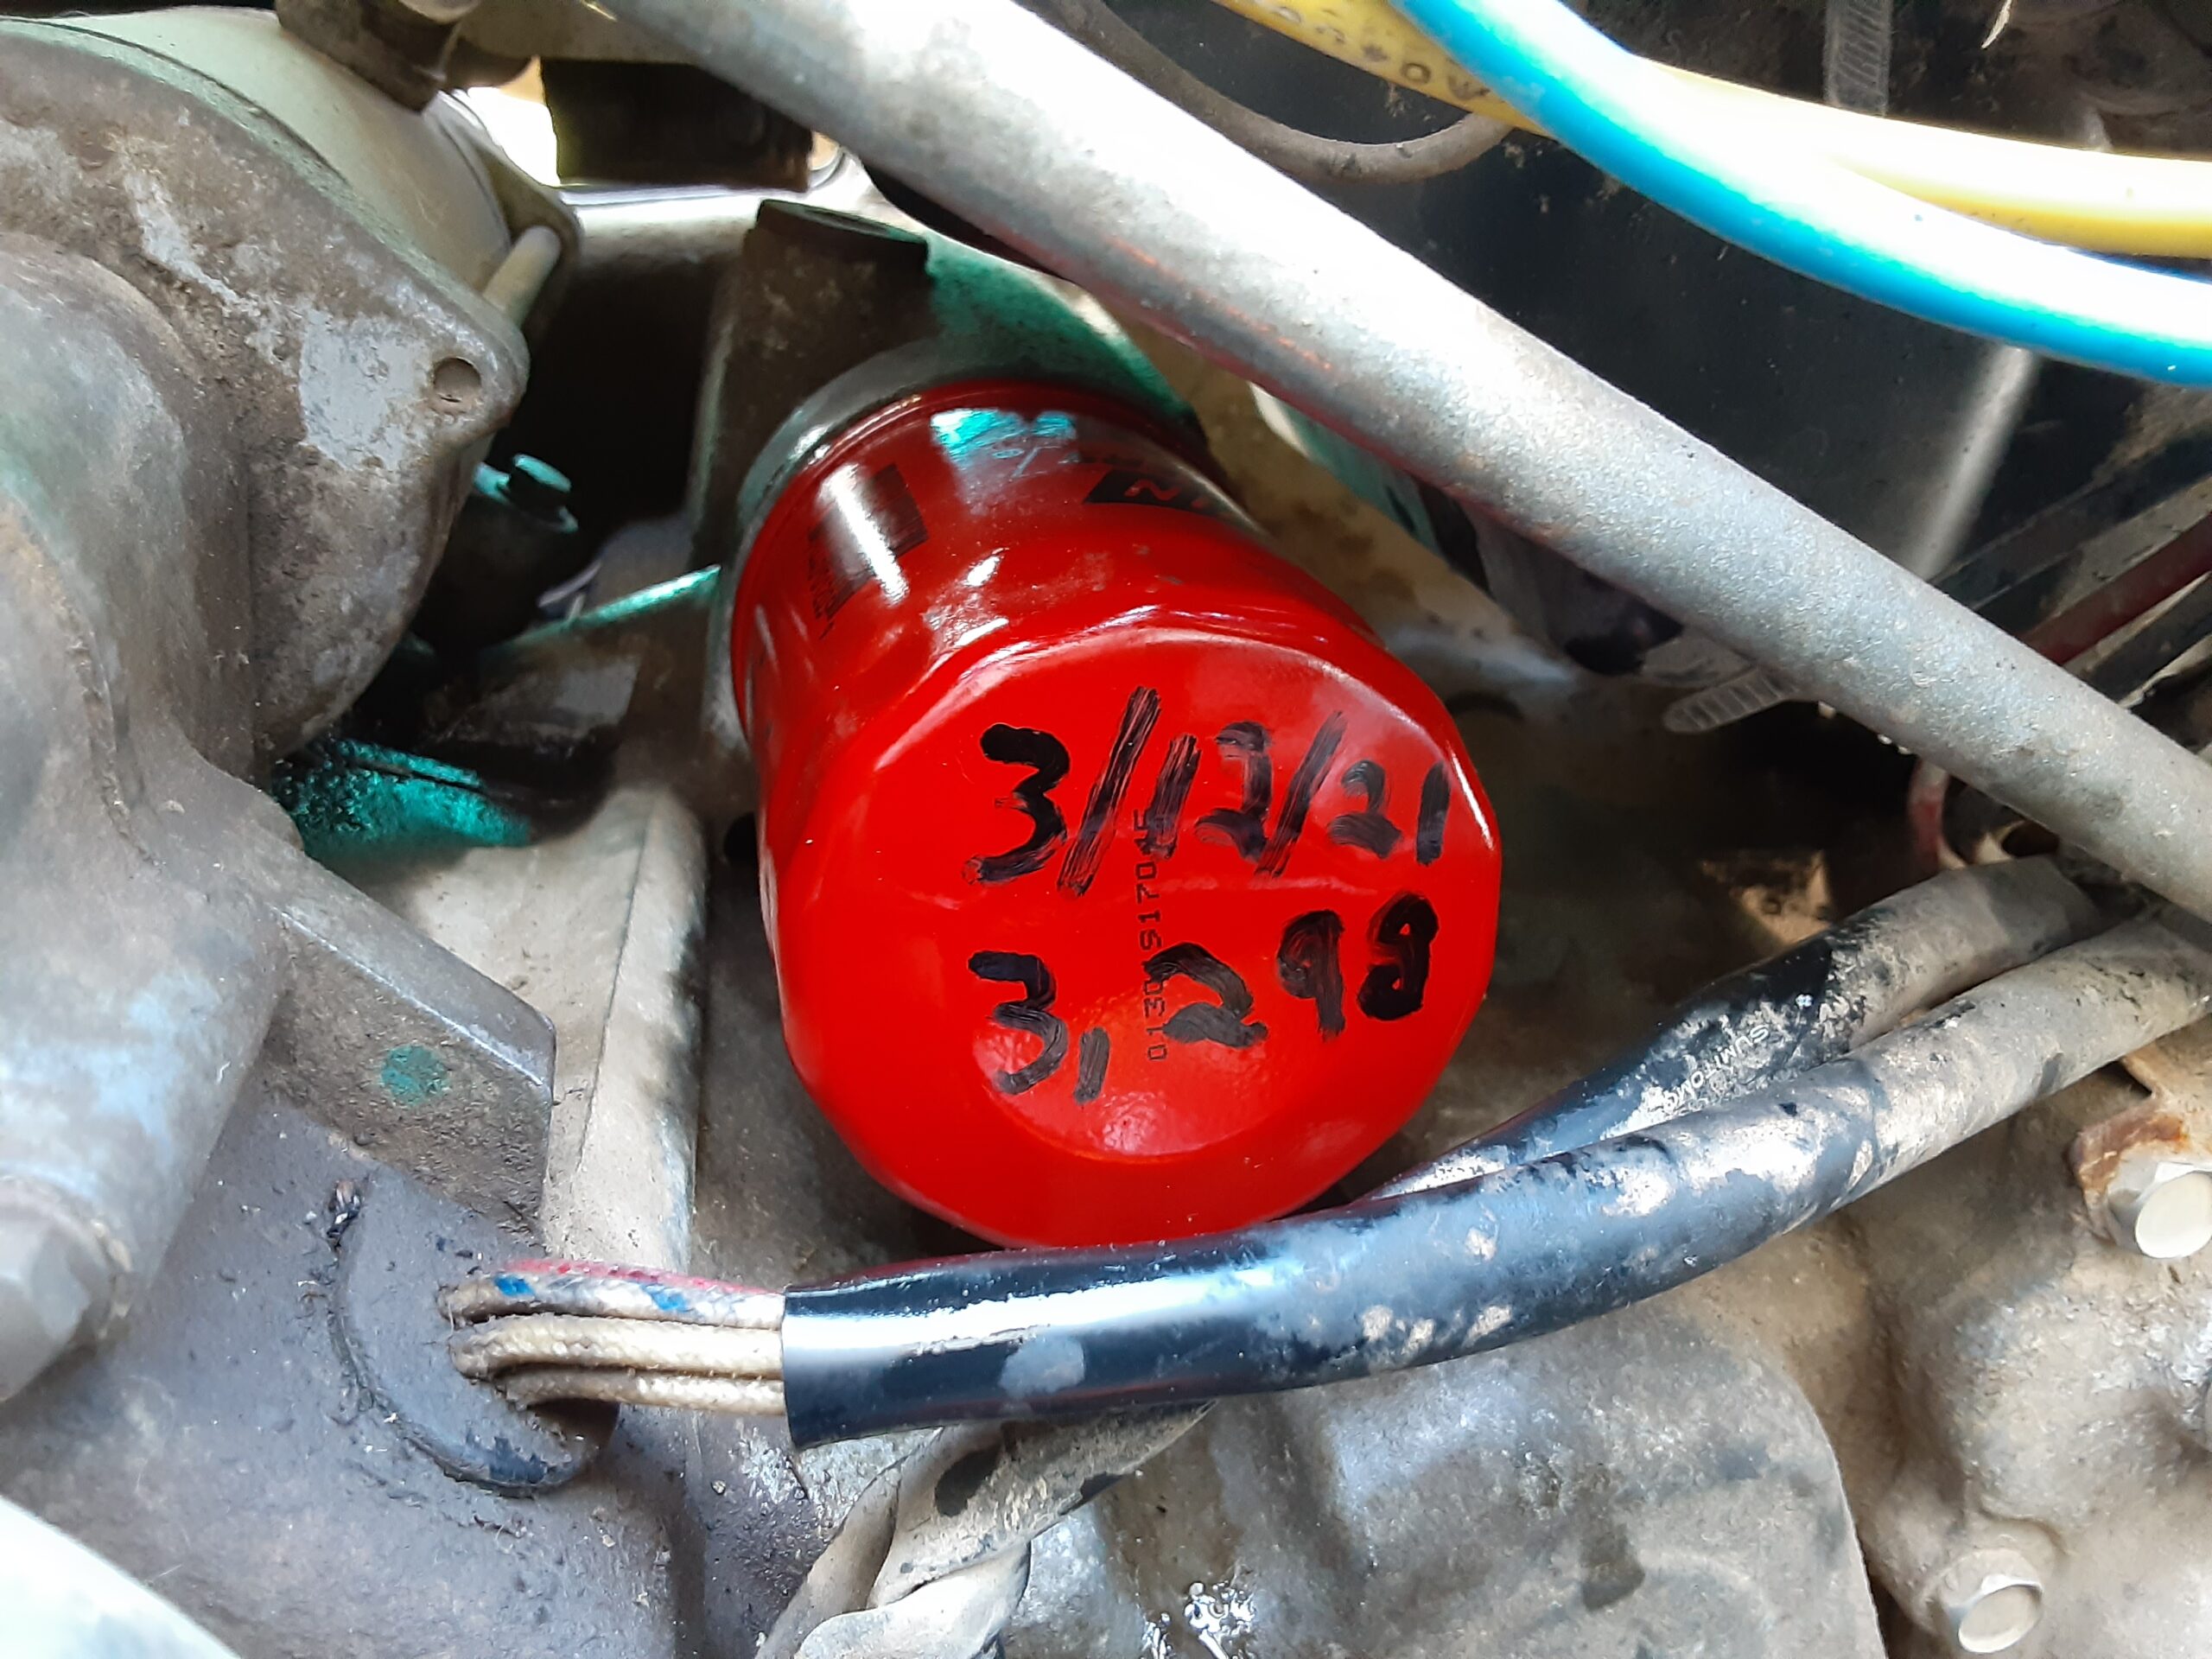
Once you are satisfied that the filter mounting service is clean and free of any damage or defects you can install the new oil filter after applying some oil to the O-ring or gasket on the new filter. Definitely use a good quality replacement filter to help extend your engine life. I used a filter that was a little bigger than the factory one that had the same threads and other specifications other than the length. This gives more filtering surface for better flow and mor filtering so it is a good option if your machine has the clearance to do it. Do not super tighten the filter and follow the manufacturer’s tightening recommendations which is generally about ¾ of a turn past finger tight. Overtightening can cause the gasket or O-ring to blow out in addition to making the next oil change that much more difficult.
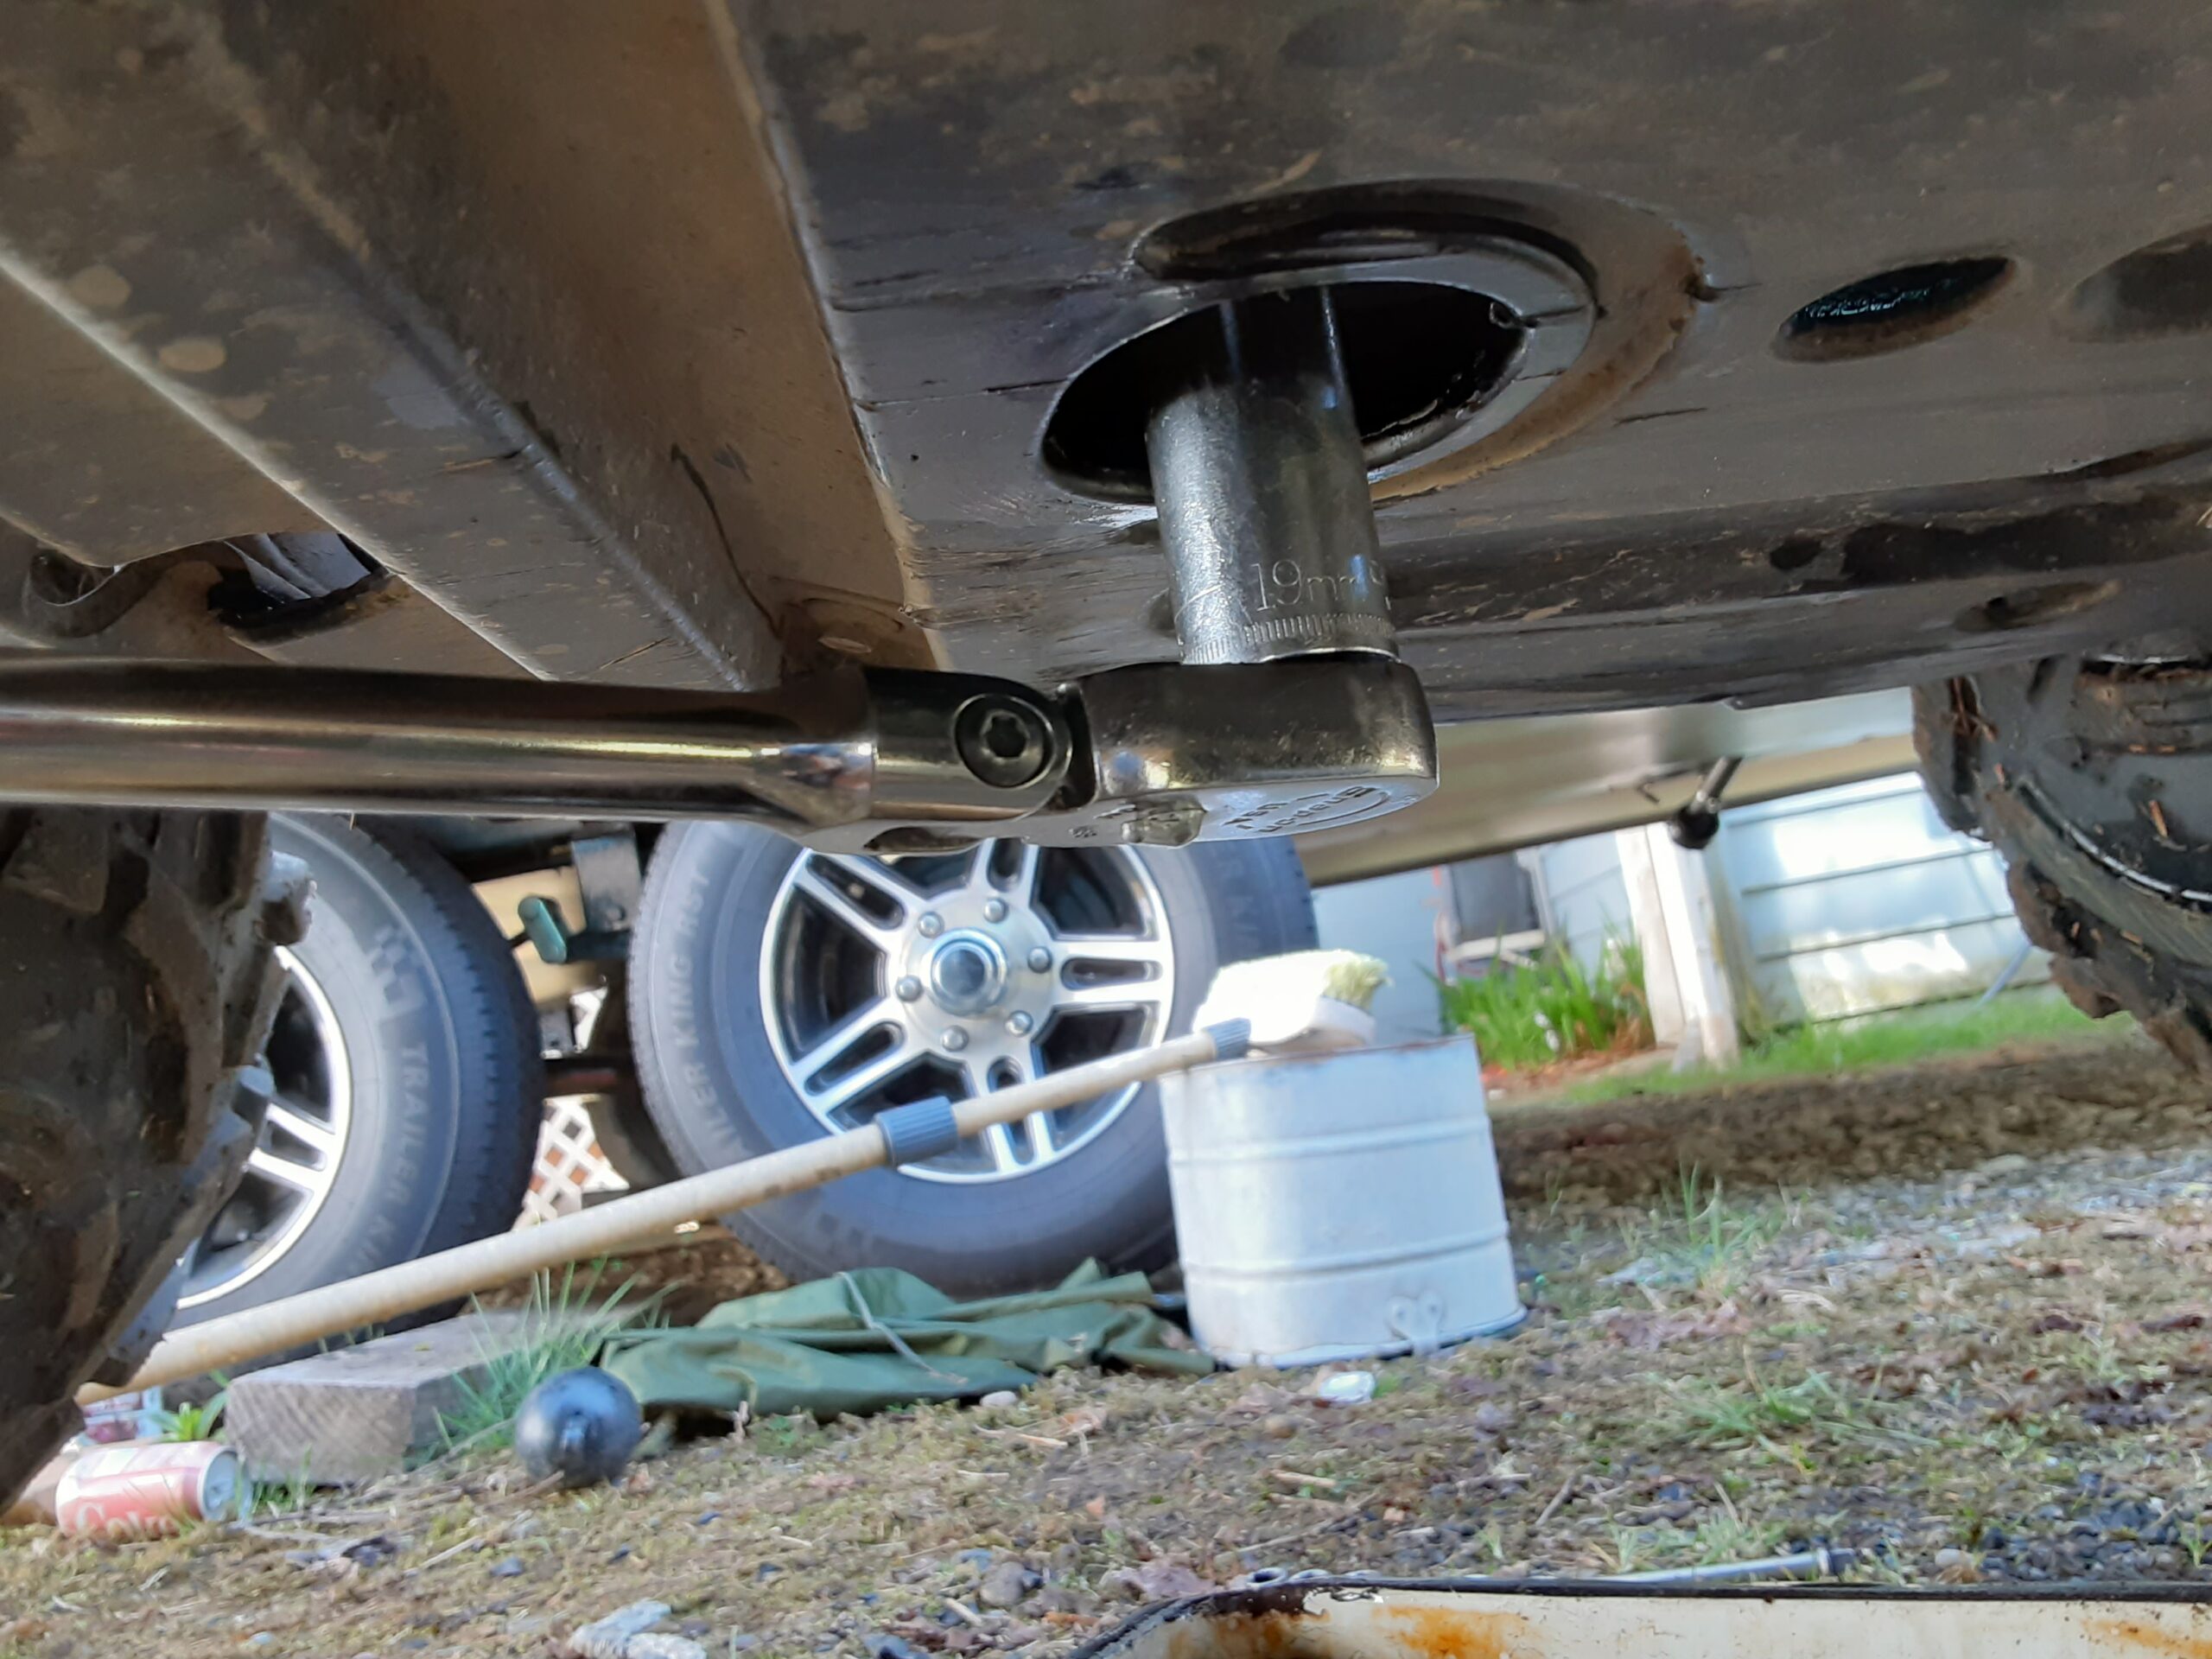
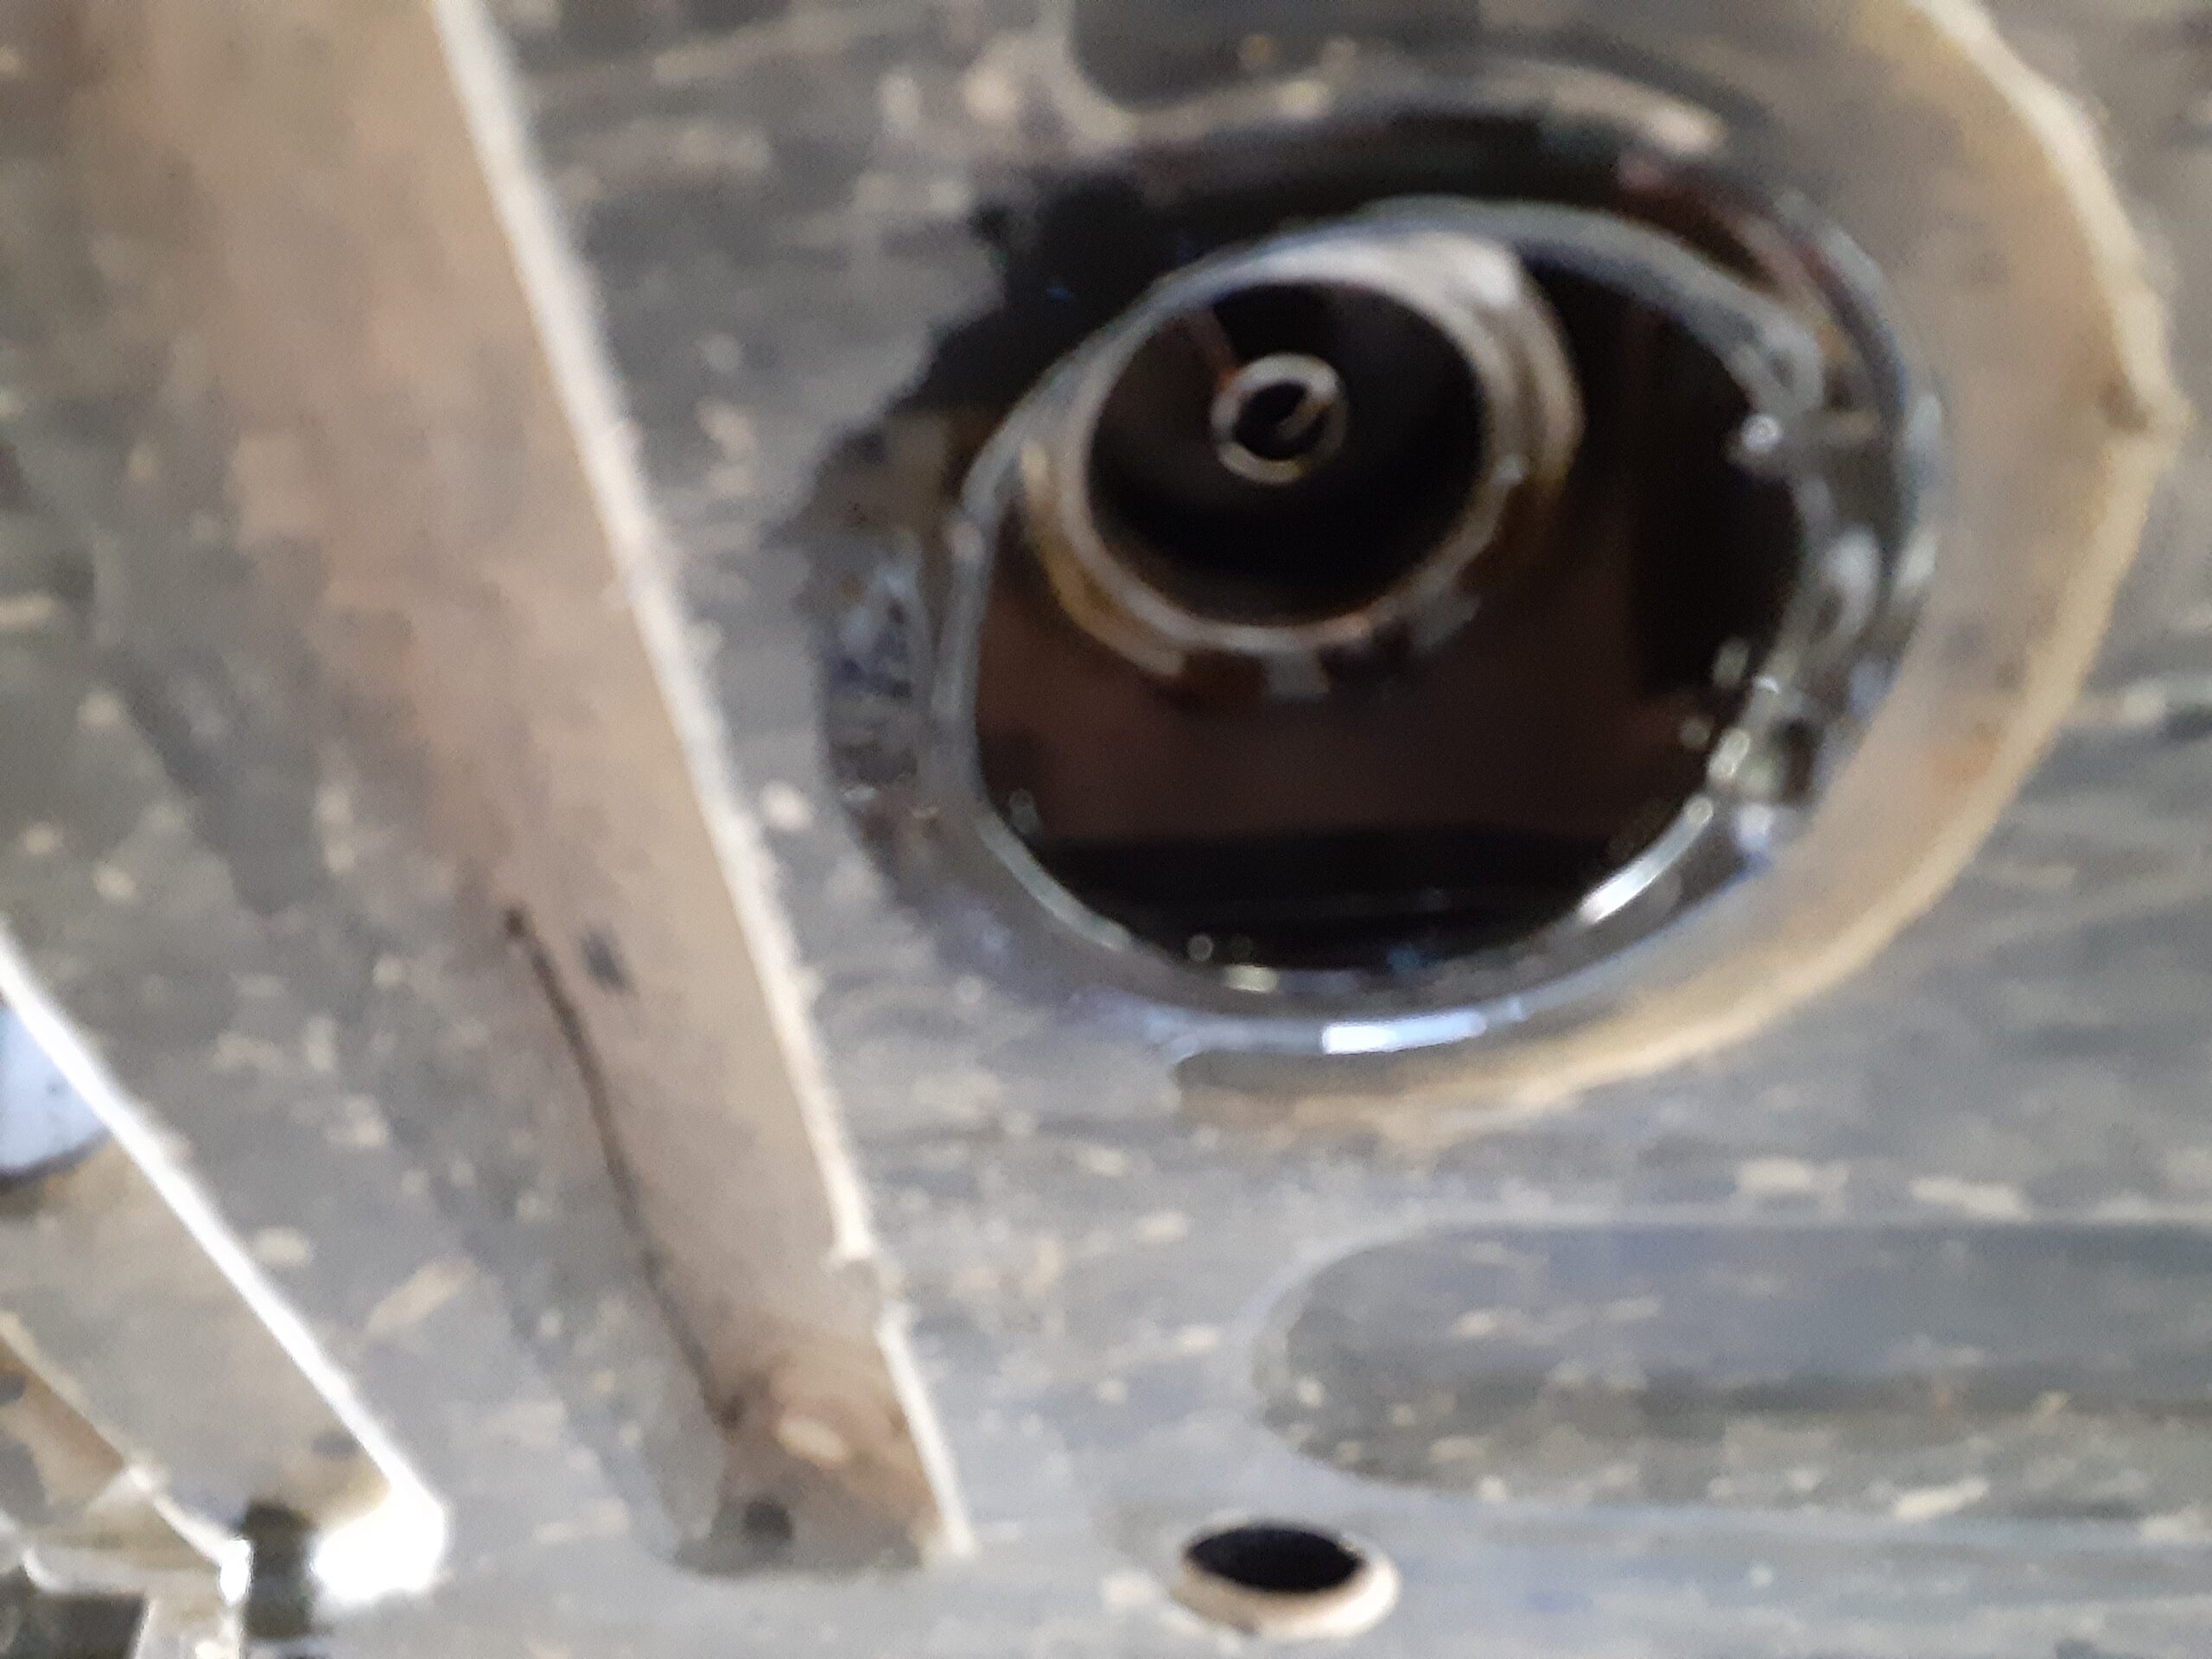
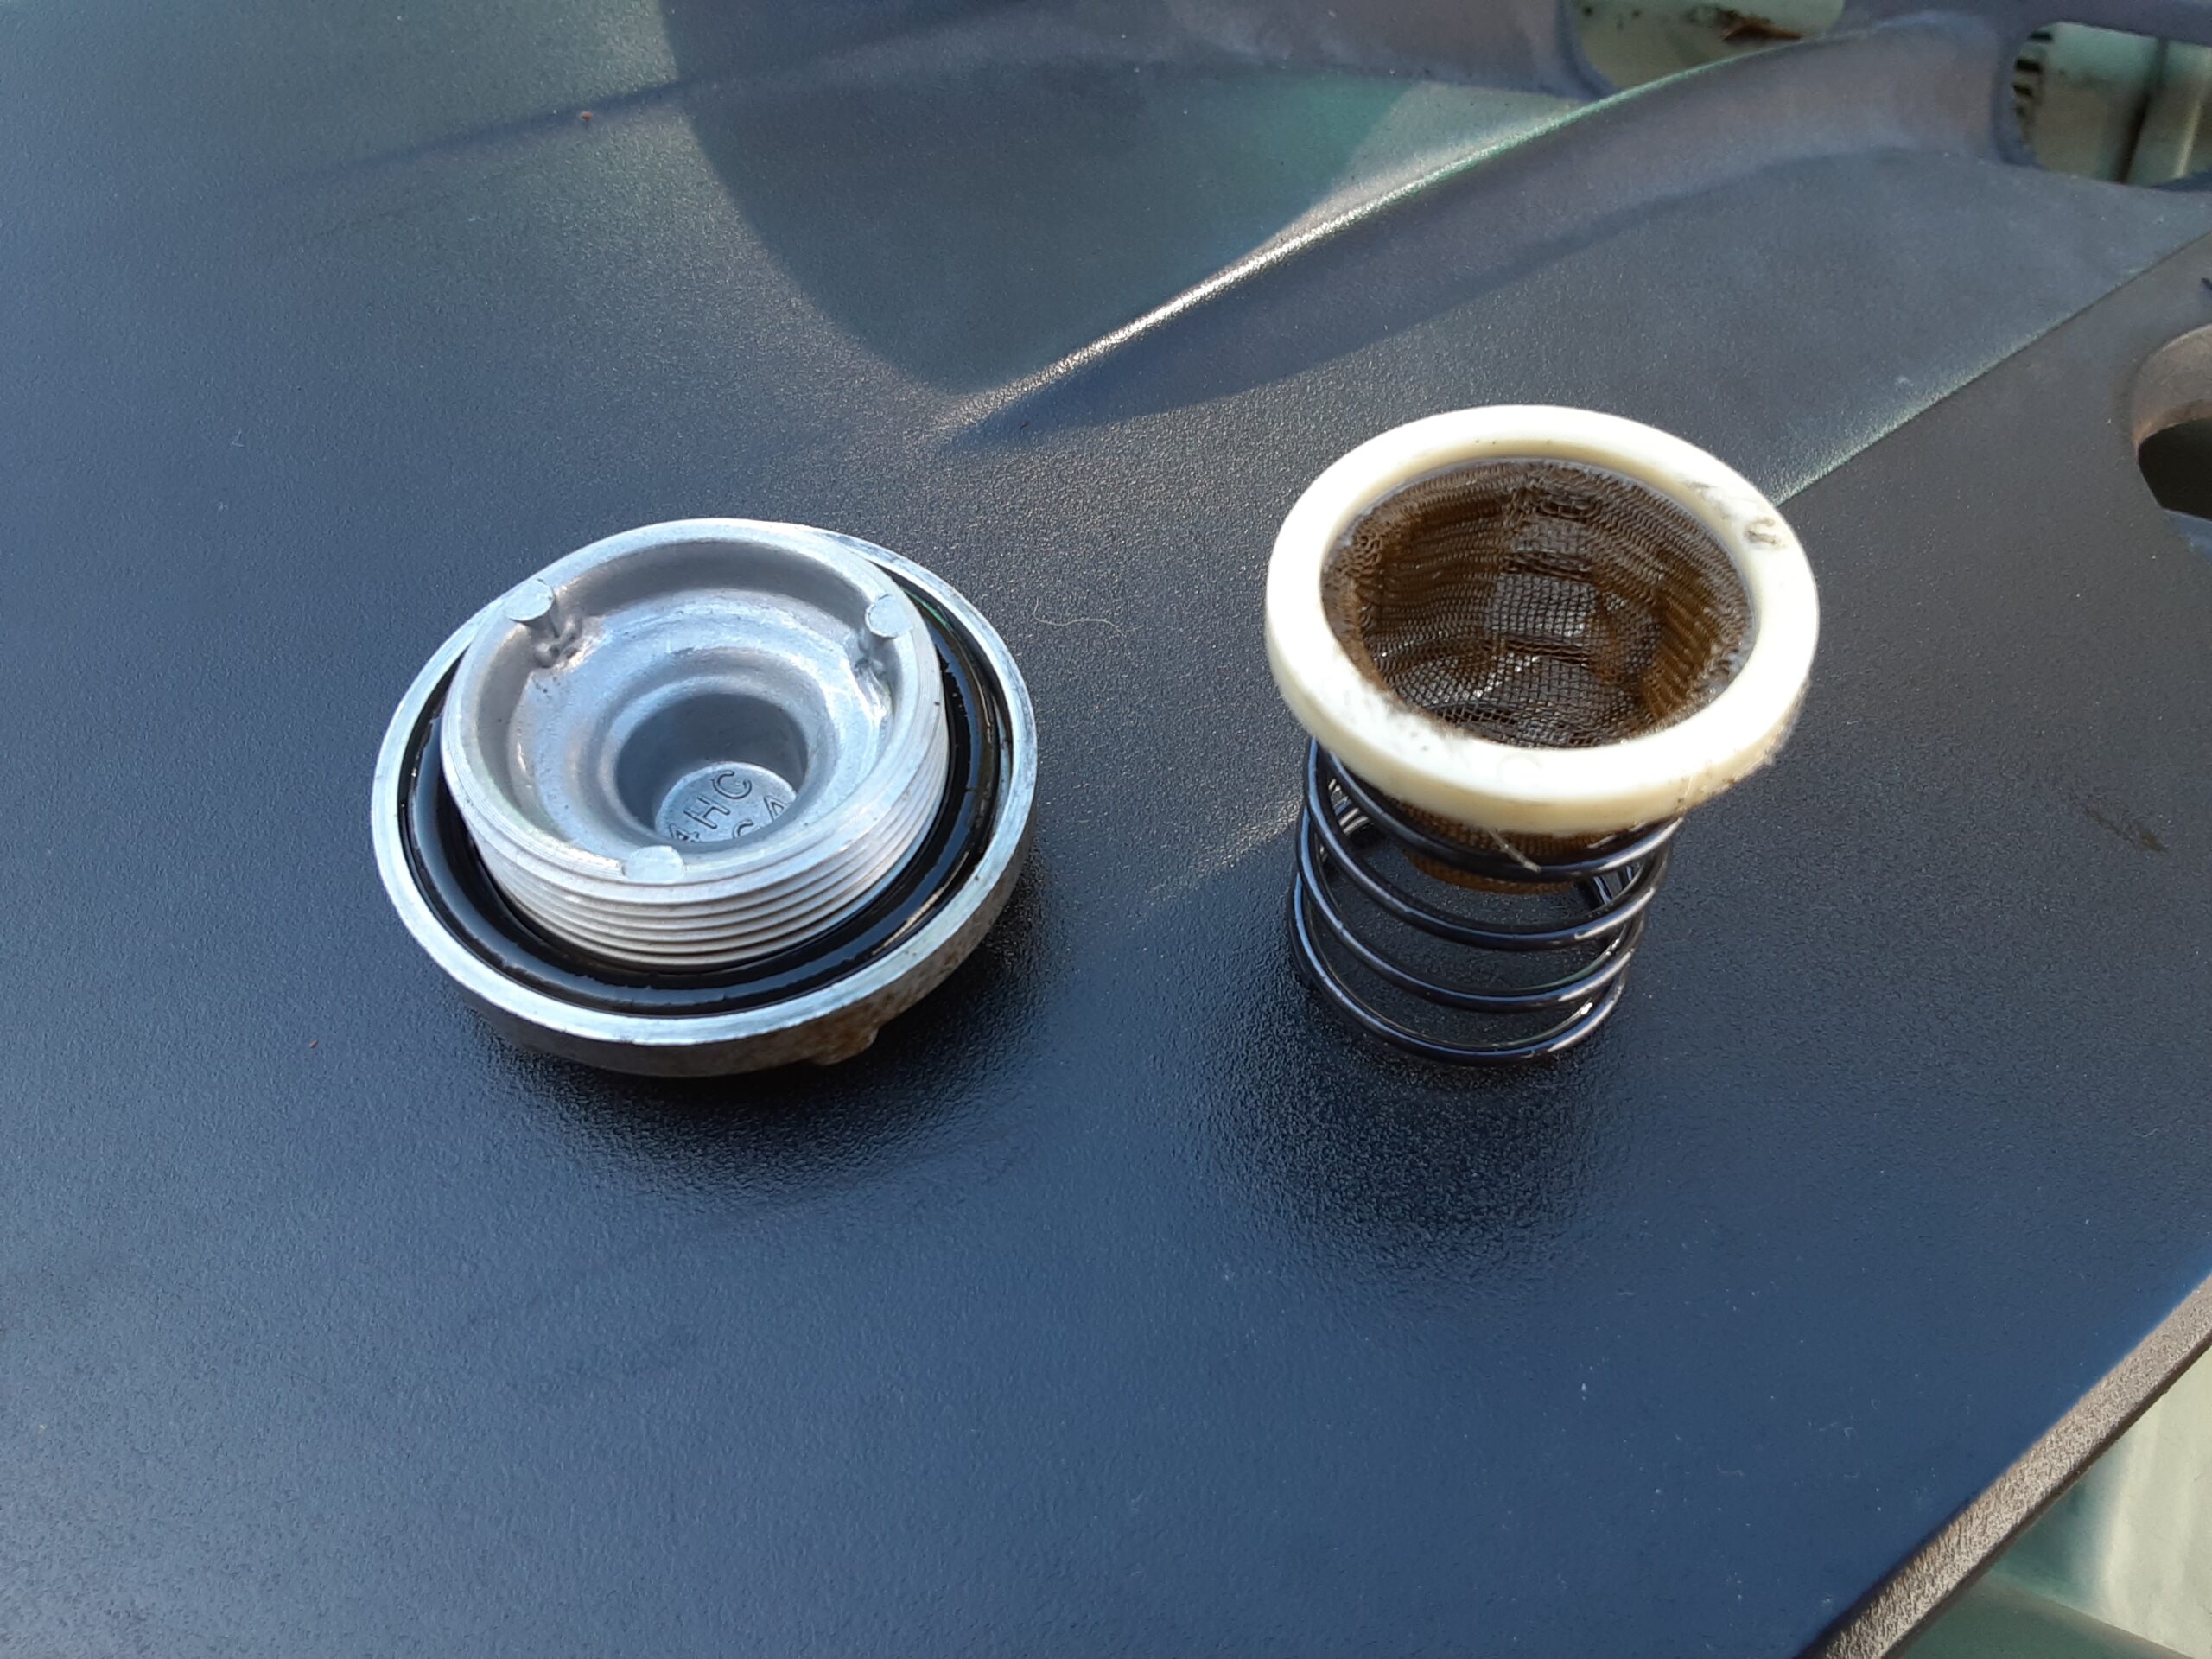
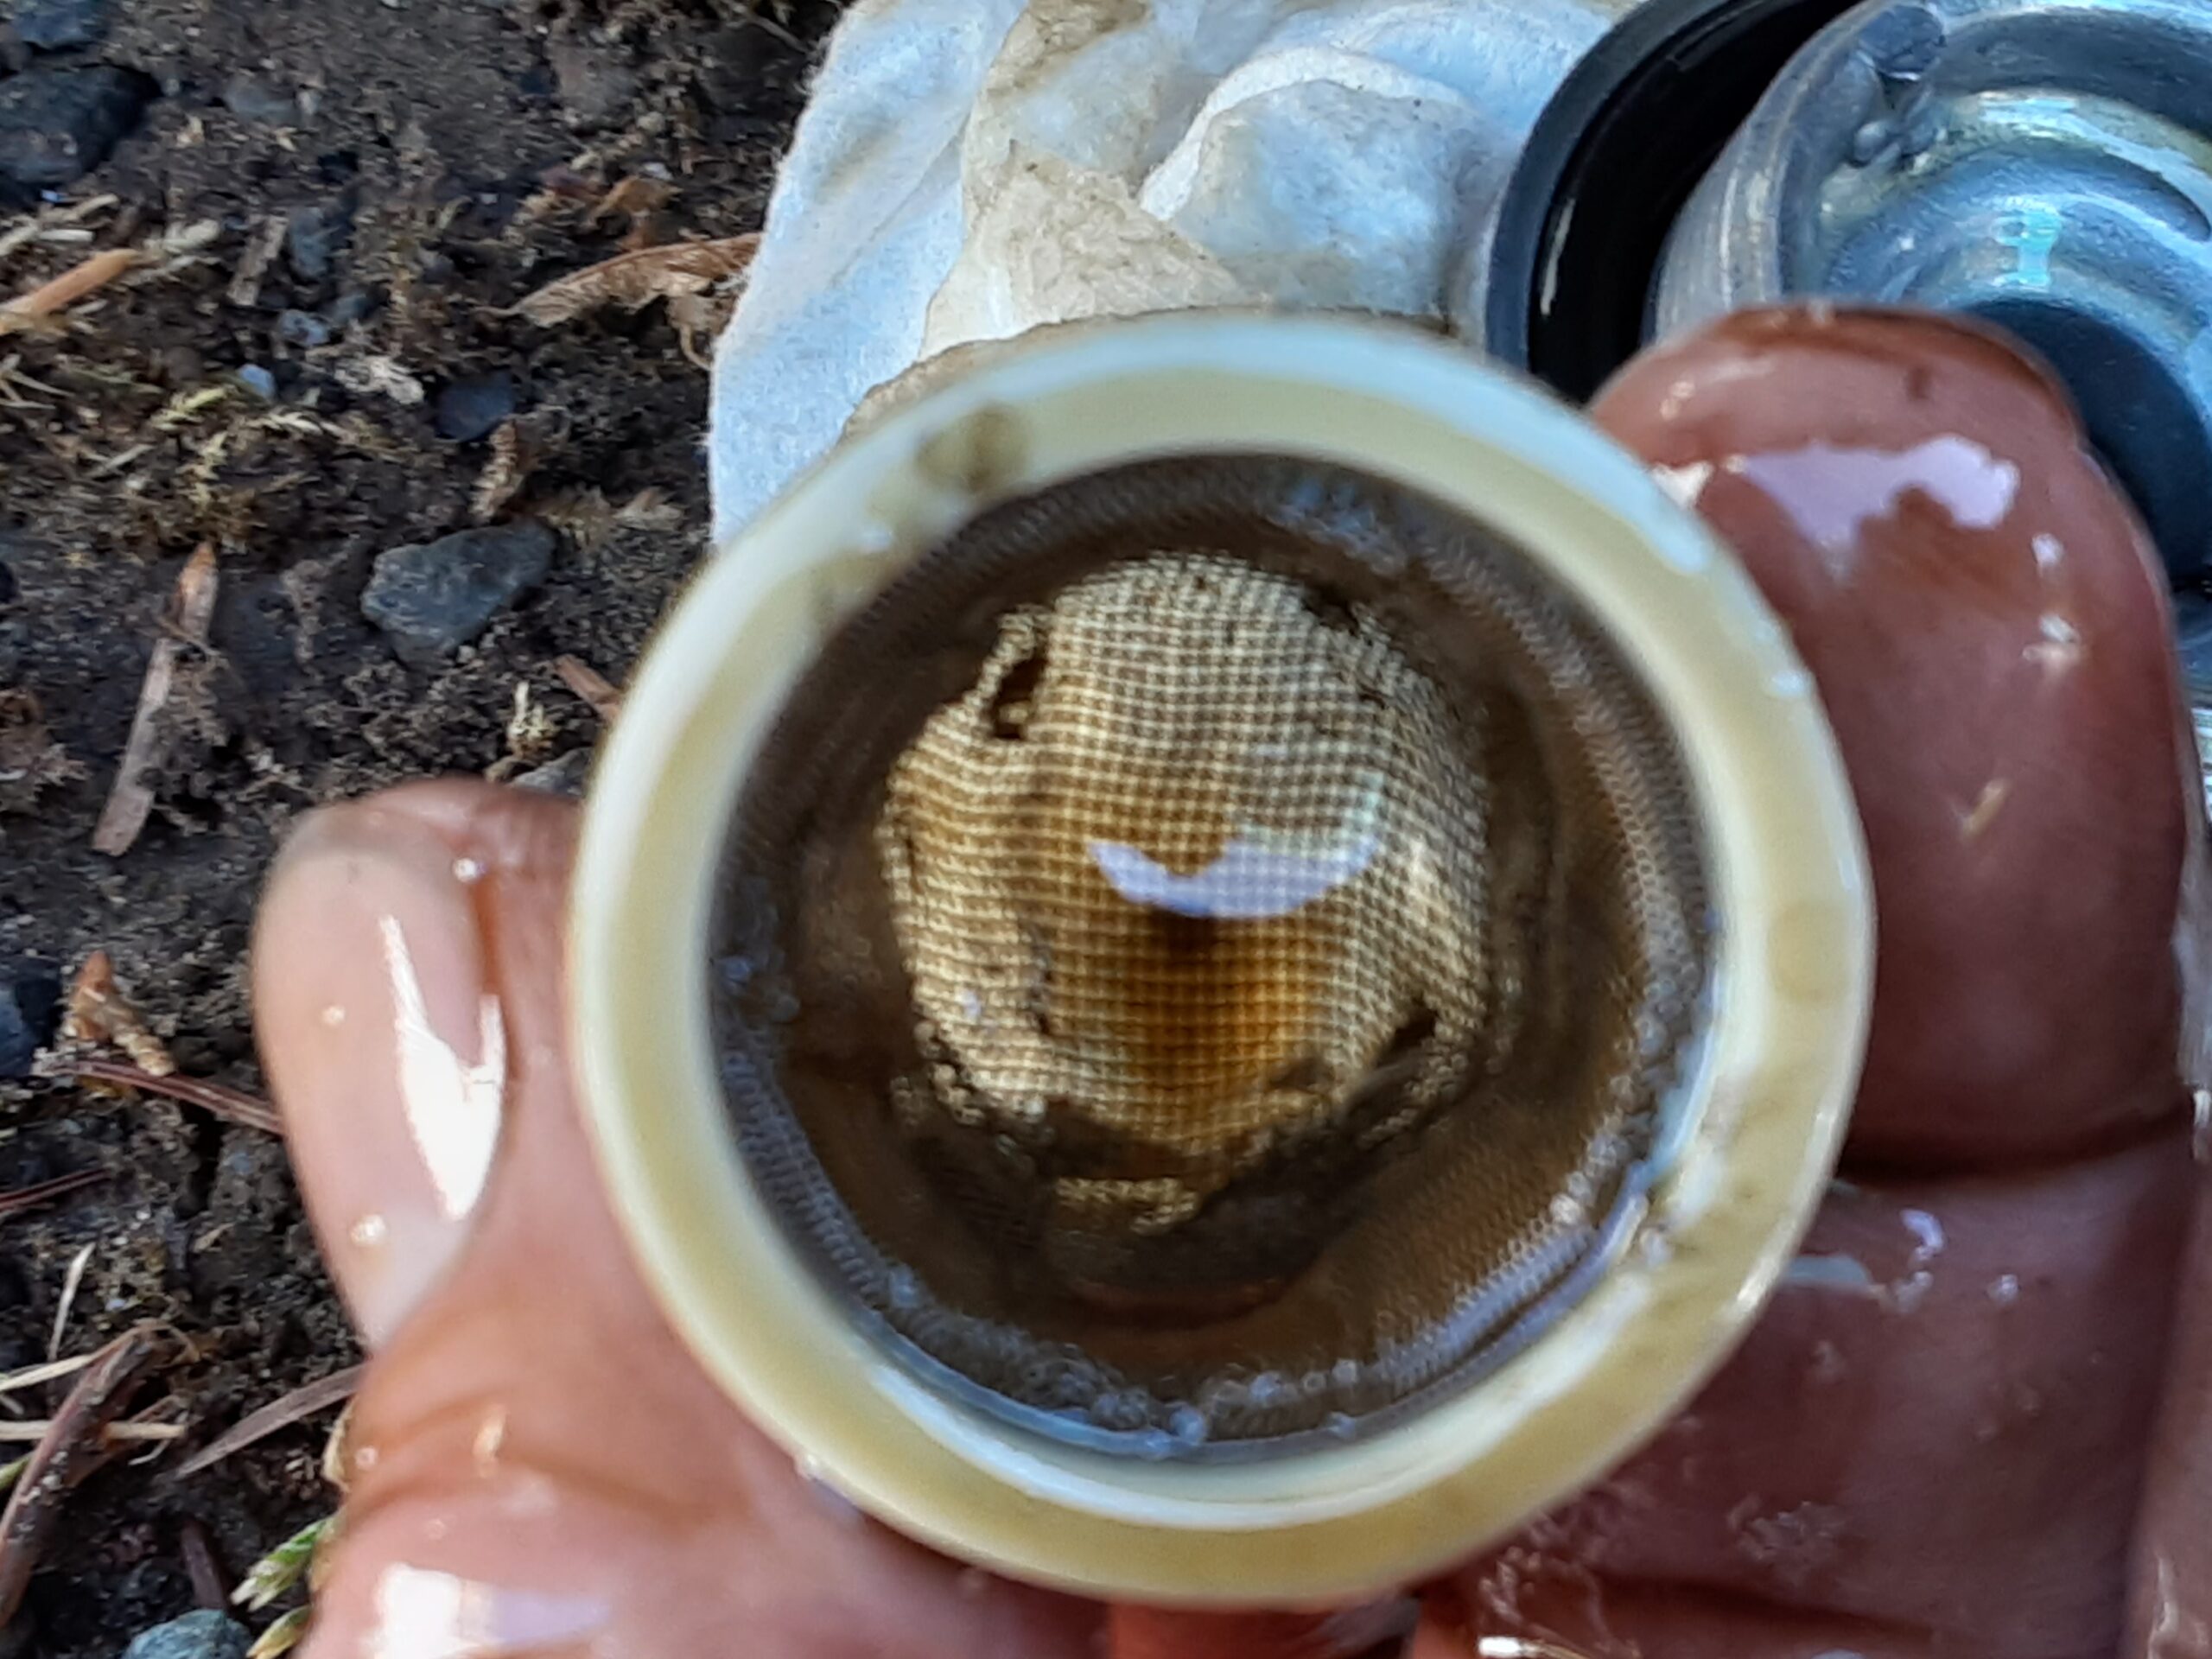
Locate the oil drain and remove the oil plug after placing a pan underneath it to catch the used oil. Some ATV drain plugs are equipped with a spring and a wire screen to catch large debris so expect those to fall out or shoot out once the drain plug reaches the end of the threads. Inspect the drain plug and screen for debris as the oil is draining. Finding a little greyish metal dust in the drain plug is normal, but there should not be an excessive amount of metal dust nor should there be any metal chucks or other large debris. If any of these are present there is a very good chance that you may have much bigger problems than dirty oil. Thoroughly clean the drain plug, spring, and screen so you can inspect them for damage. Appy a light coat of oil to the drain plug O-ring or gasket and reinstall it along with the spring and screen in the same way they came out. Torque it to specifications and do not overtighten it as most crankcases are made of aluminum so stripping out the threads is a distinct possibility that will quickly turn a simple job into a major repair.
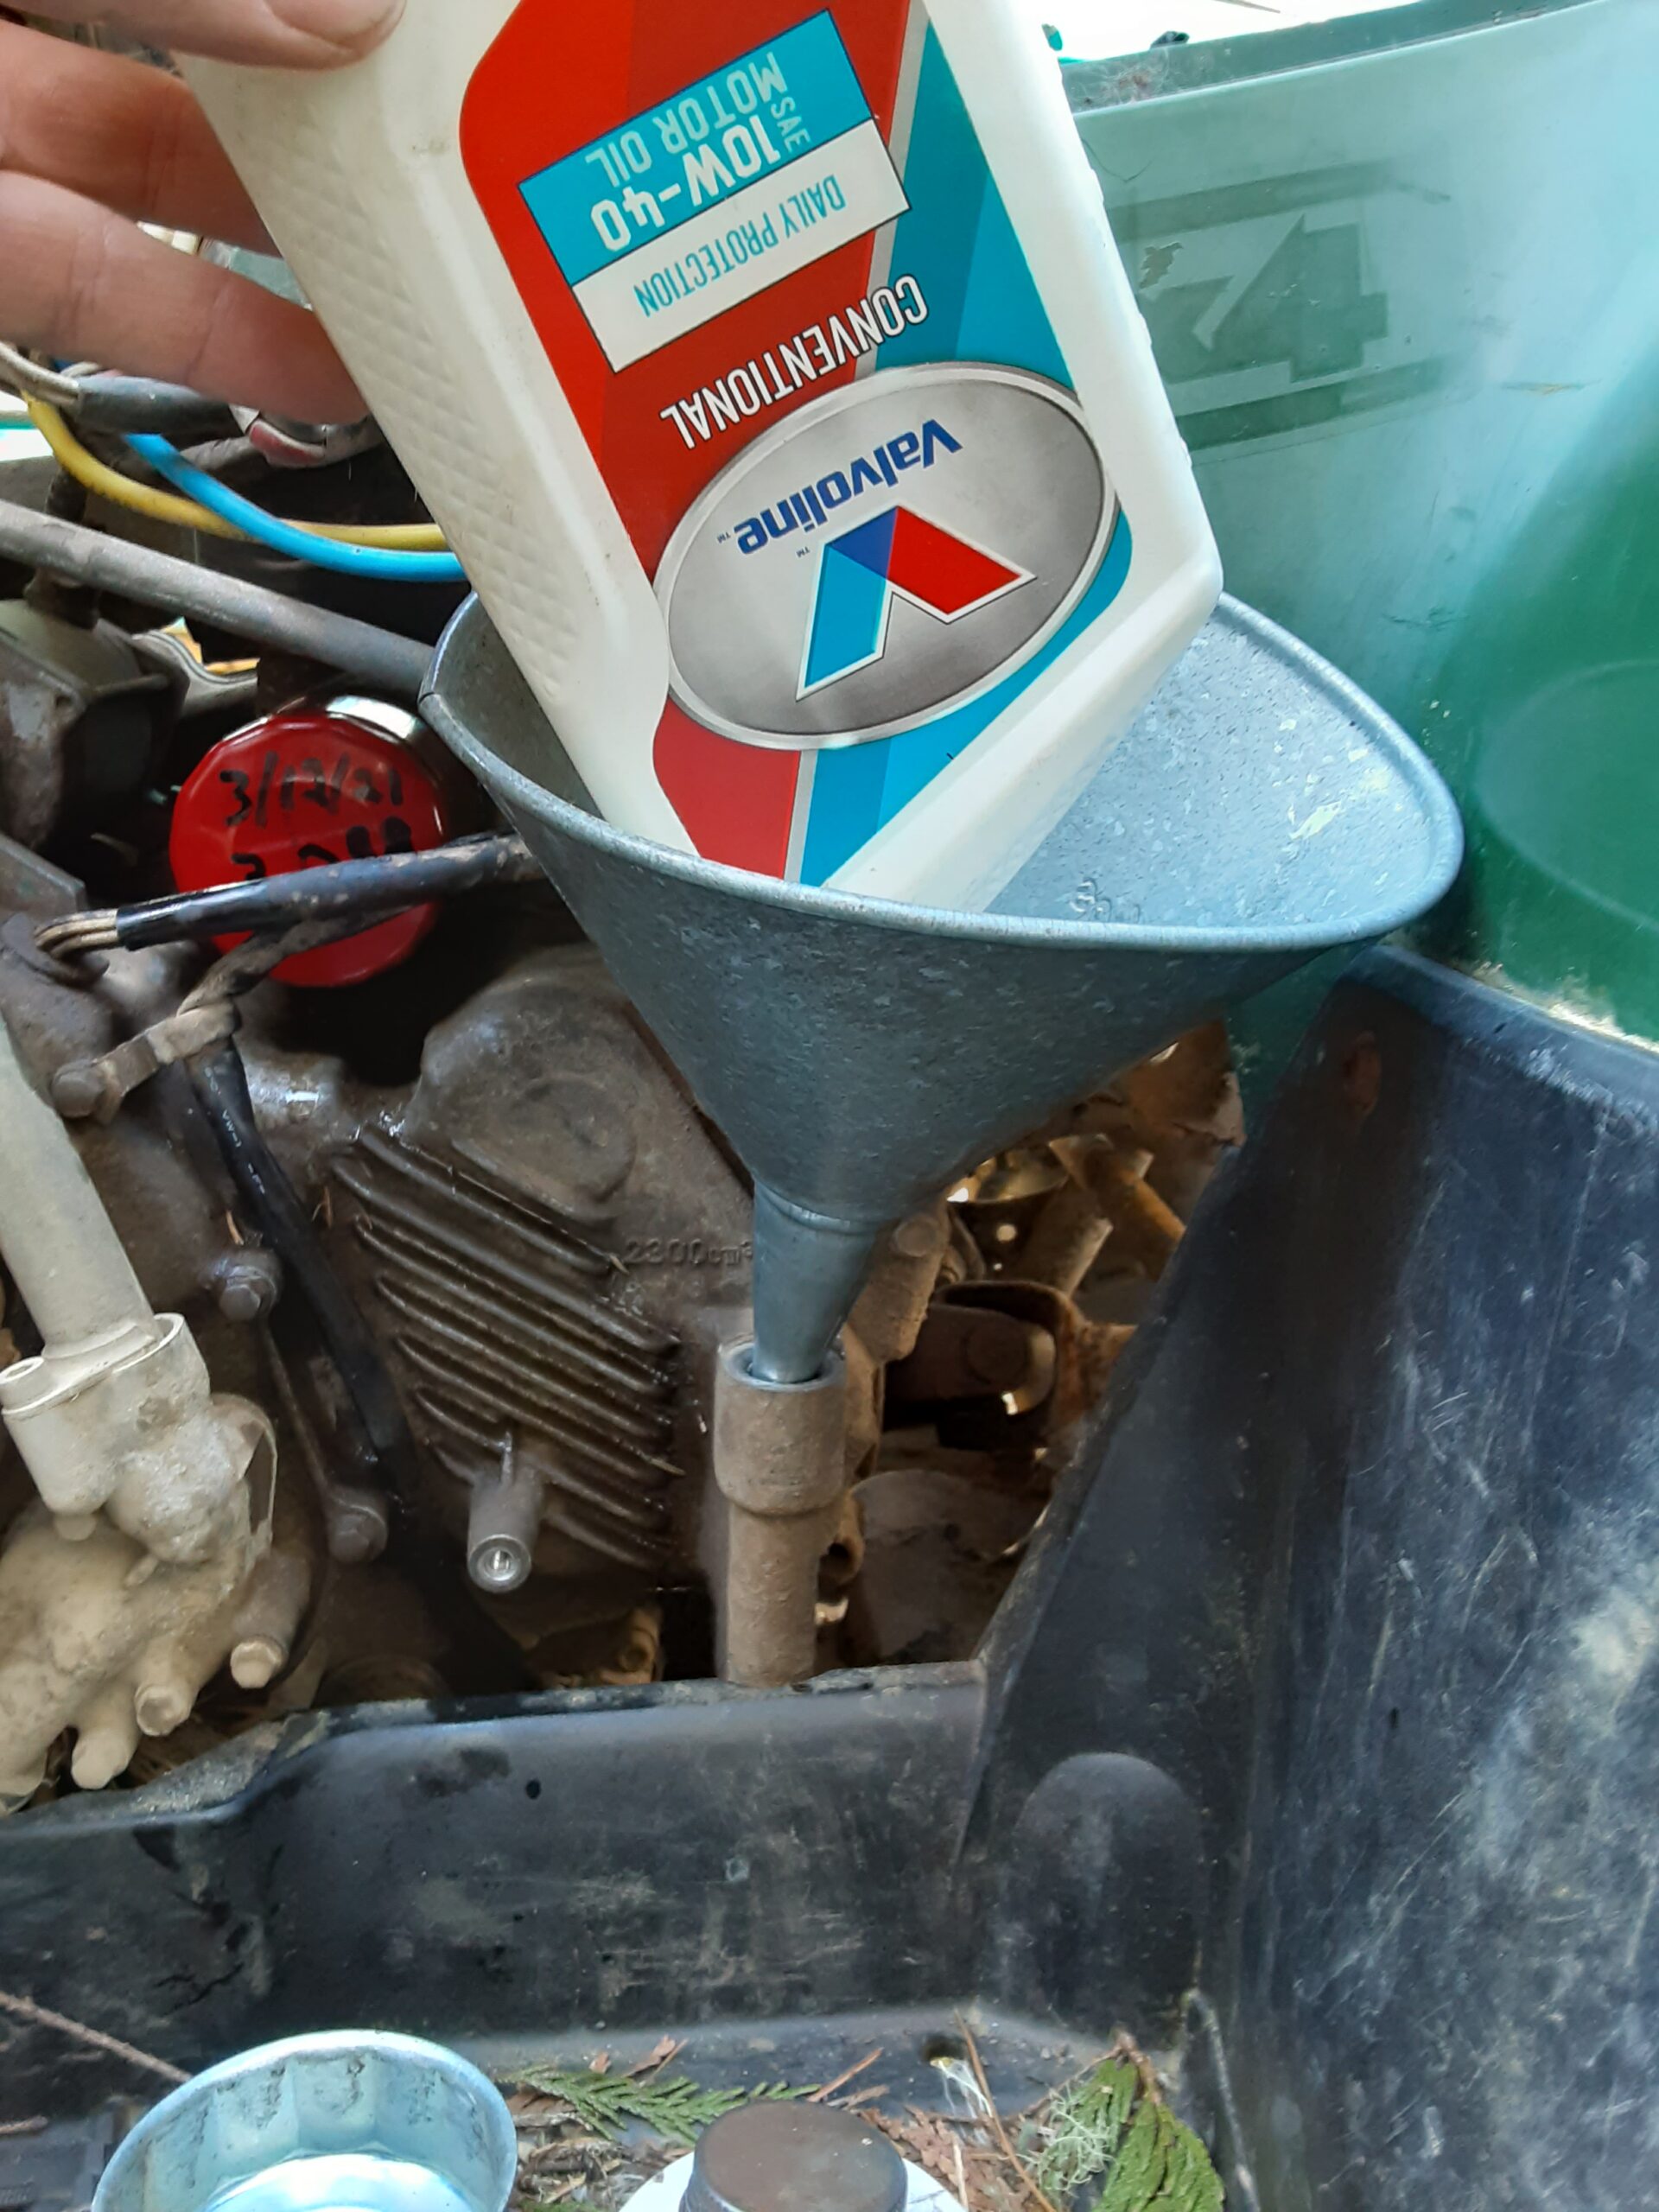

After the drain plug and new oil filter have been installed you can begin refilling the crankcase with oil. ATV generally only recommend an expensive ATV specialty oil, but we have been using a quality engine oil in our ATVs for years without any problems so oil choice is your once the manufacturer warranty is up. The oil’s temperature rating is very important as different weights of oil are required for very hot or very cold climates so use the proper oil weight for your needs and season. Add oil, using a funnel if needed, until the level reads full on the dipstick. When the level reads full start the engine and watch for oil leaks around the filter and drain plug. After you are satisfied that there are no leaks turn the engine off, let the oil settle, and recheck the oil level. The oil filter holds oil so odds are that you may have to add a few ounces of oil to raise the level back to the full mark. You are now done with the oil change and can reattach the body panels if there are no more fixes are needed. It is a good idea to coat any removed bolts with anti-seize before reassembly as the different metals will cause corrosion that will make bolt removal more difficult later if left untreated.
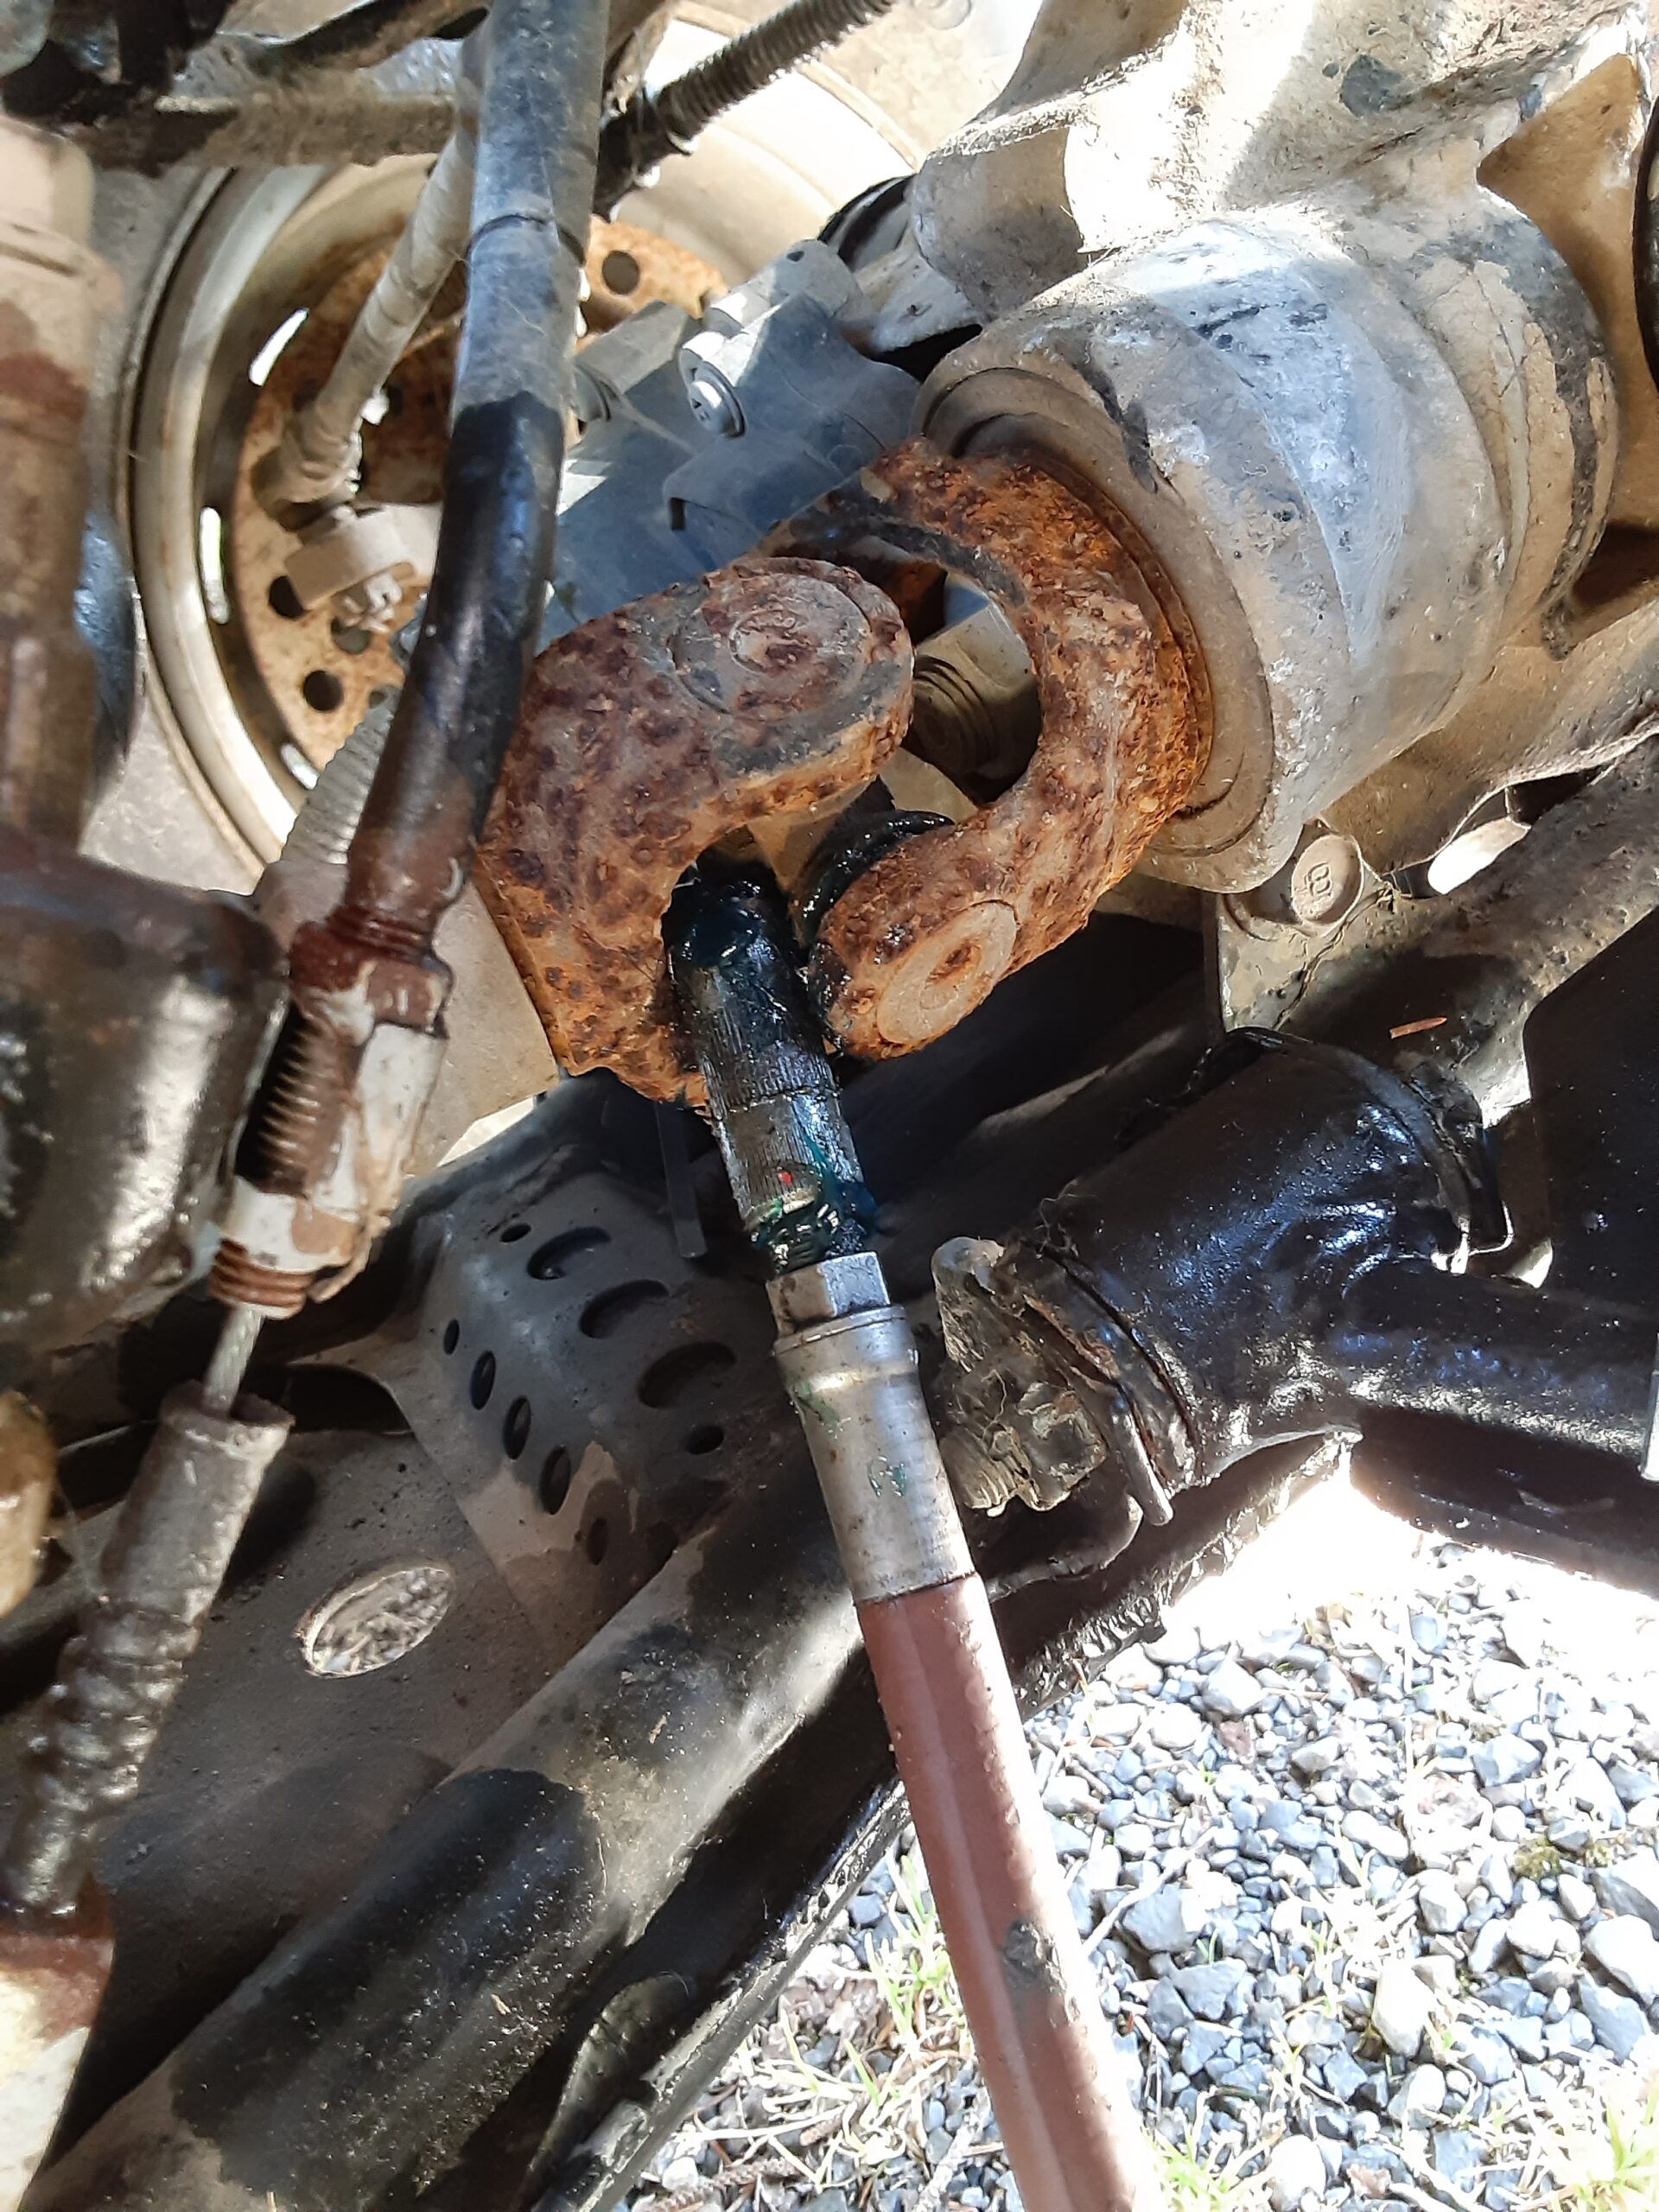
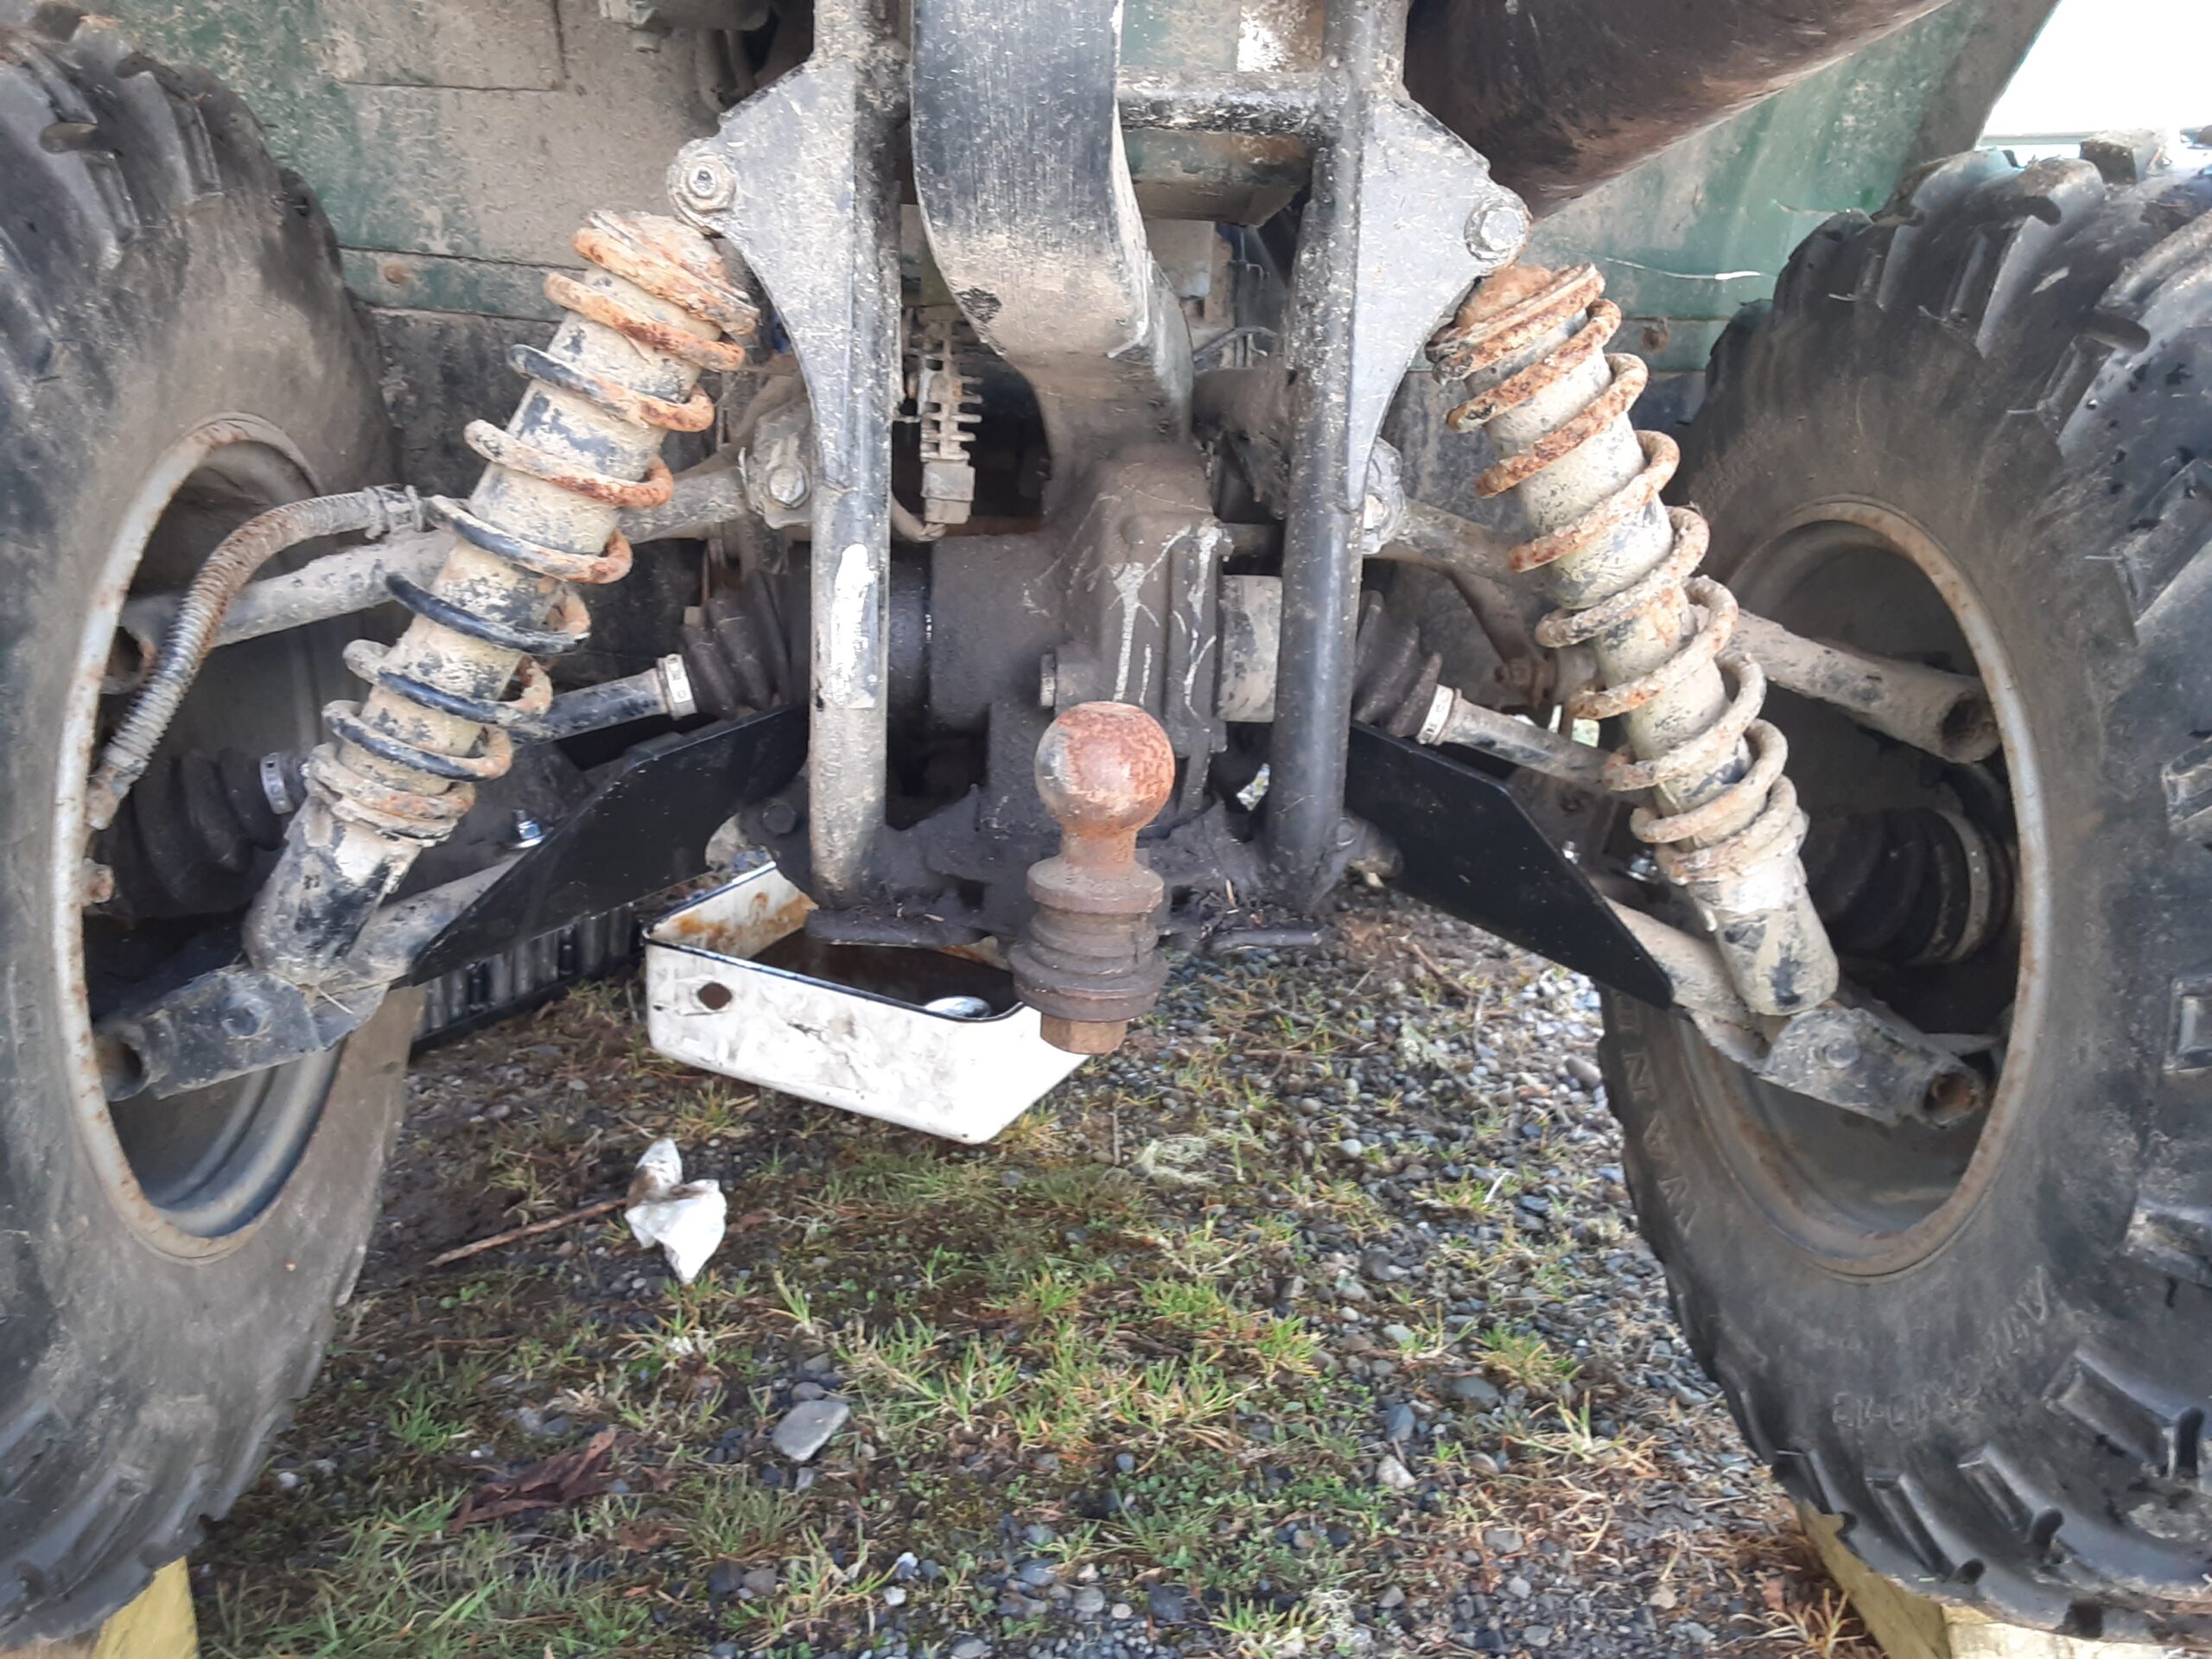
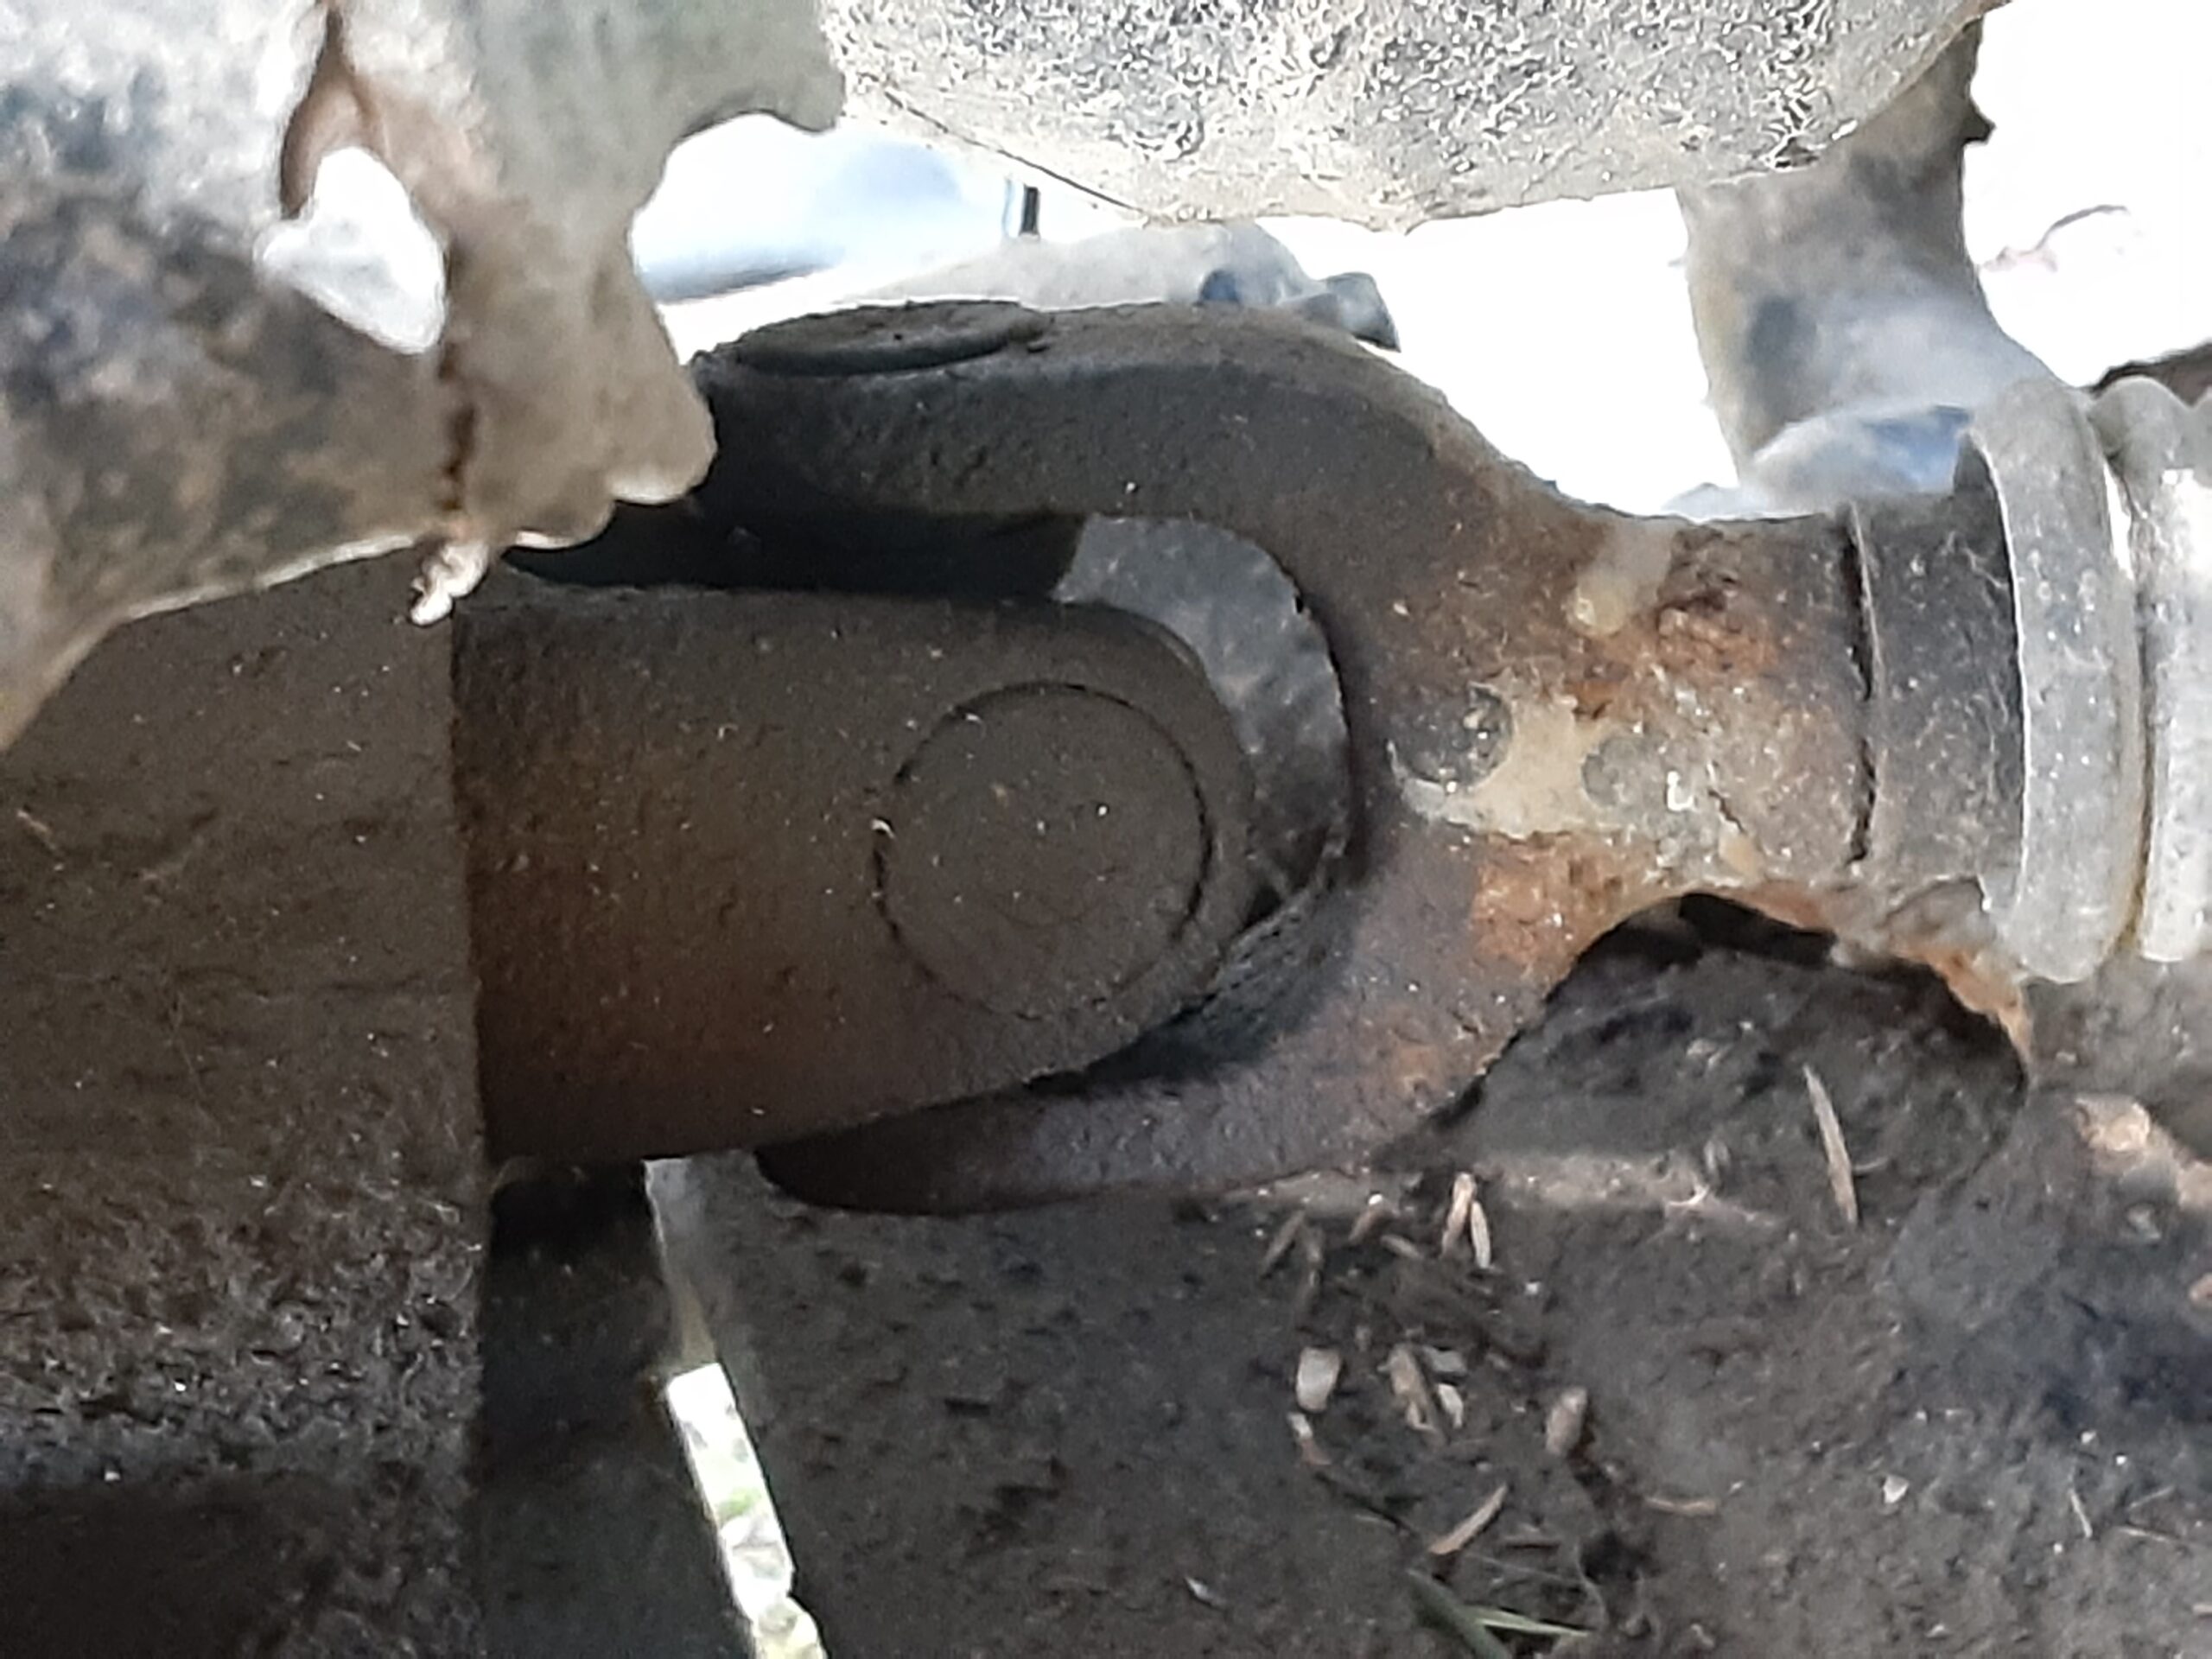
Grab the grease gun and other needed tools once the oil is done so you can grease any greaseable items and check the oil levels in the differentials. Utility ATVs usually have drivelines whereas Sport ATVS are chain driven so this step may not apply to you. The U-joints and suspension components may have grease zerks on them so grease any that do after making sure the zerk is clean so you do not pump contaminates directly into them. Just a couple pumps of grease are all that is need so do not over-grease them. Lightly oil any cables, handle pivots, and other moving parts as needed. Also do not forget to check the coolant level too. You are now done with the ATV oil and lube service which is actually simple and saves you money by doing it yourself. Doing it yourself also gives you a chance to take time and thoroughly inspect your machine whereas a shop mechanic may be in a hurry to get the job done quickly so they can move onto the next one without a thorough inspection.
Upon doing an inspection while servicing one of our ATVs I found some other problems that needed to be fixed before they lead to much bigger problems. These were an O-ring that blew out and a rust spot on the frame that if left untreated would later lead to frame failure creating a complex cutting and welding job in the future if preventative measures were not taken. Again, these are relatively simple fixes that are easy to do yourself and catching small problems early is far better than dealing with major fixes later.
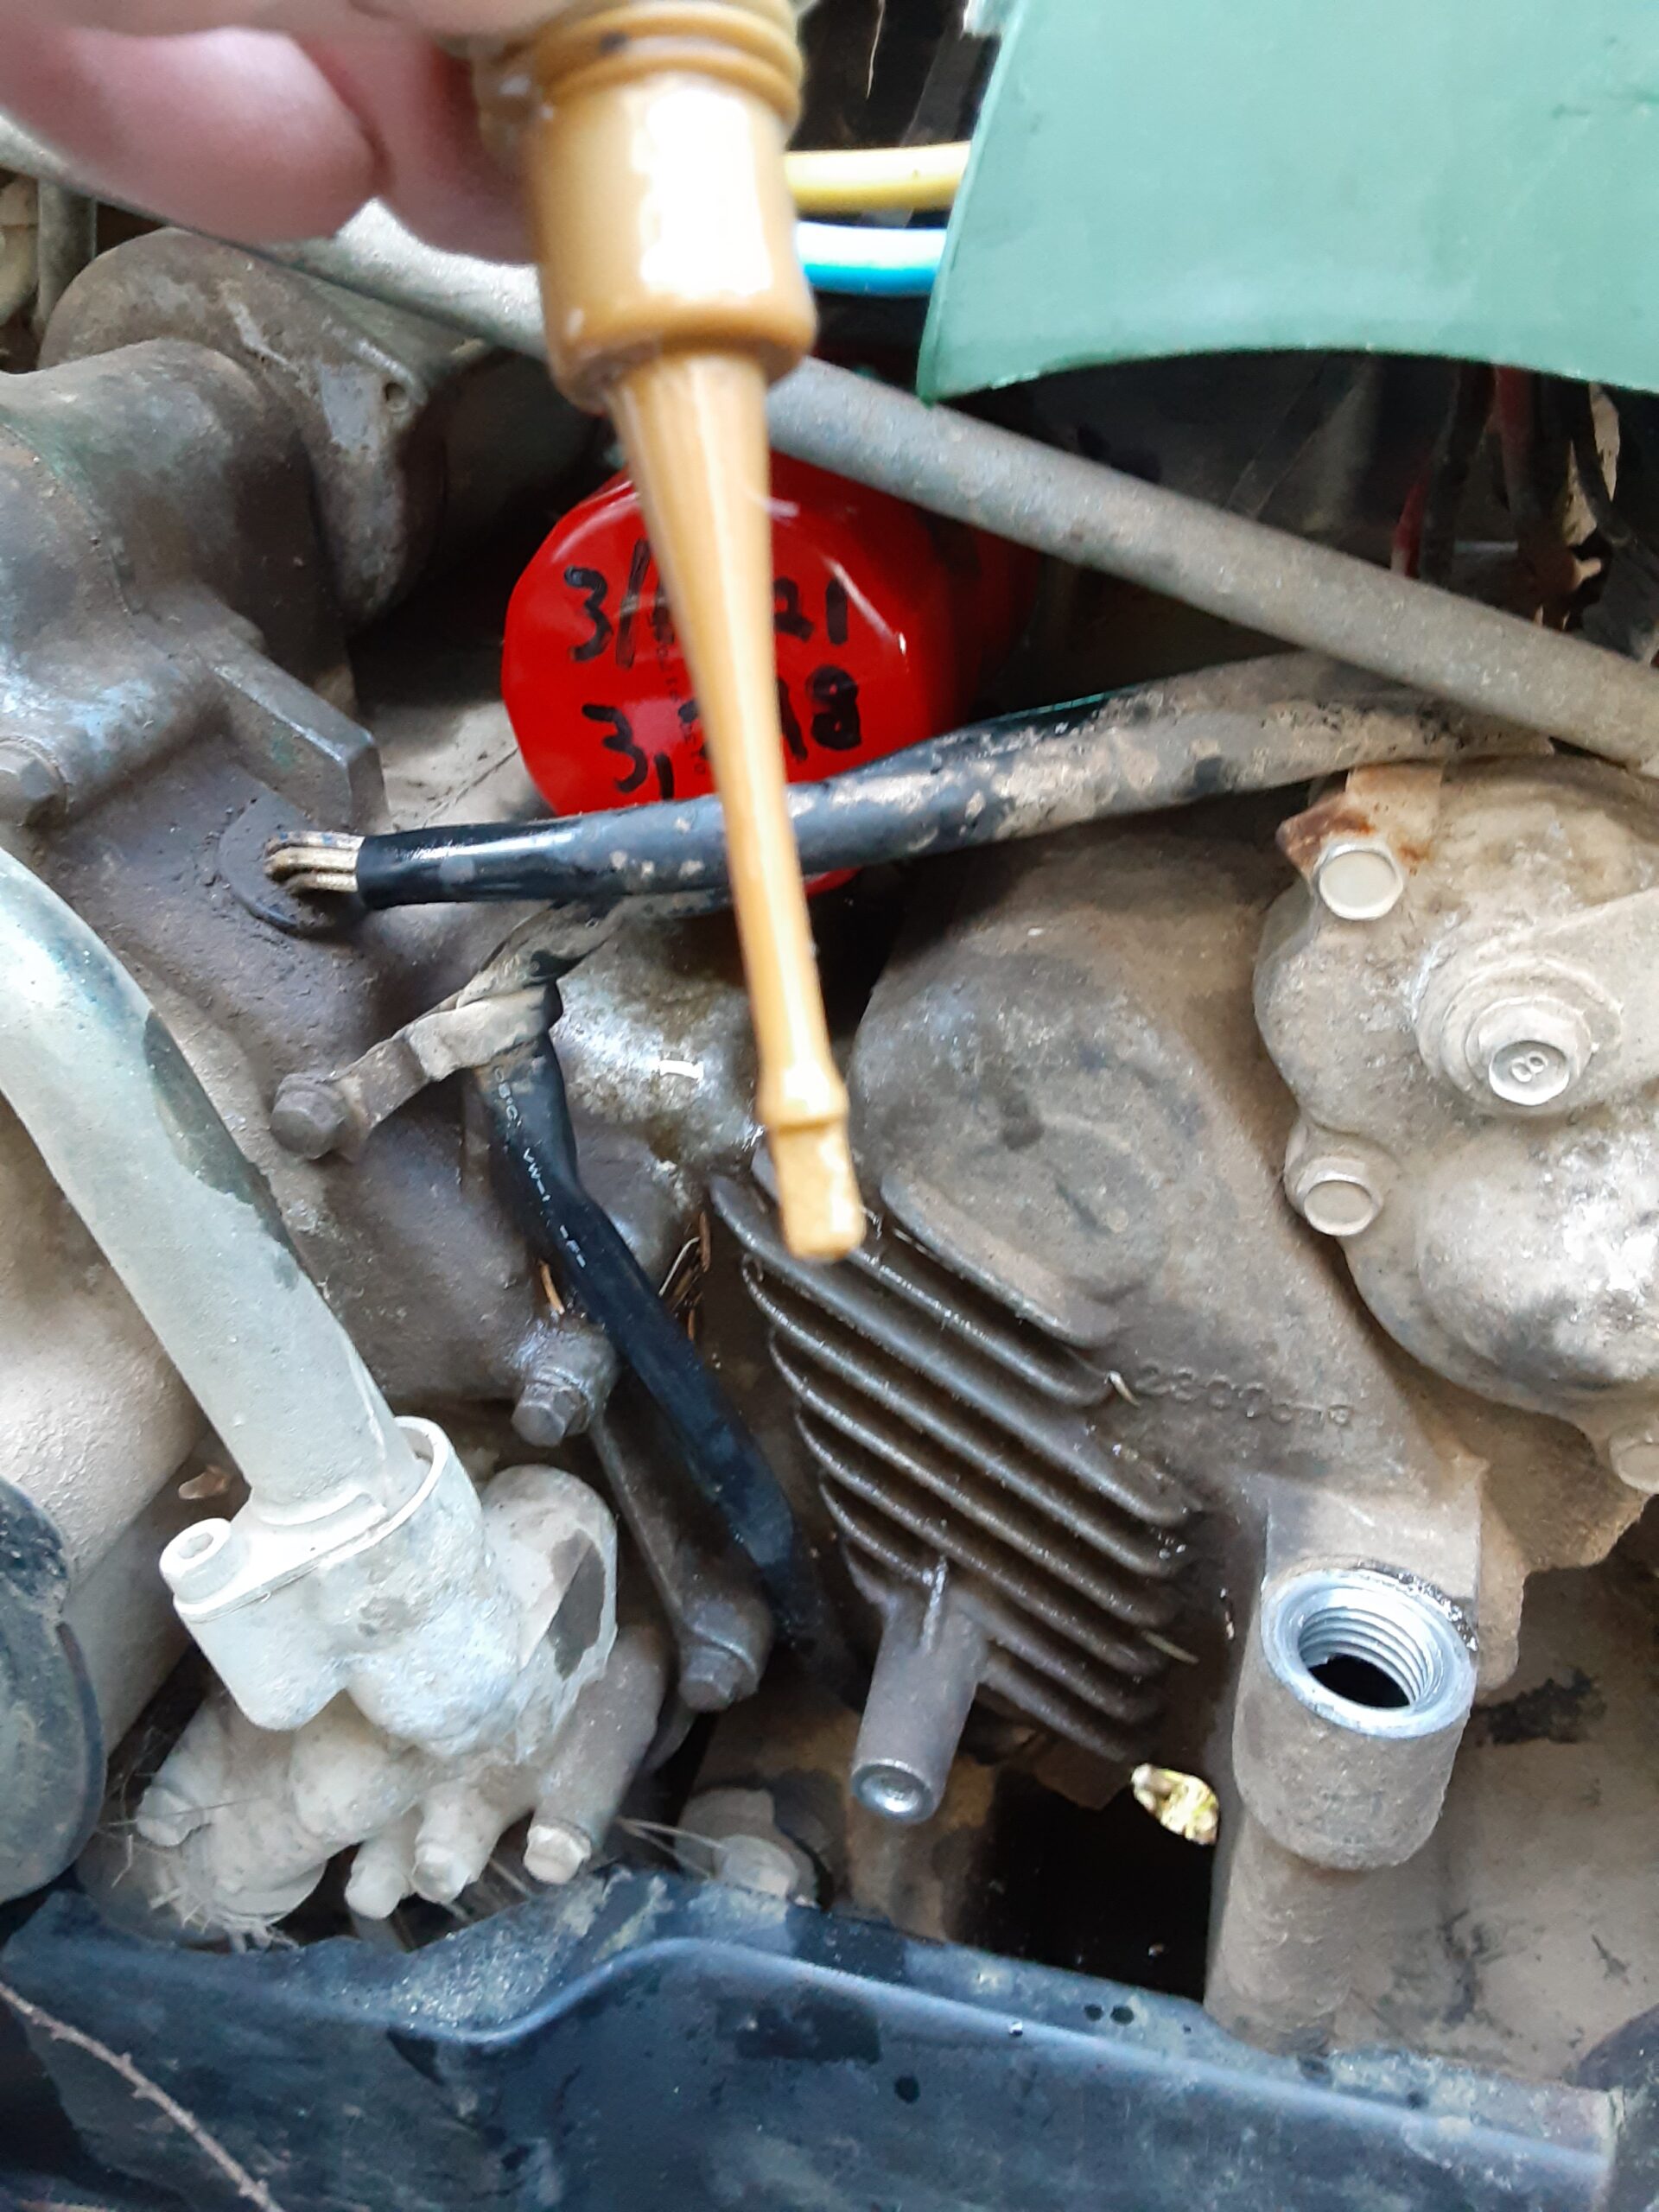
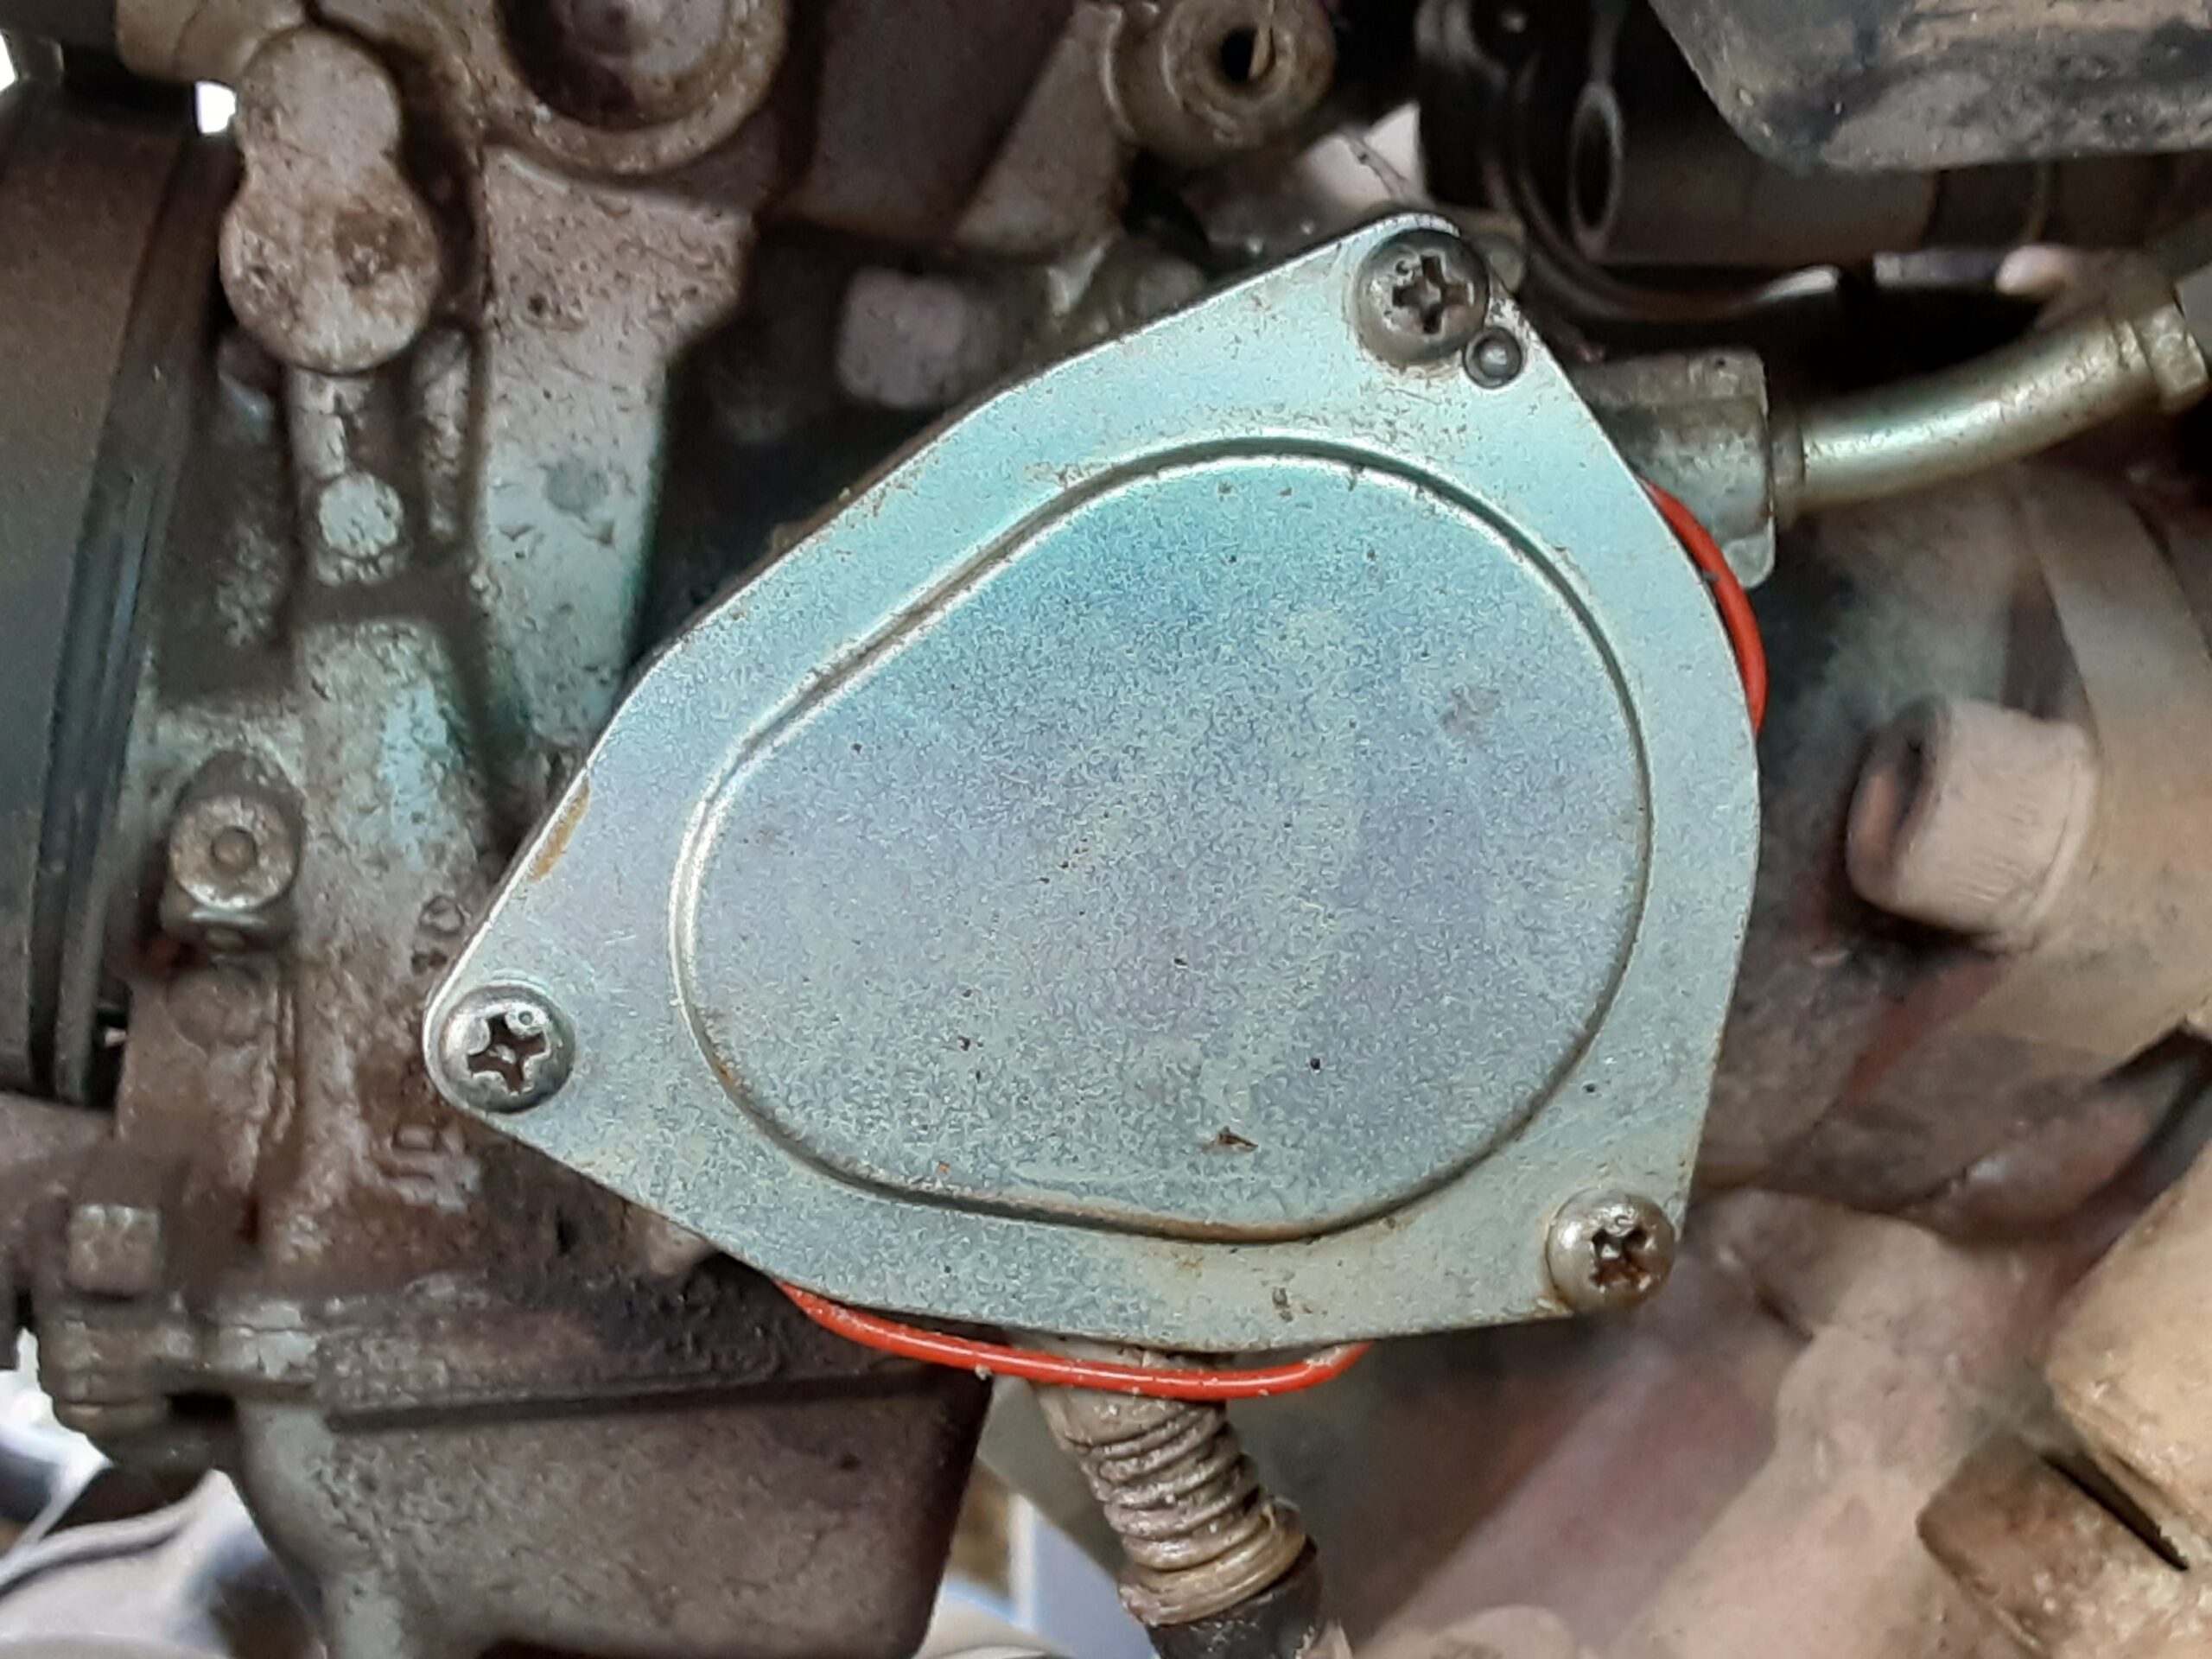
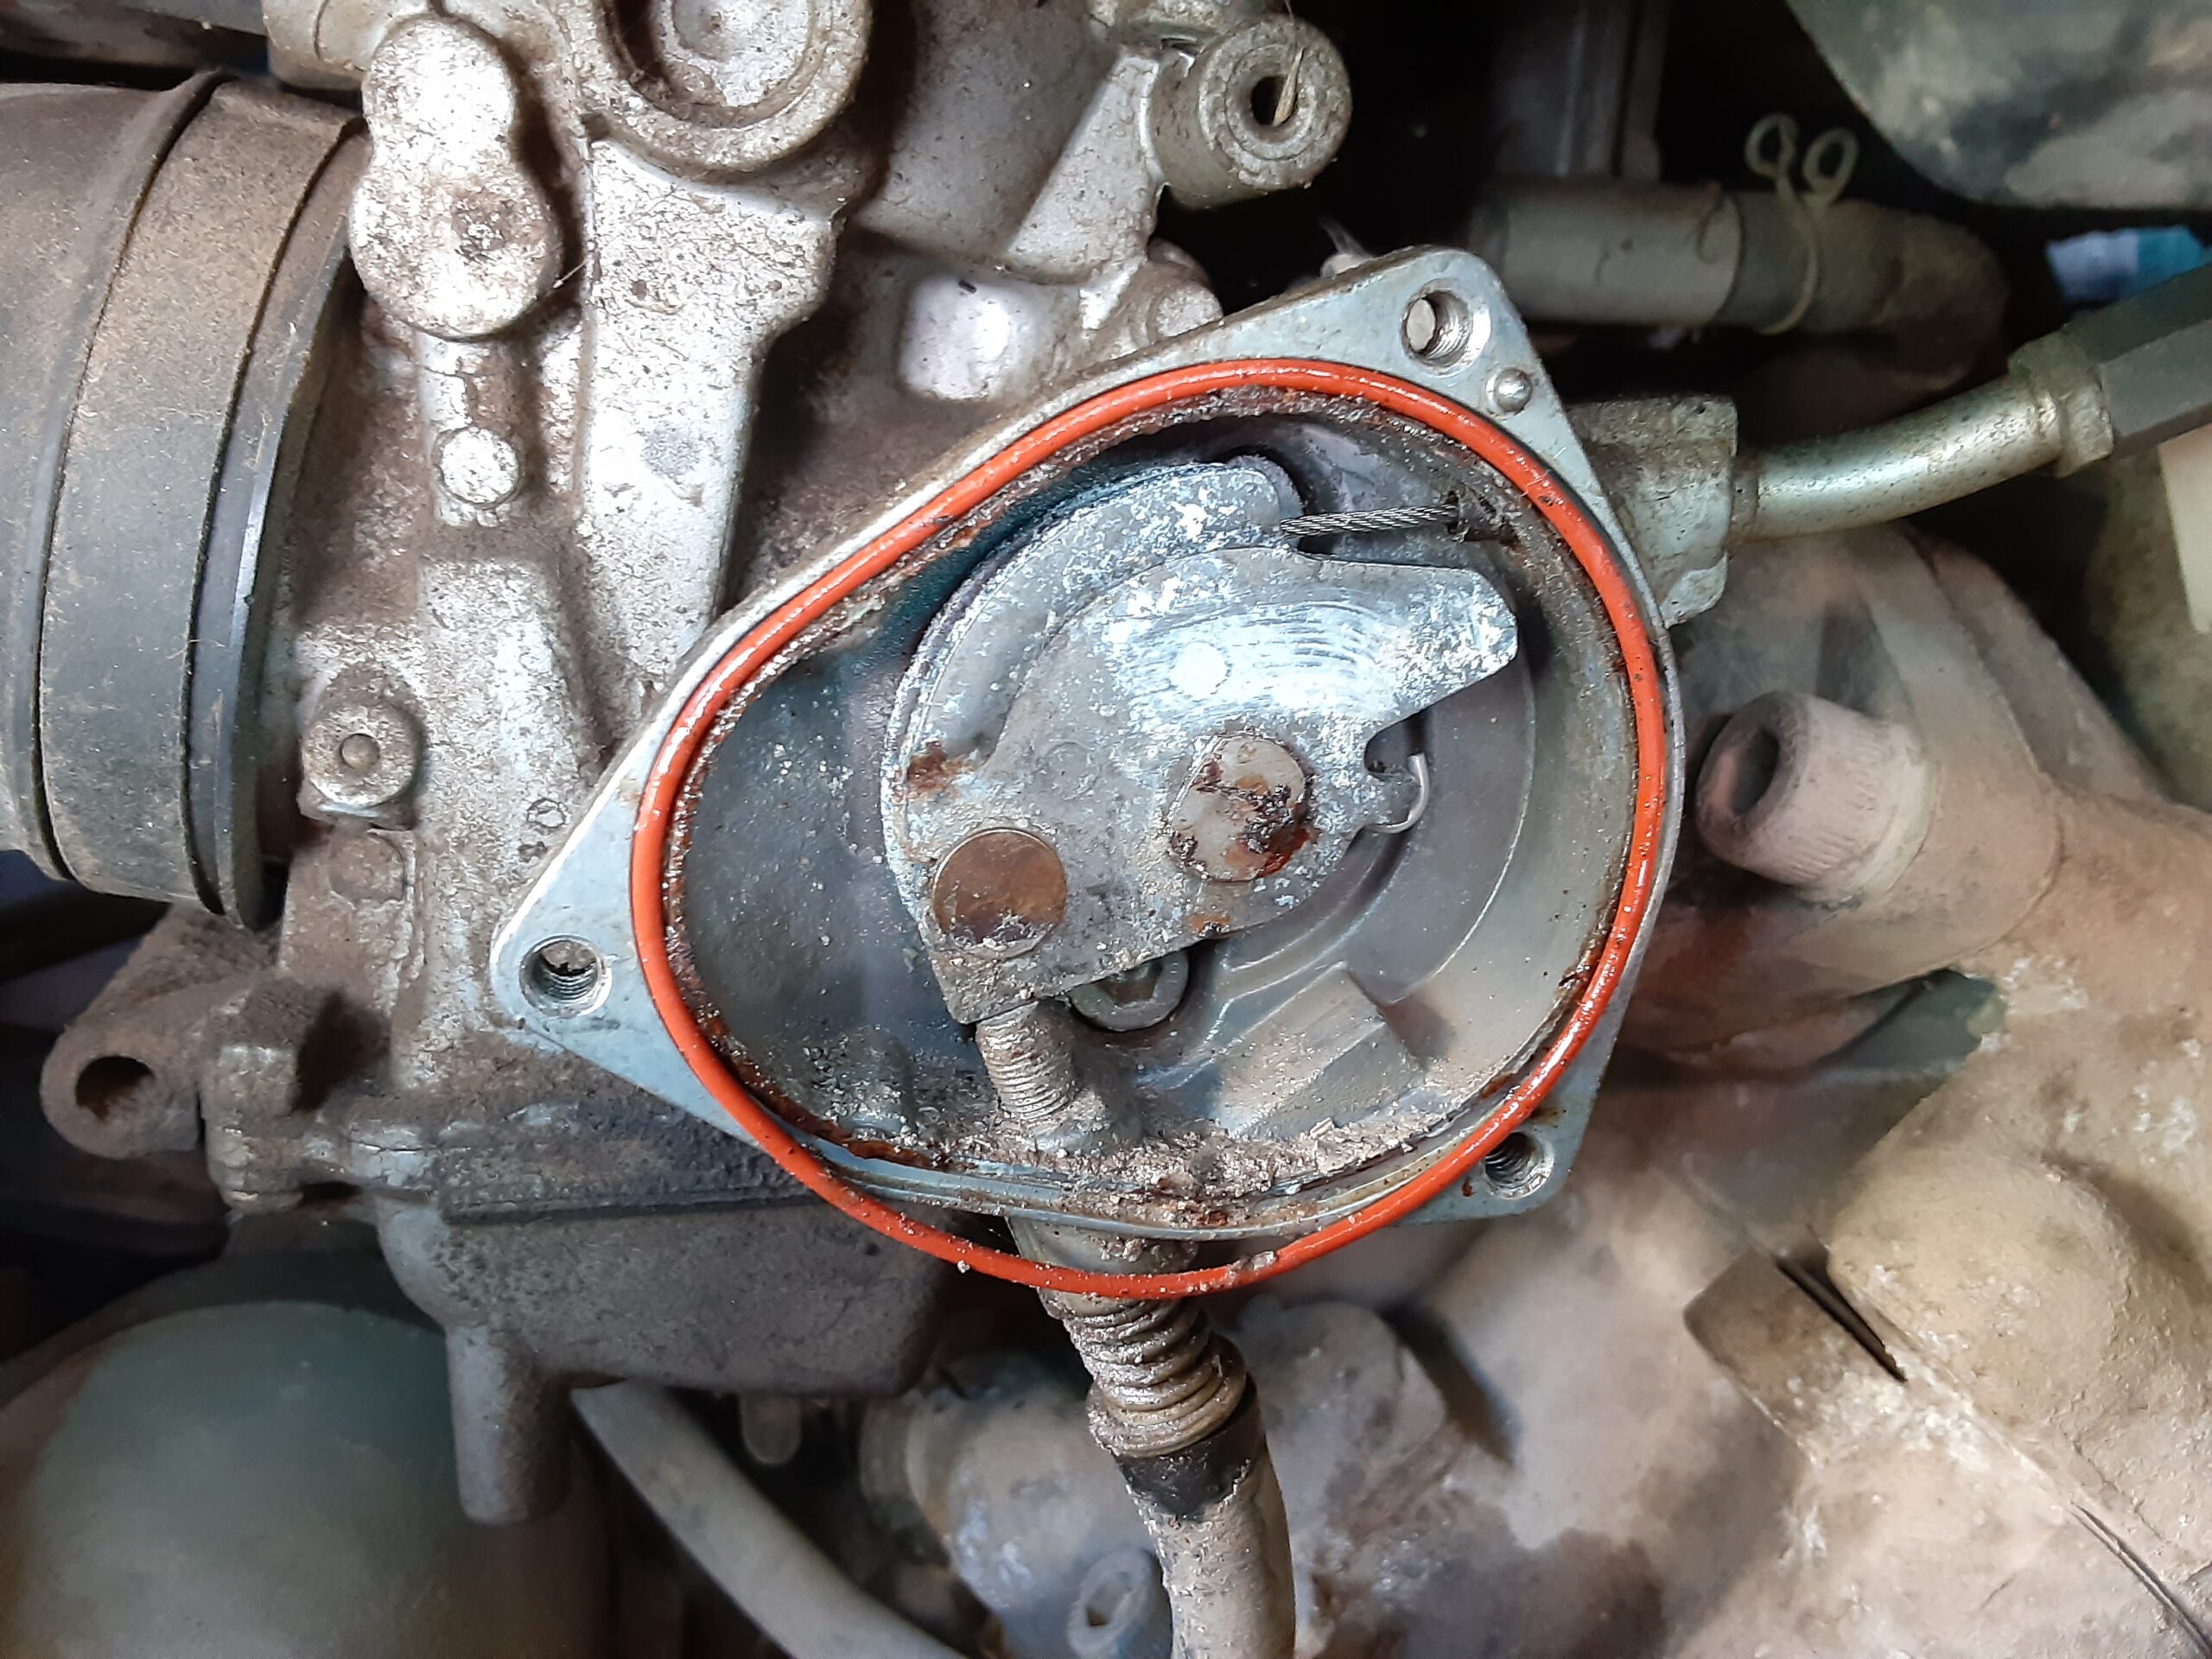
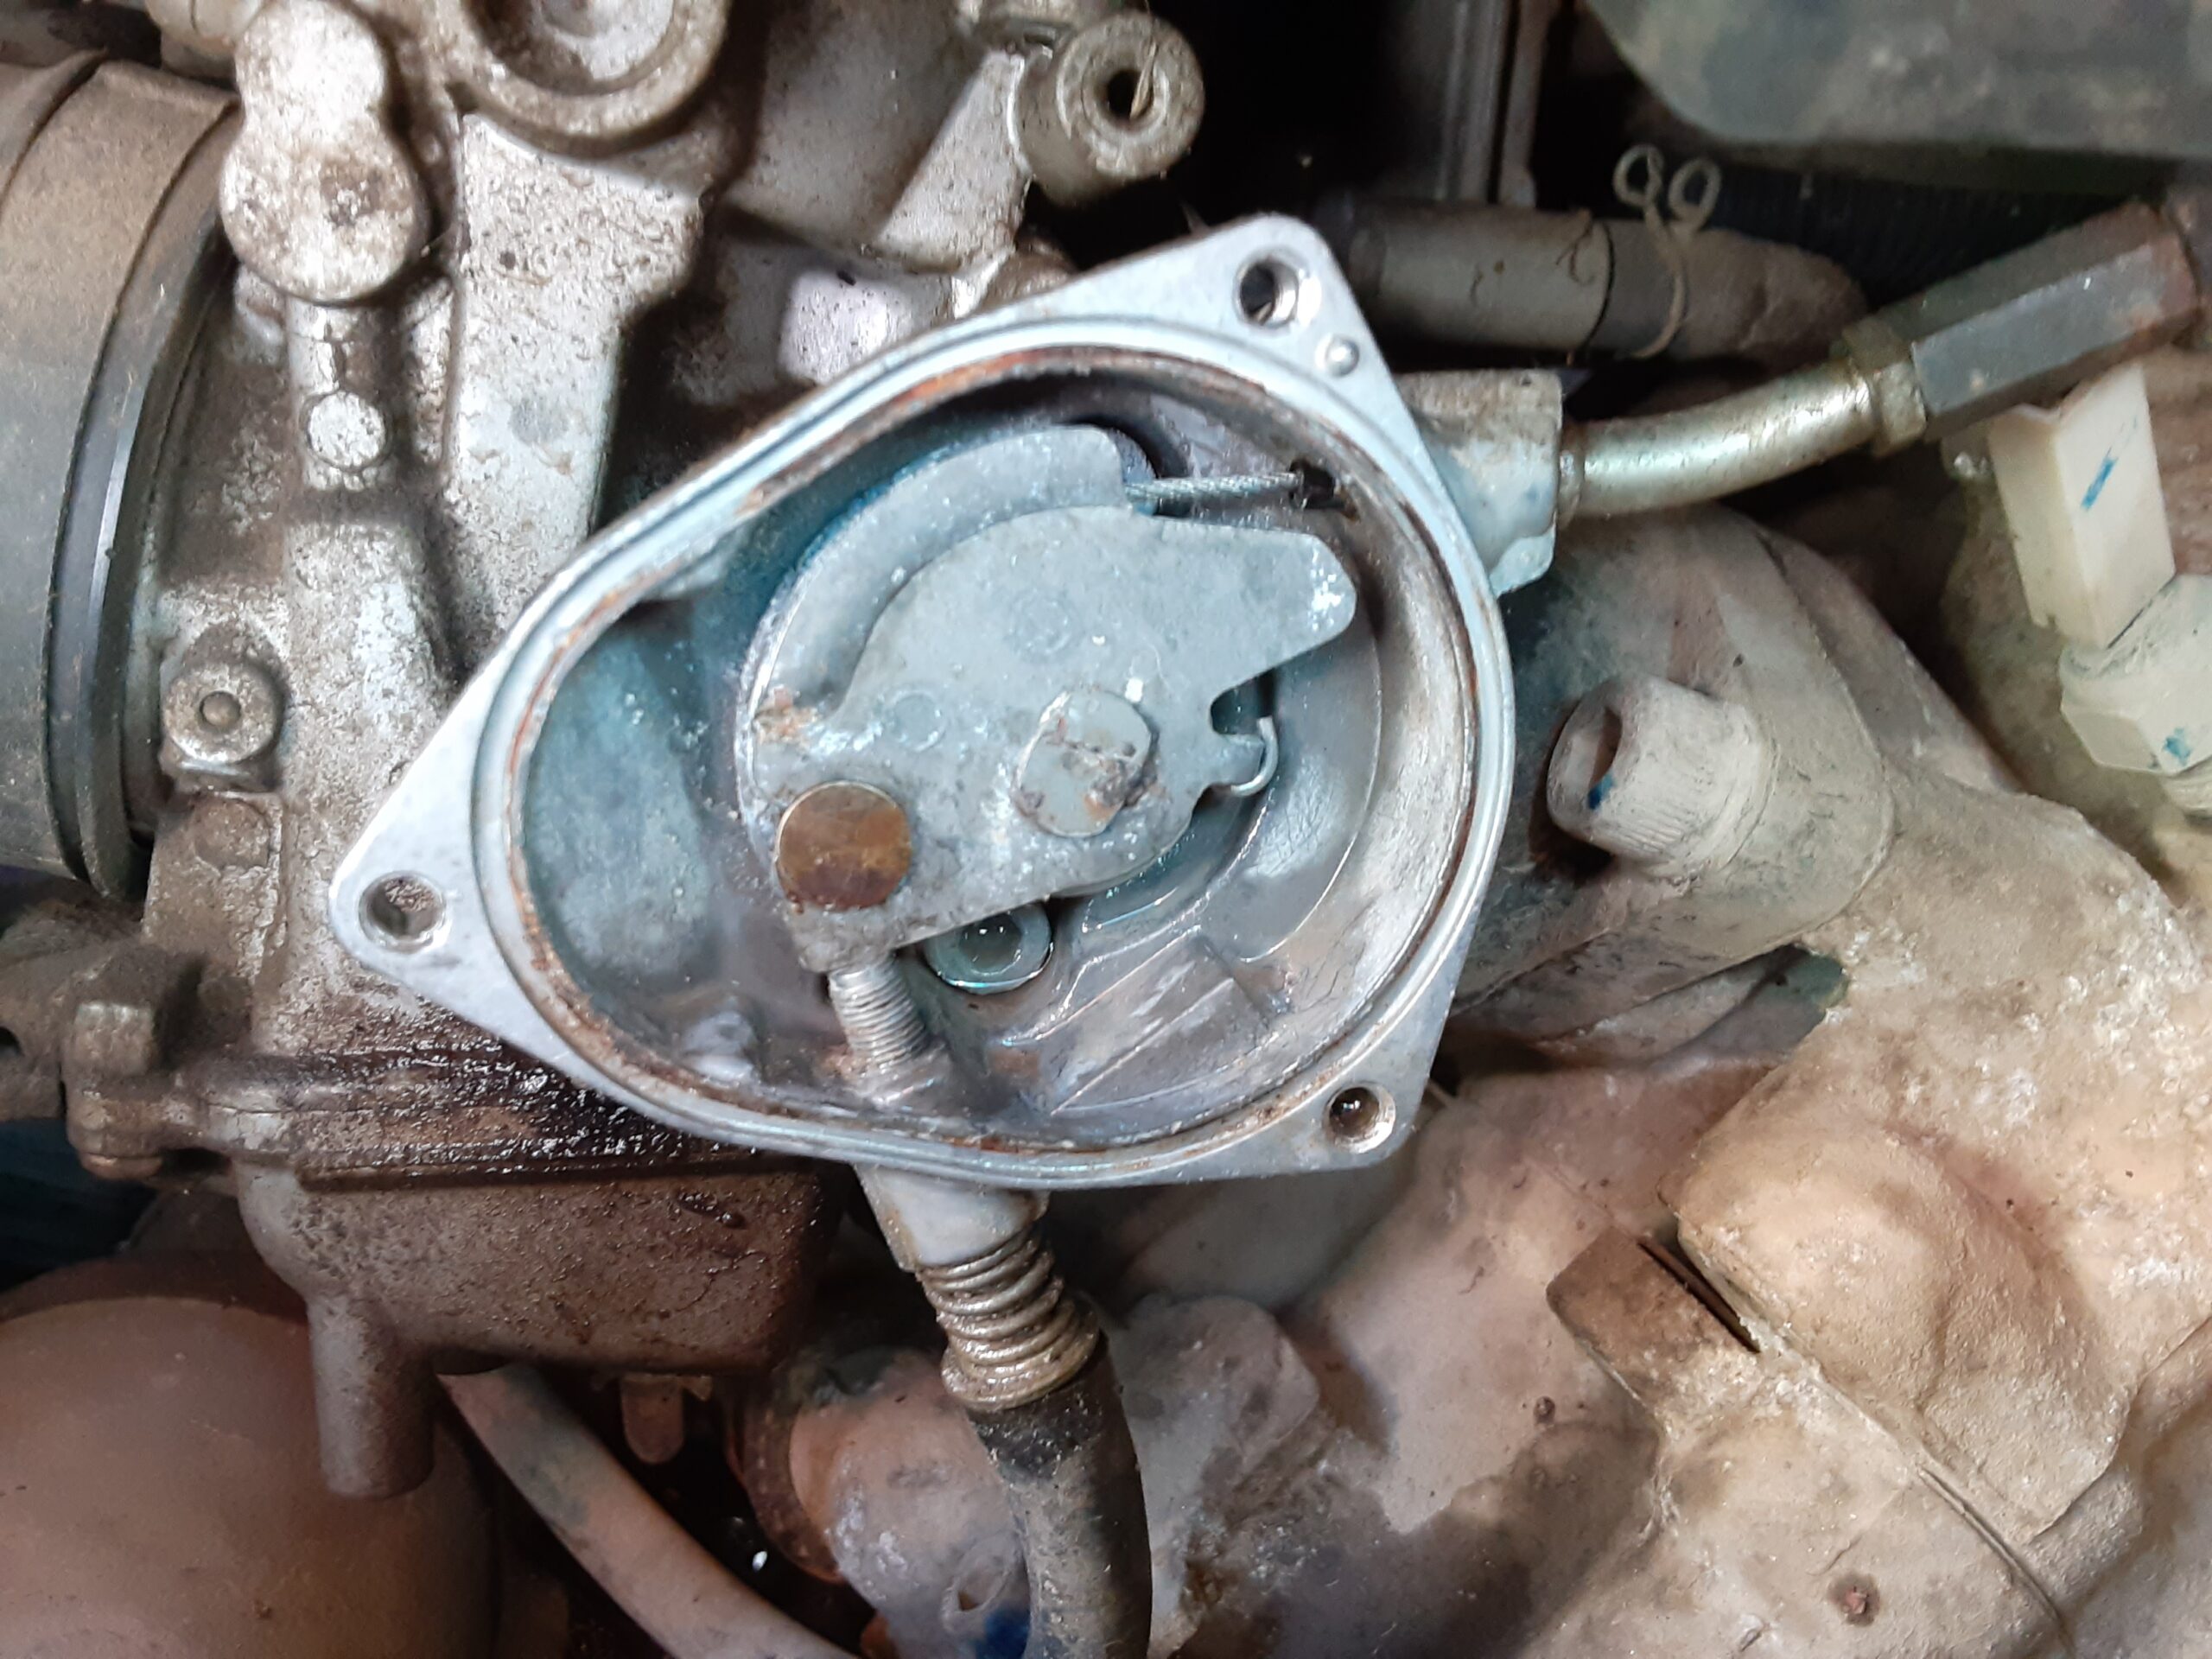
The O-ring that seals the plate on the carburetor over the throttle cable had blown out at some point over the winter and this would allow water and dust to get into it creating problems at some point. I removed the plate along with the old O-ring so I could get everything cleaned out. I cleaned out all the oxidation that could before spraying it with carburetor cleaner to get all the contaminates out before reassembling it. Once it was clean, I sprayed a little bit of cable lube onto the moving parts and put the new O-ring into the O-ring channel before screwing the side plate back on.
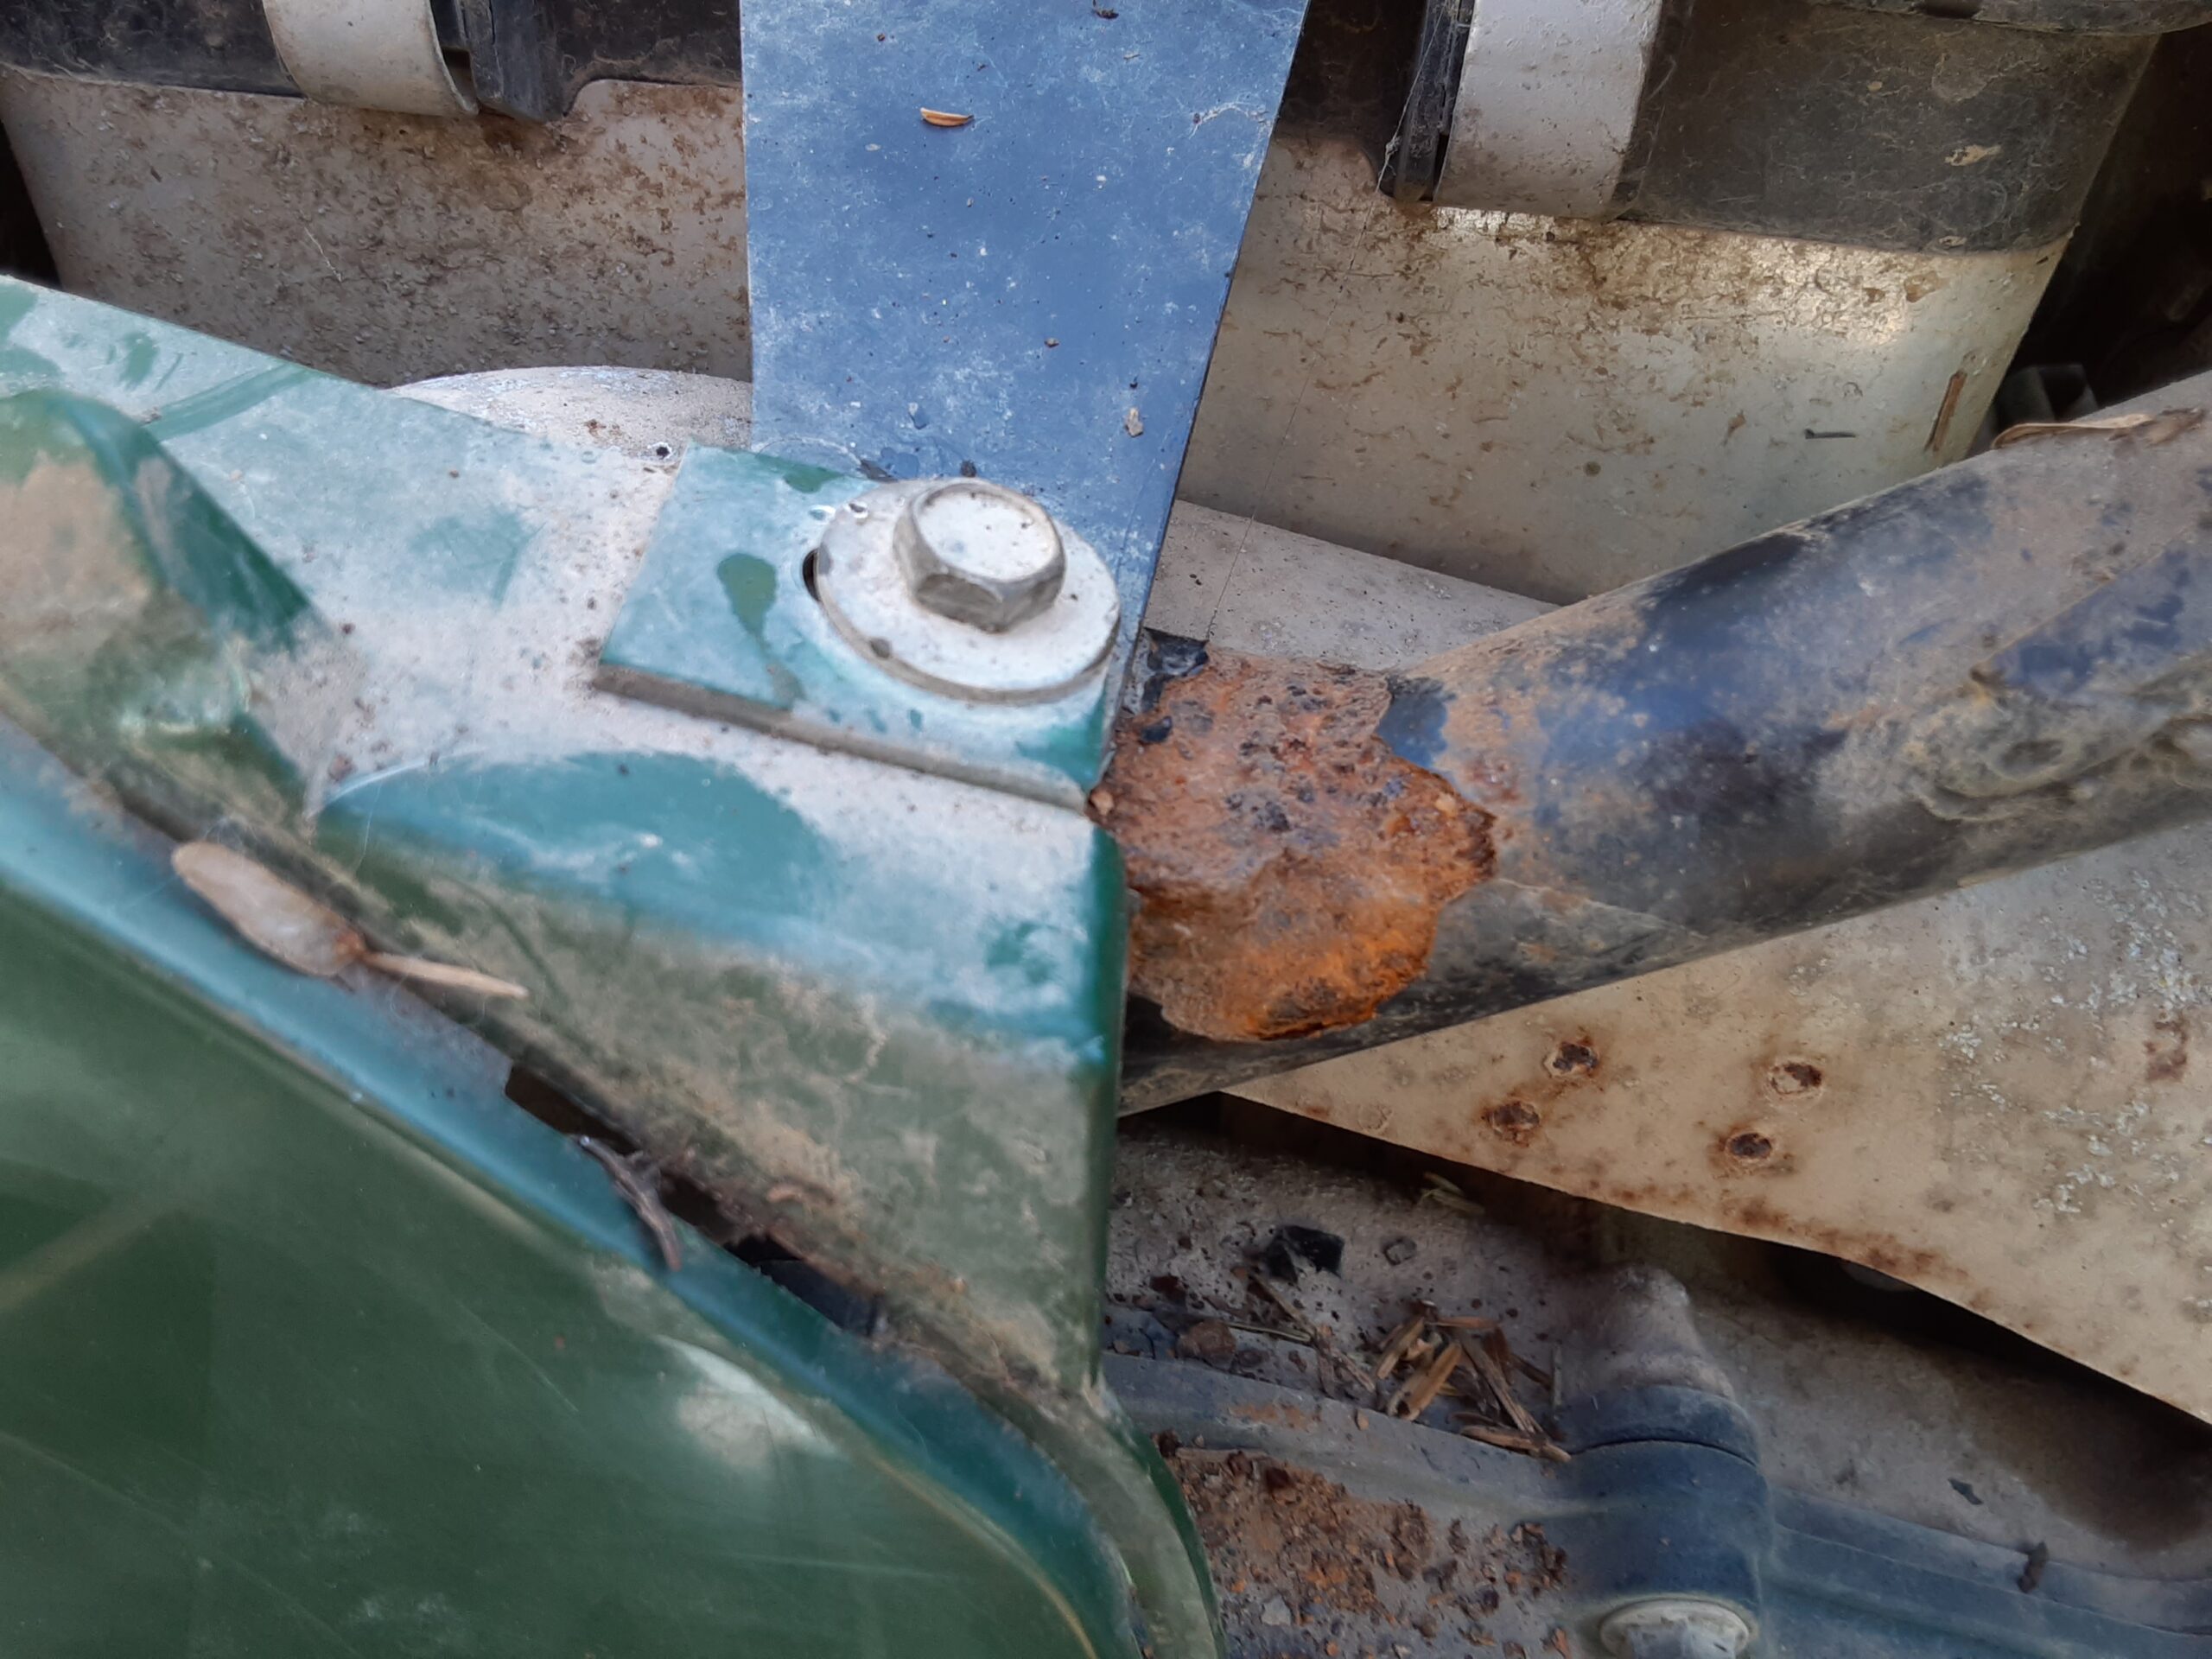
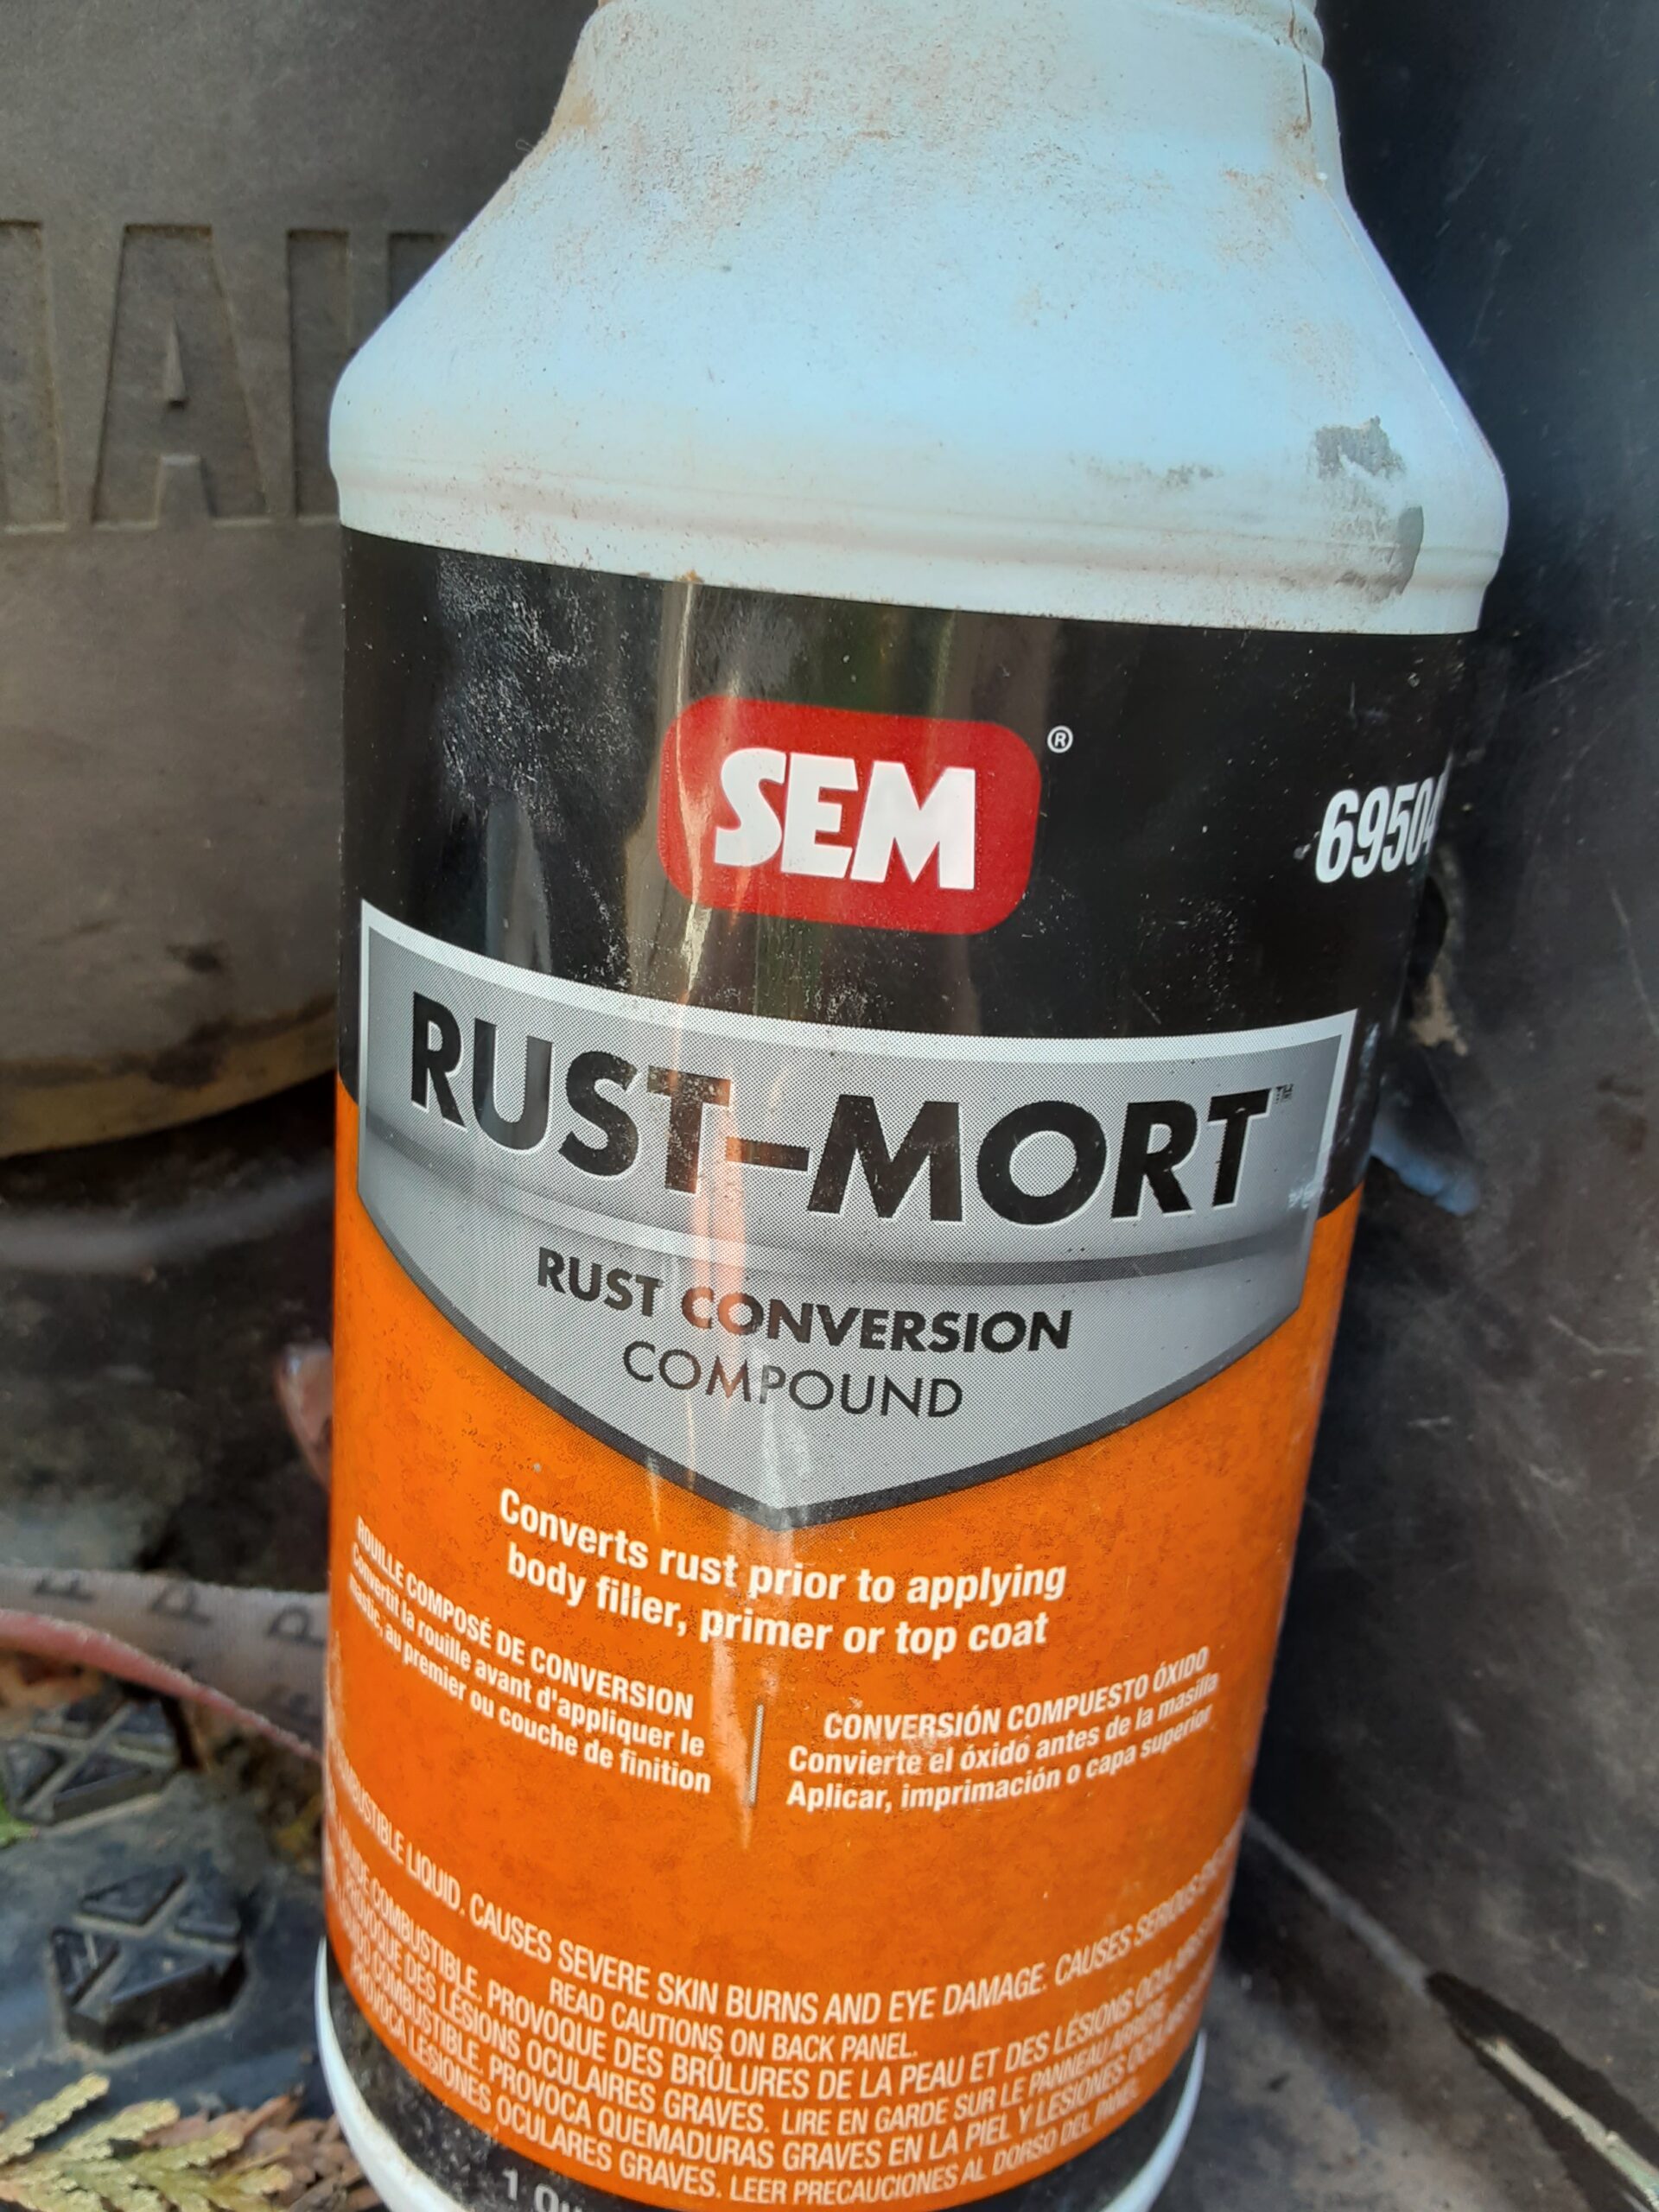
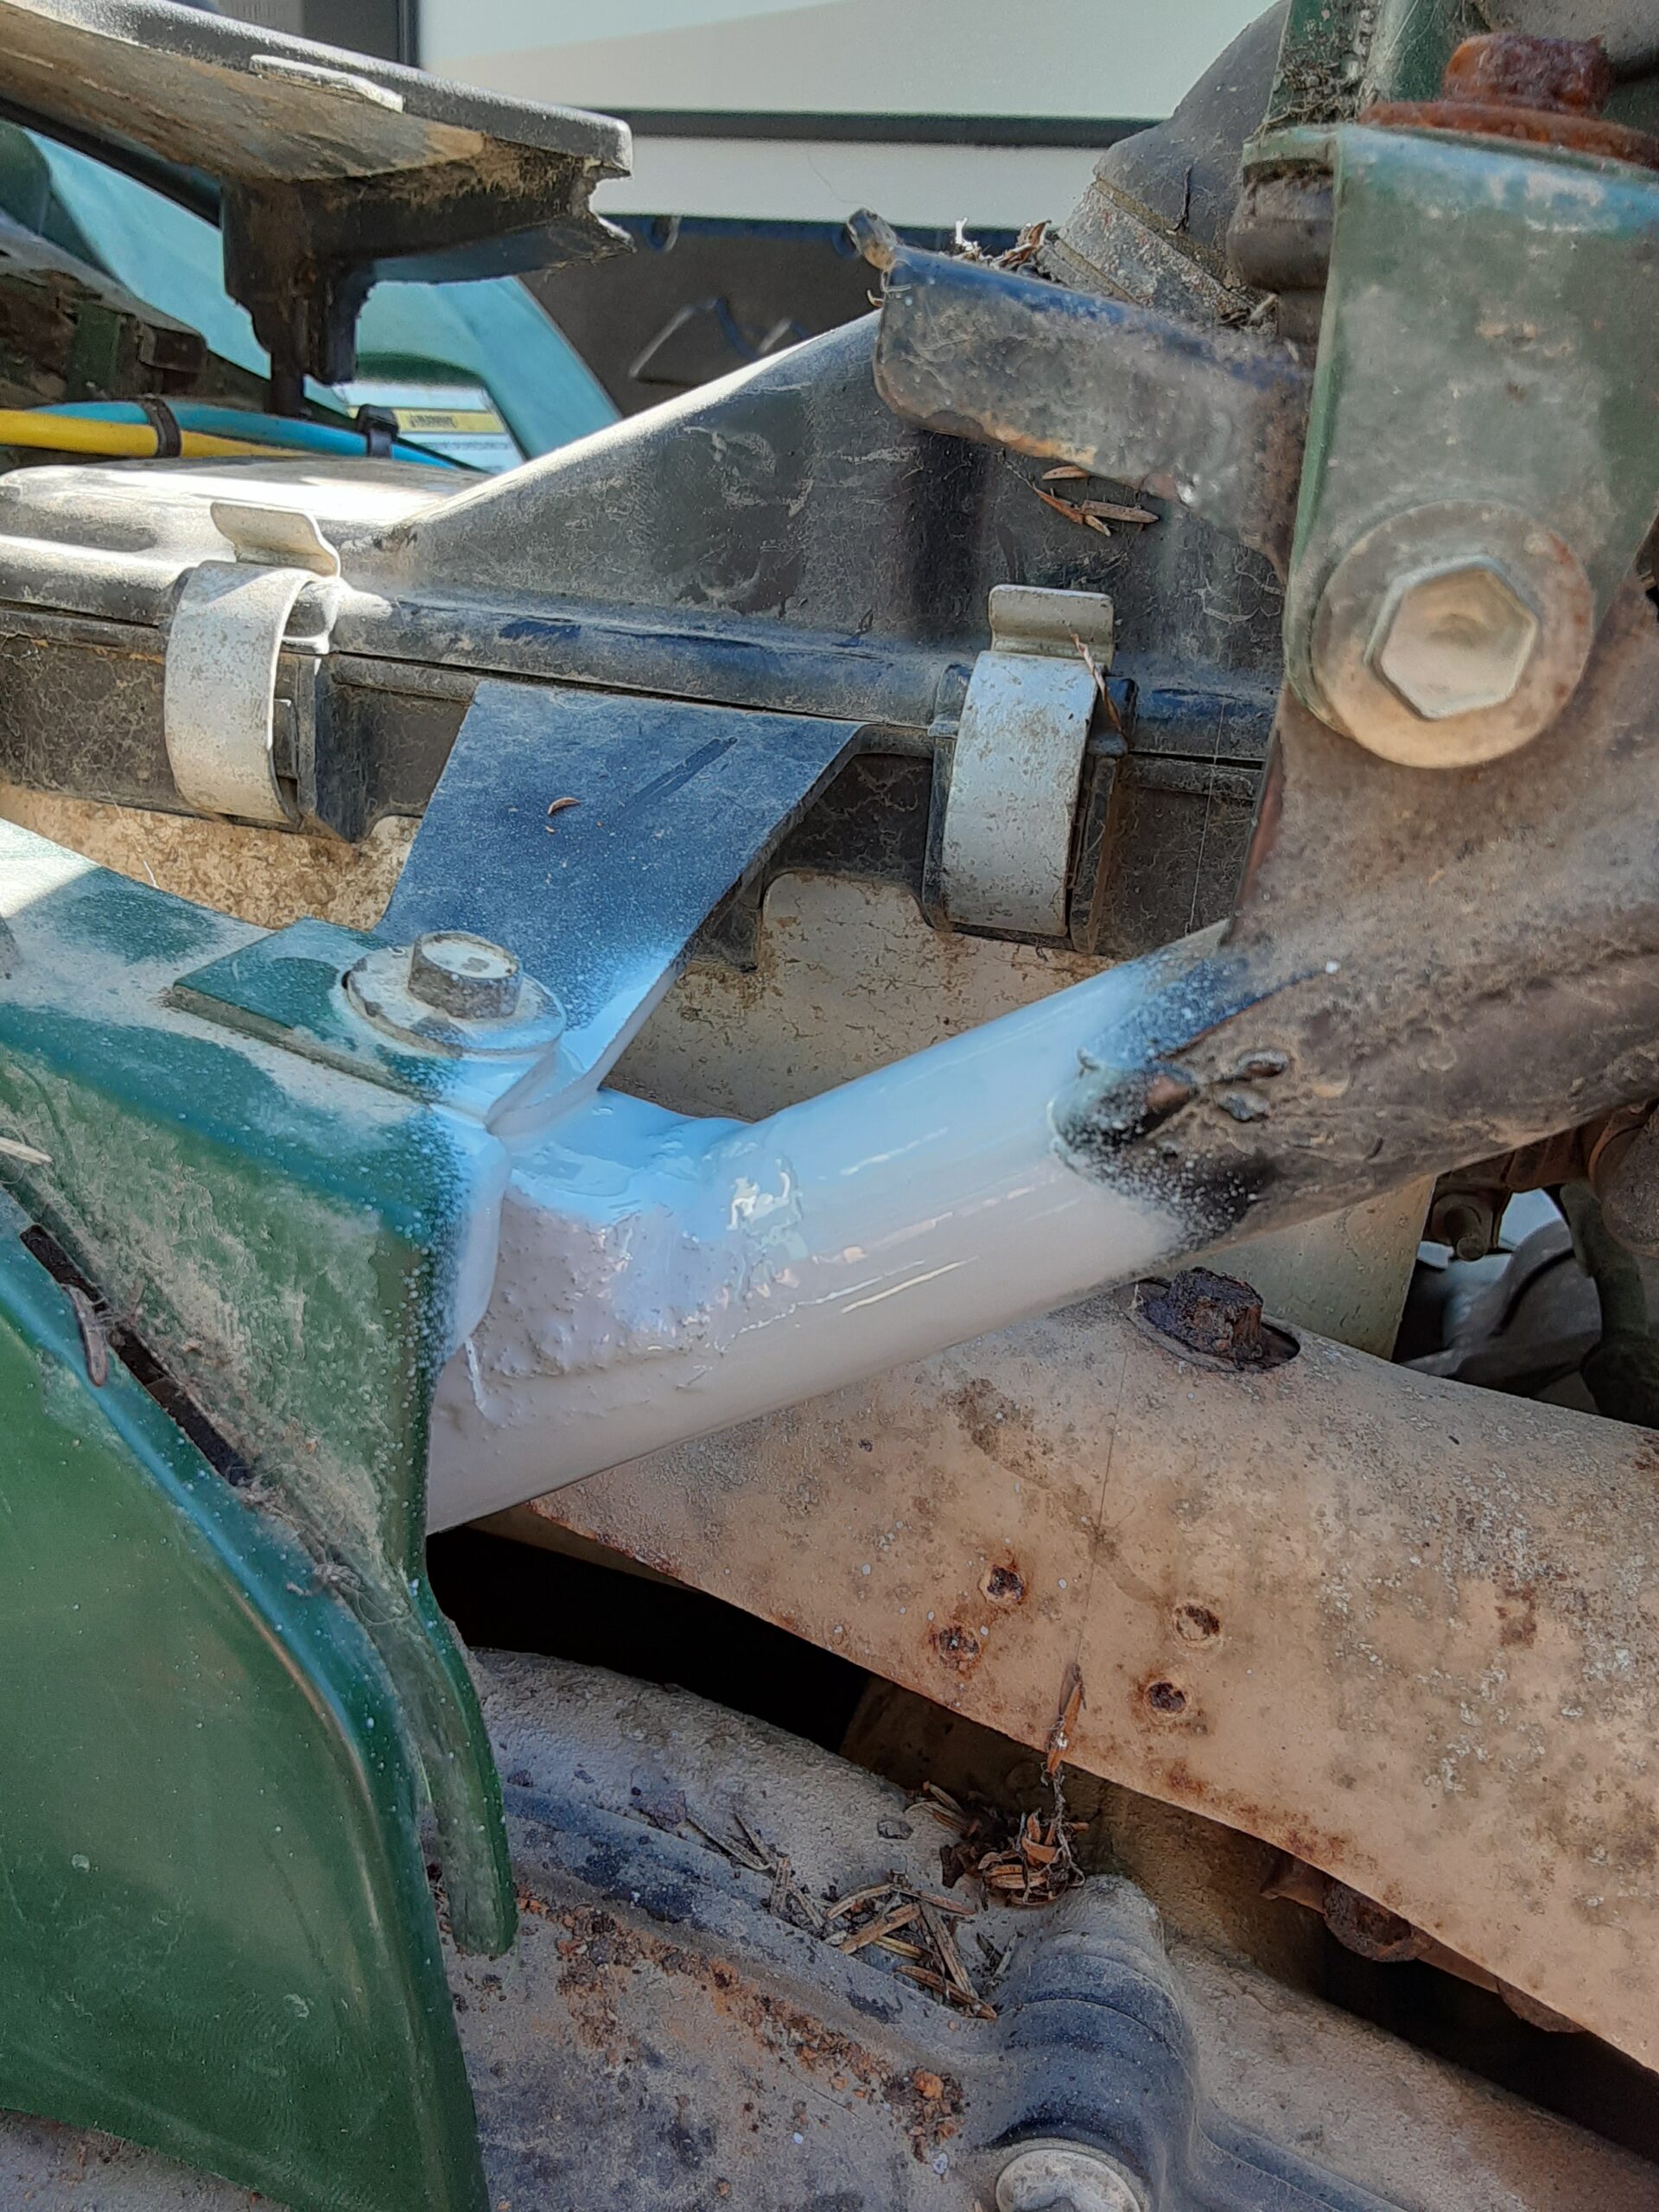
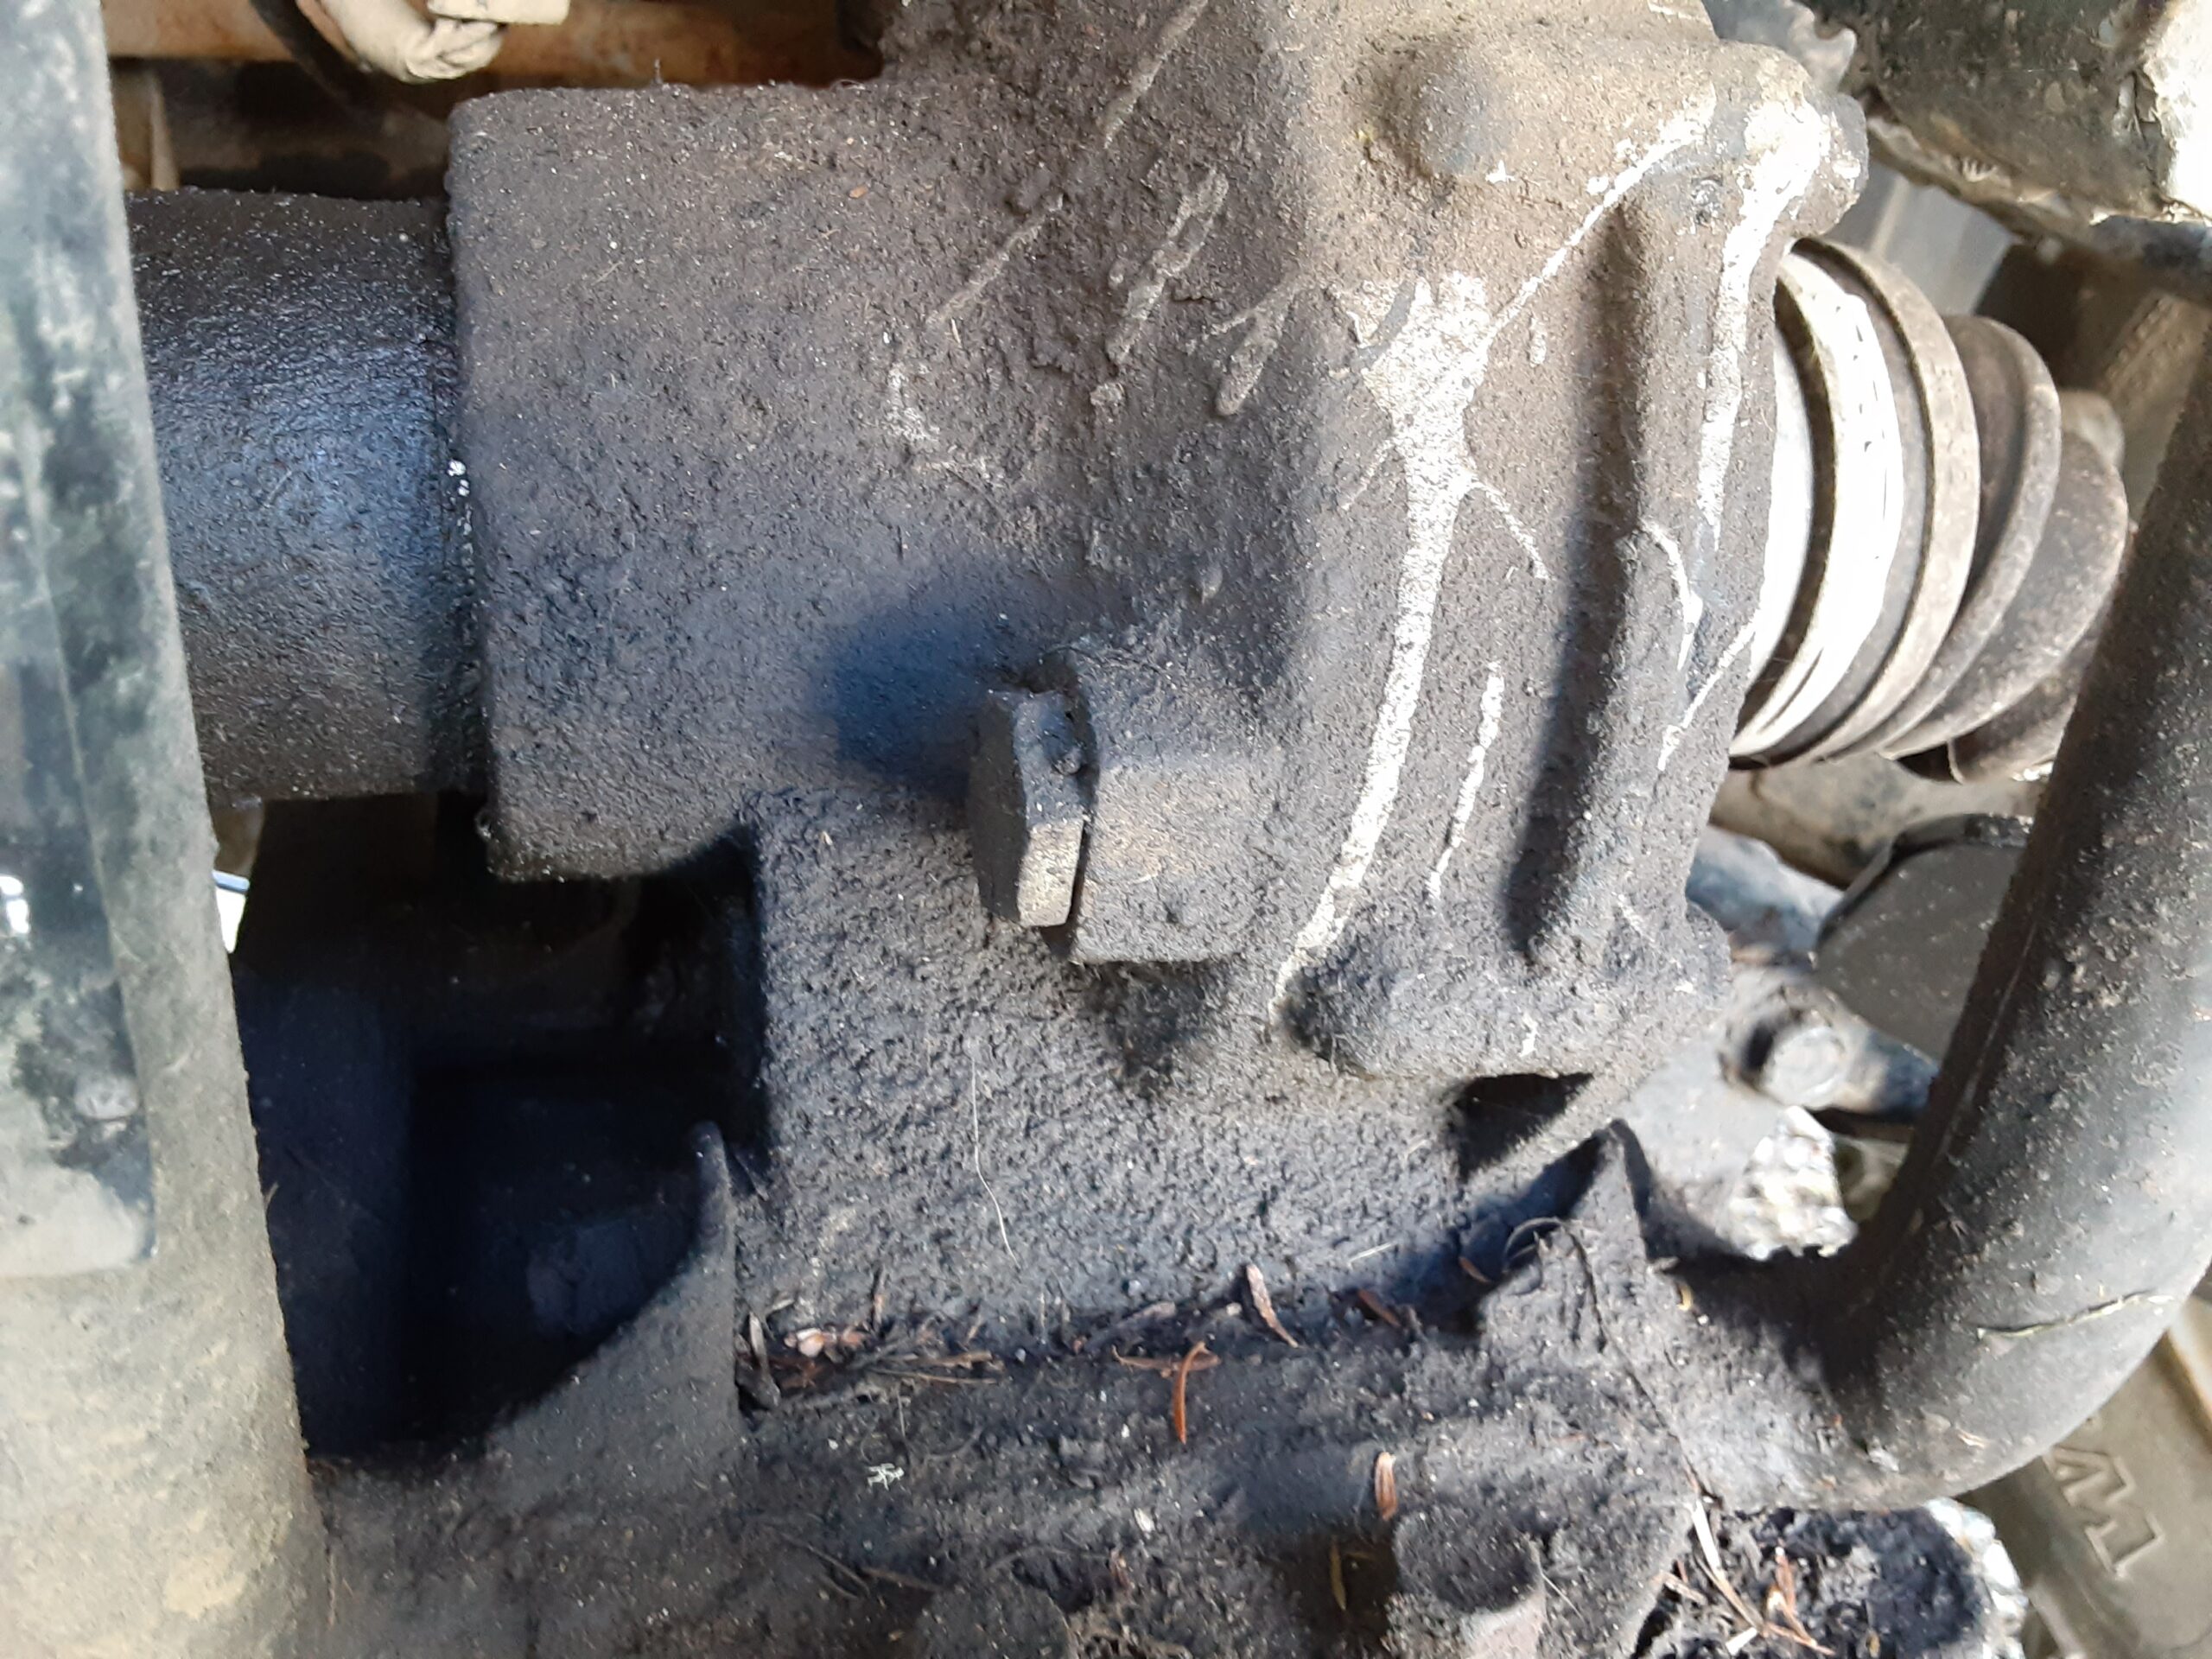
A rusty spot on the frame was the last fix needed during this ATV service and luckily it was in an easy to reach spot. I try to treat surface rust as quickly as possible on ATVs because the metal frame tubes are usually thin-walled so it does not take too much untreated rust and rust pitting to start compromising frame integrity. To fix this I used a wire brush to clean the rust as much as possible along with the loose paint before treating the area with a rust converter compound. If you do not treat and kill the rust it will start rusting again under any applied paint so treat it first. After the treatment was complete, I painted the area with two coats of primer and two finish coats. I was only concerned with protecting and the area and not about the quality of the paint job because it is hidden under to the body panels so looks did not matter.